Learn how to free up backup space in Intuit Data Protect if you’ve reached your storage limit.
Your Intuit Data Protect has 100 GB of backup capacity. If you receive an "Error 2261" email from us, it means you reached the storage capacity and your last backup failed.
You can back up new files by deleting some of your saved data. Here's how.
Step 1: Check your Intuit Data Protect version
Before you free up space, make sure your Intuit Data Protect is up to date.
Step 2: Delete backup folders
Note: You can't recover backed up files once you delete them. Just to be safe, download backed up files first. Intuit Data Protect doesn't make any changes to the data or your computer.
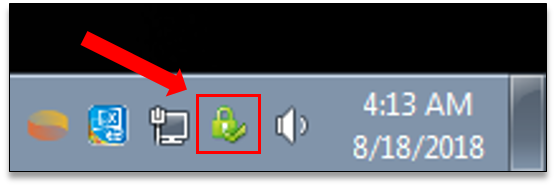
- At the bottom right of your Desktop screen, right-click the Data Protect icon, then select Open Intuit Data Protect.
- Press Ctrl + R on your keyboard. This opens a screen where you can delete backed up files.
- Data Protect computes the size of each folder. Once it’s done, select Delete.
- Select Yes to confirm you want to permanently delete the backup folder.
- Select OK to finish.
Step 3: Reduce backup file size
To avoid reaching Data Protect’s storage limit, you can remove the files you don’t need to back up.
- At the bottom right of your Desktop screen, right-click the Data Protect icon, then select Open Intuit Data Protect.
- Select Change Backup Settings.
- Uncheck any files and folders you don’t need to back up.
- Select Continue until you exit Backup Settings.
- Try backing up again.