Learn how to set up new Leave Categories and Leave Accruals or adjust existing ones.
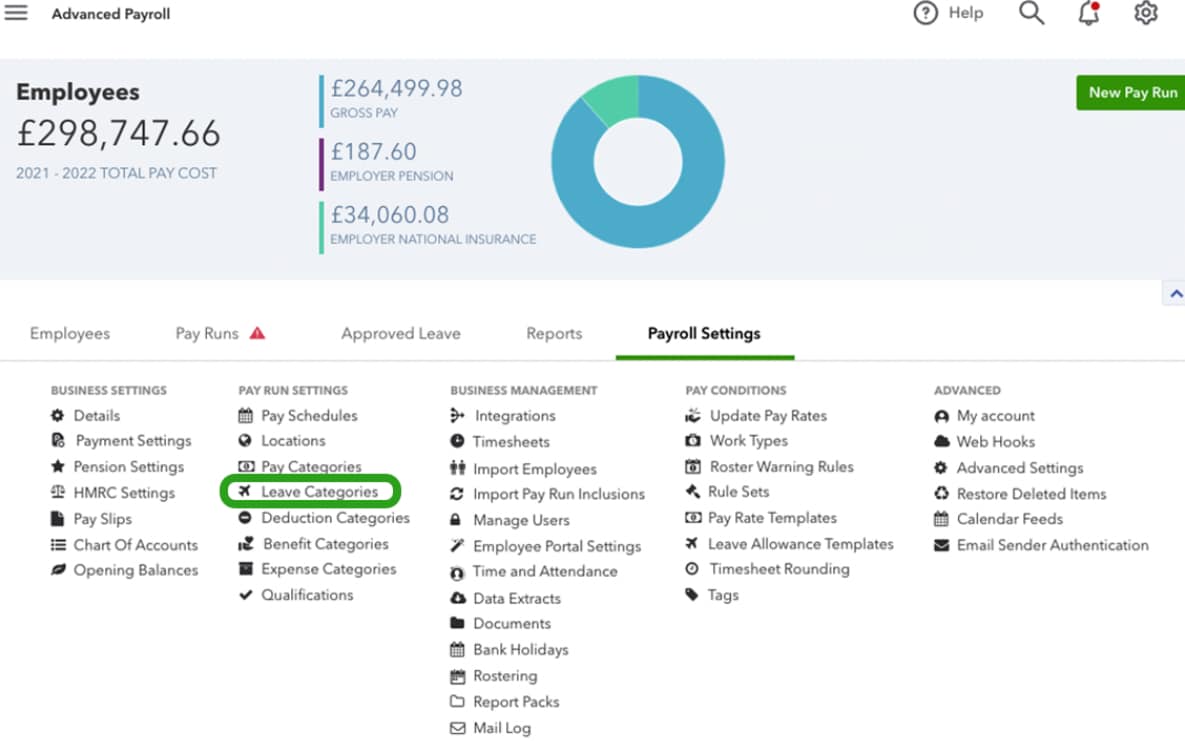
Leave Categories can be found in your Payroll Settings:
Any changes made to your leave category settings will only apply to new employees. If you want to change the leave settings for your existing employees, you'll need to go to the employee's leave allowances in their employee profile.
How to add a leave category
- Go to Payroll, Payroll settings and then select Pay Categories.
- To add a new leave category, select Add. Or, select the existing leave category to make adjustments.
- Enter a Name for the leave category.
- Enter the External ID if you're using an external system to capture leave requests or timesheet entries and need to map the code from there into Advanced Payroll.
- Choose the Leave category type from the dropdown menu.
- Select if the Employe leave balance is tracked or not tracked.
- If you select Tracked and Automatically accrues, read on for help on how to set this up.
- Note: For types of leave that aren't accrued in the usual way, like leave without pay, it might not make sense for an employee to have a balance. In these cases, you should set this value to Not tracked to tell QuickBooks it doesn't need to keep track of how much of this type of leave an employee is entitled to.
- Tick Hide leave category name from employee view if you want to hide the type of leave the employee is taking.
- Select if the Unit type is weeks, days or hours.
- Select the appropriate Payment setup. Read on for help on setting this up.
- Select Save.
Payment setup
Payment Setup allows you to choose if you want a pay category to be assigned when the employee is paid for their leave taken.
The default setting for Payment Setup on Annual Leave used to be Basic but this has been updated since so that leave hours are reported against a separate pay category called Annual Leave Taken (you are free to change this if necessary).
- Basic: When an employee doesn't use timesheets, the employee's leave balance will be reduced and earnings aren't impacted. When an employee is using timesheets to submit all time worked, an earnings line will be created and the leave balance will be reduced. To check or assign the employee's timesheet setting, go to the employee's Pay Run Defaults page. The timesheets option is near the top of the page.
- Don't pay for the leave taken: When an employee doesn't use timesheets, an earnings line with negative hours will be added to reduce the earnings for the employee. When an employee is using timesheets to submit all time worked, no earnings line will be created.
- Report the earnings for the leave taken against another pay category: When wanting to report payments for leave taken in a separate pay category (for reporting/journaling purposes), select this option. The earnings related to the leave taken will be assigned against the specified pay category instead of the employee's primary pay category. When this alternative is selected, the option will be given to use the rate of pay from the employee's primary pay category.
- Custom: For advanced users only, this option allows the user to deduct hours from an arbitrary pay category and transfer them to another arbitrary pay category when leave is taken.
For examples of how to set up leave based on different scenarios, refer here.
How to set up automatically accruing leave
If you have selected Automatically Accrues for your Leave Category, here's how to set it up:
- Choose whether the leave will accrue on an ongoing basis or accrue based on the employe's leave year. Selecting Based on the employee’s leave year will prompt you to select the date you want the leave year to start. This date is specified via the employee's Leave Allowances page.
- If applicable, select Exclude from termination payout.
- Select Apply negative balances on termination if you want the earnings associated with the employee's negative leave balance deducted in their termination pay.
- Select Hide accruals from payslips if you do not wish to allow employees to see the amount of leave accrued for this leave category within a pay run on their payslips.
- Select Hide balances from payslips and in the employee portal if you don't want employees to see the balance of this leave category on their payslips or in the employee portal.
- Select Hide leave category name from employee view if you don't want to have the leave category name displayed in the calendar contained within the employee's portal. All that will be displayed is the employee name and the period of leave taken. This setting works in conjunction with the setting Employees can view approved leave from the Employee Portal Settings screen.
- In Standard allowance, enter the calculation of how much leave is automatically accrued for this leave category. Select whether the calculation is based on Hours per hour worked or Hours per pay run.
- For Leave In Days enter Standard Days Per year (recommended) or Standard Weeks per year.
- You can also select the Calculator icon to open the Calculate Leave screen assist with calculating the entitlement and ensuring the correct figure is being applied. You can enter a numerical allowance value and it will calculate how much leave will be accrued for an employee based on the hours entered.
- If you have selected the leave to automatically accrue based on the employee’s leave year, select if you want the Leave Category to accrue in advance. (Note: This means the full yearly entitlement is accrued in the employee’s first pay run and will be added to their leave balance).
- If you have selected the leave to automatically accrue based on the employee’s leave year, select if you want to Carry over the entire balance or enter the maximum hours to carry over.
- Select if the Accruals for this leave category are not limited or limited.