Learn how to use Workpapers to review, adjust, map, and export your client’s QuickBooks Online accounts to get ready for tax season.
Workpapers is a tool in QuickBooks Online Accountant lets you review a client’s accounts from a single dashboard. It's very similar to a trial balance. You can use it for any clients who use QuickBooks Online. After you review your client's accounts, Workpapers automatically export accounts to the proper lines on tax forms.
In this article, you'll learn how to:
- Open Workpapers
- Review your client’s accounts
- Make adjusting journal entries
- Map accounts to tax forms
- Export the mapped tax forms
Step 1: Open Workpapers
Each client has their own dedicated Workpapers page. There are two ways to get to Workpapers:
- If you're in QuickBooks Online Accountant, go to the Clients tab. Find your client and select Workpapers from arrow drop-down in the Actions column. You can also access Workpapers under the Books To Tax section of the left navigation menu in your client's file.
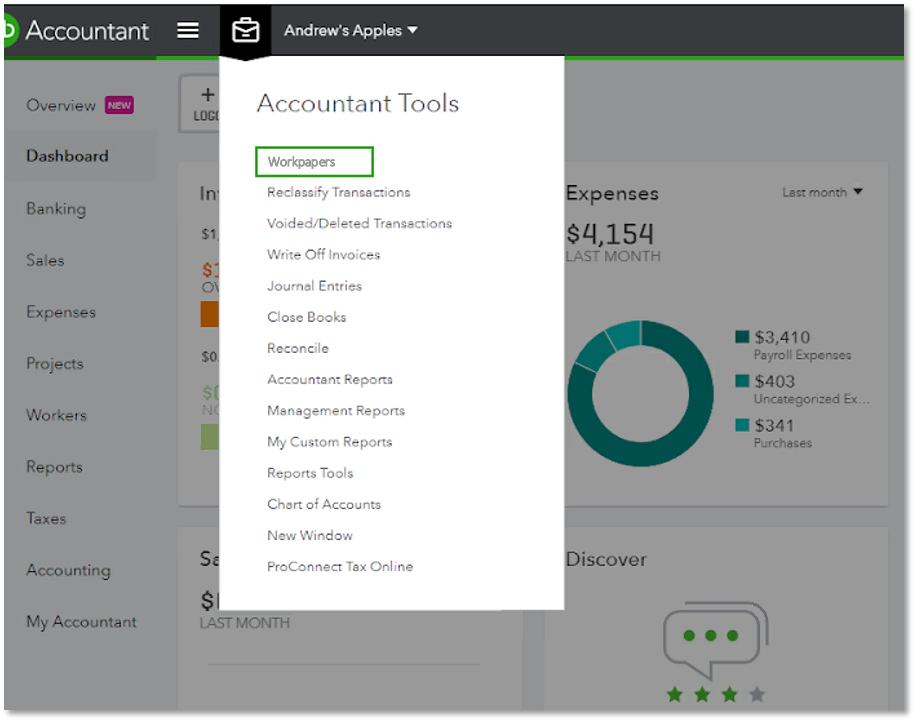
- If you’re working in a specific client’s QuickBooks Online account, select Workpapers from the Accountant Toolkit.
Step 2: Review your client’s accounts
Start your work in the Review & adjust tab. Your client’s annual Balance Sheet and Profit and Loss Reports are side-by-side so you can make quick comparisons. You’ll also see last year’s totals, account differences, and any adjusting entries you’ve made.
To dive into a specific account:
- Expand the list of accounts.
- Select the account total from the column for the current year.
- Review the transactions in the account.
Step 3: Make adjusting journal entries
Workpapers makes it easy to record and adjust journal entries if needed. This lets you adjust transaction totals without changing the original record. To make an adjusting journal entry while you're on the Review & adjust tab:
- Expand the list of accounts.
- Find the account you want to adjust.
- From the Actions column, select Make adjustment.
You can attach notes and documents to keep track of work on individual accounts as needed:
- From the Actions column, select the small arrow ▼ icon.
- Select Add attachment or Add note.
Icons appear next to each account for easy reference.
Step 4: Map accounts to tax forms
After reviewing your client’s accounts, you’ll assign them to specific lines on tax forms.
- Go to the Tax Mapping tab.
- Select Edit ✎ next to the form name.
- Select the appropriate tax form for your client.
| Important: Edits don’t carry over to different forms. If you change forms in the middle of mapping accounts, you’ll need to make edits again on the new form. |
Workpapers automatically assigns most accounts to tax lines. Any unassigned accounts appear in the “We found unmapped accounts” section. Simply select Assign tax line and move them to the correct tax line.
Review each tax line. If you need to reassign an account to a different tax line:
- Find the account on the tax form.
- Select Edit ✎ to edit.
- Choose the correct tax line.
Step 5: Export the mapped tax forms
When you're ready to export, download a CSV for other tax preparation software.
- Go to Tax options at the top right, then select Export CSV button. Tip: Export CSV is available when you change the form name to T2125.