Learn how to view all items in the Bill Payment voucher.
In QuickBooks Online, the bill payment voucher can only show up to 13 bills. Line 14 summarizes the rest.
Options to show all items on a Bill Payment Voucher
There are two options to show all items:
- Run a customized Transaction List by Vendor report that shows all items on a Bill Payment Stub.
- Highlight the bills being paid within the Bill Payment window. Then use the print options from your web browser.
Running a Transaction List by Vendor report
- Go to Reports (Take me there).
- In the "Go to Report" field, type in Transaction list by Vendor.
- Select the Transaction List by Vendor report.
- Select Customize.
- From the General section, change the report period to All Dates.
- From the Filter section, change the Last Modified Date to the date the check was entered in QuickBooks Online.
- From the Transaction Type section, select Bill.
- From the Vendor section, select the vendor from the drop down menu .
- Select Run report.
Things to know:
- This should work as long as there is only one check per date for the vendor.
- This won't work if any bills or checks for the same vendor are added or modified on the date the check is issued.
Using the Bill Payment window
If the Transaction List by Vendor report doesn't give you what you need, highlight the bills from the Bill Payment window. Then use the print options from your web browser.
Using Print options from a web browser
- Go to Reports (Take me there).
- In the "Go to Reports" field, enter Transaction List by Vendor.
- Select Transaction List by Vendor.
- Set the Report period to date of the bill payment.
- From the Filter section, choose Vendor and then select the name of the vendor on the bill.
- Select Run report.
- Highlight the list of bills from the Bill Payment Information section.
- From the Internet Explorer menu, choose the File menu and then select Print.
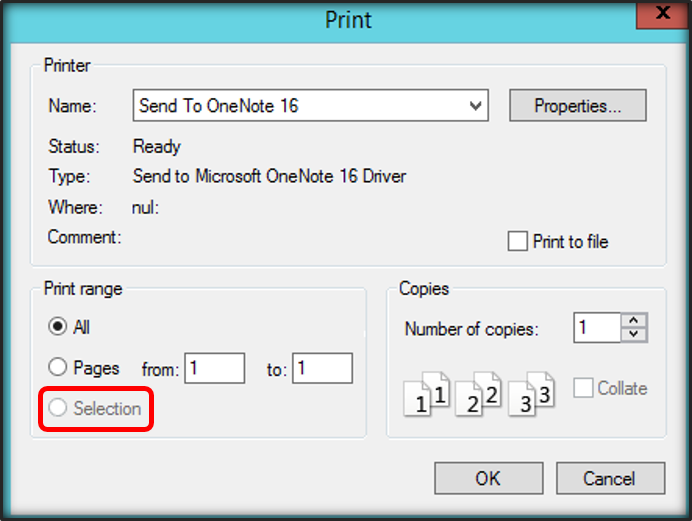
- From the Print Range, choose the Selection radio button, then select Ok.