Learn how to upload or download your file(s) to and from Intuit Customer File Exchange.
Sometimes, to help you faster, Intuit needs a file from you. We’ll walk you through how to upload your file to us.
Contact Intuit for your PIN
To send us your file, you need a secure Personal Identification Number (PIN). Your PIN is in the email from us and expires after 48 hours. If you already have your PIN, skip to Step 2.
If you don’t have your PIN, check your spam folders for an email from us. If you need a PIN or it’s not working, contact us.
Upload your files
You can send us any kind of file. If you have to send us your QuickBooks Desktop data file, make sure you make a backup.
If you upload a file with the same name as an existing file, it'll overwrite the original one. Change your file name or create a folder instead.
- Open a browser and go to https://intuitb2b.secure.force.com/FileExchange - this is case sensitive.
Note: If Sign In is grayed out, it means you’re on a browser we don’t support. Try again with a different browser.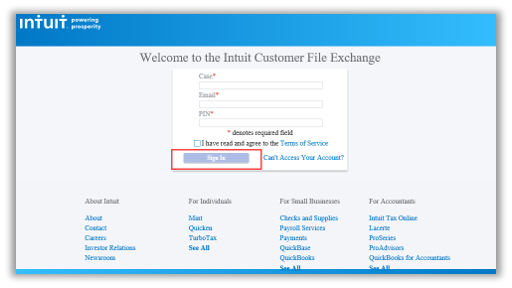
- Enter the Case number, Email, and PIN.
- Accept the Terms of Service and select Sign In.
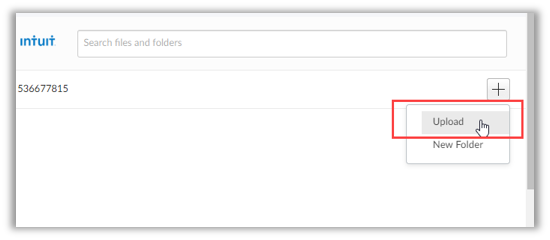
- Select + and then Upload.
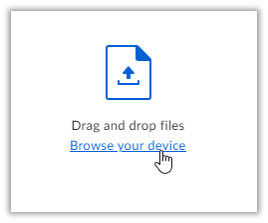
- Drag and drop your file or select Browse your device to find your file.
- Select Upload.
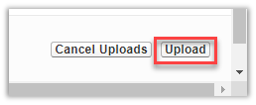
- Once you upload your files, select Close to exit.
Download your files
Note: Make sure to download your data files as they are removed from the portal and server after 20 days.
- Sign in to Intuit File Exchange.
- Enter the Case number, Email, and PIN.
- Accept the Terms of Service and select Sign In.
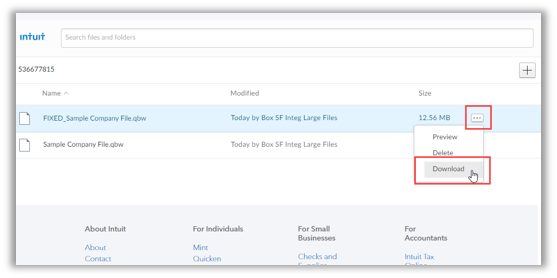
- Locate your file.
- Select the ellipsis icon and then Download.
- Browse to the location where you want to save your file.
- Select Save.
Upload and download files from Data Services
- If you send your company file to Data Services, don’t enter any data in your file on your computer. If you do, you’ll need to add the info again when we send it back to you.
- If available, download the "Readme.docx" file. This file has info you'll need to use to access your fixed file. Save both downloads where you want to store the file.
- If you're on a network or a server, restore the file locally before you save it to its host location.
- Your data file may end with .qbm. It's a compressed copy of your file. You can convert the file if you need to.