Learn how to email or print multiple invoices, sales receipts, and estimates now or later.
Once you create your sales forms, you have the option to email or print them now or later. You can also email or print them in batches instead of one at a time.
Email or print multiple sales forms now
To send multiple invoices or sales receipts now:
- Go to Bookkeeping then Transactions then select All sales (Take me there), or go to Sales then select All sales (Take me there).
- Select the checkboxes for the sales forms you want to email or print. You can also select the Filter ▼ dropdown menu to filter by transaction Type, Status, Date, or Customer.
- From the Batch actions ▼ dropdown menu, select Send or Print.
Email or print multiple sales forms later
If you want to email or print sales forms later, mark them as you're working on them. This helps you find the form when you're ready to email or print.
| Note: This option isn't available yet for the new estimate and invoice layout. Find out which layout you have. |
Step 1: Mark sales forms to email or print later
While you're working on a transaction form, select one of the following options:
- Select Send later.
- Select Print or Preview, then select Print later.
When you're finished, select Save.
Step 2: Filter to batch email or print
After you’ve marked your forms to print or email, filter your sales list:
- Go to Bookkeeping then Transactions then select All sales (Take me there), or go to Sales then select All sales (Take me there).
- Select the Filter ▼ dropdown menu.
- From the Delivery method ▼ dropdown menu, select Send later or Print later. Then select Apply.
- Select the checkboxes for the sales forms you want to email or print. To mark them all, select the checkbox next to the DATE column.
- From the Batch actions ▼ dropdown menu, select Send or Print.
Make sure you've emailed the form
- Go to Get paid & pay and select Customers (Take me there), or go to Sales then select Customers (Take me there).
- Select the customer you want to check.
- Select the sales form from Transaction List.
- Then, check for the following:
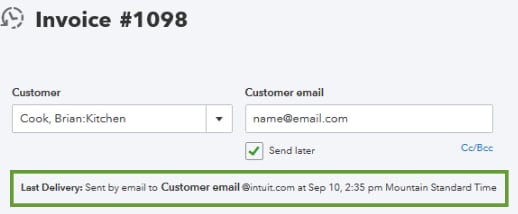
If you’re using the old estimates and invoices layout
QuickBooks has sent the email if you see the Last Delivery message.