- Mark as New
- Bookmark
- Subscribe
- Highlight
- Report Inappropriate Content
Install or uninstall QuickBooks in Selective startup
Learn how to install and uninstall QuickBooks Desktop in Selective startup mode.
Are you having problems uninstalling or installing QuickBooks on your computer? Switch to Selective startup mode so you can install or uninstall your program smoothly. We’ll show you how so you can get back to business.
Step 1: Prepare your data
Before you proceed, make sure you have everything you need for the process.
- Create a backup of your company file.
- Keep a copy of your QuickBooks Desktop product and license info.
Step 2: Start your computer in Selective startup mode
To make sure no other application hinders you from completing your task, switch to Selective startup mode. If you're uncomfortable doing the steps, consult your computer's manufacturer or a Windows expert.
- On your keyboard, press Windows+R to open the Run command.
- Type msconfig, then select OK.
- In the General tab, select Selective startup and Load system services.
- Go to the Services tab, then select Hide all Microsoft Services.
- Select Disable all.
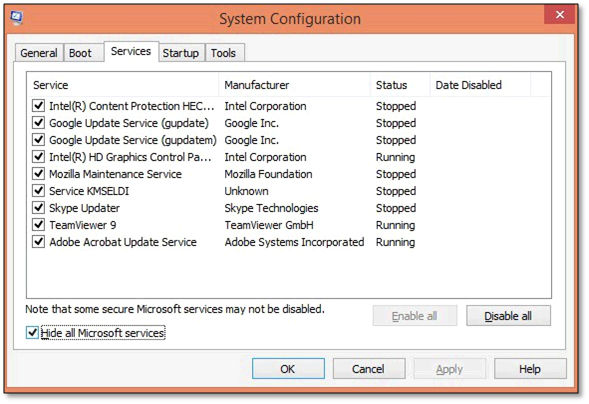
- Uncheck the Hide all Microsoft services checkbox.
- Make sure the Windows Installer checkbox is selected from the list of services. If it’s not, select the checkbox.
- Select OK.
- On the System Configuration window, select Restart.
Step 3: Uninstall or install QuickBooks Desktop
Once your computer opens, clean install QuickBooks Desktop.
Step 4: Switch back to Normal startup mode
After QuickBooks is installed, restore your computer to its normal configuration.
- On your keyboard, press Windows+R to open the Run command.
- Type msconfig, then select OK.
- In the General tab, select Normal startup.
- Select OK.
- On the System Configuration window, select Restart.
Labels:
