- Mark as New
- Bookmark
- Subscribe
- Permalink
- Report Inappropriate Content
Remove, add, delete bills in Online Bill Pay
Learn how to remove, add and delete bills in Online Bill Pay.
You can remove, add, and permanently delete bills in Online Bill Pay. In this article we'll show you how.
Remove bills
When you remove a bill, it is no longer available in Online Bill Pay, but it remains recorded in Expenses in QuickBooks Online.
- Login to your QuickBooks Online account. Navigate to the Pay bills onlinepage by any of the following:
- Select + New. Then, select Pay Bills Online
- Selecting the Bill Pay Online dashboard widget
- Selecting the Expense tab, then Pay Bills Online
- Select the bill you want to remove
- Select Batch actions.
- Select Remove from Bill Pay.
- Select I don't intend to pay these vendors in Bill Pay Online. We will not show bills for these vendors in the future. (Note: You also have the option to select Payment for these bill have already been recorded. This option will remove the bill from Bill Pay and won't affect anything within QuickBooks Online.)
- Select Remove to confirm.
This can also be done from the Manage Vendors tab by toggling Pay bills in Bill Pay to the off setting for a specific vendor.
Add bills
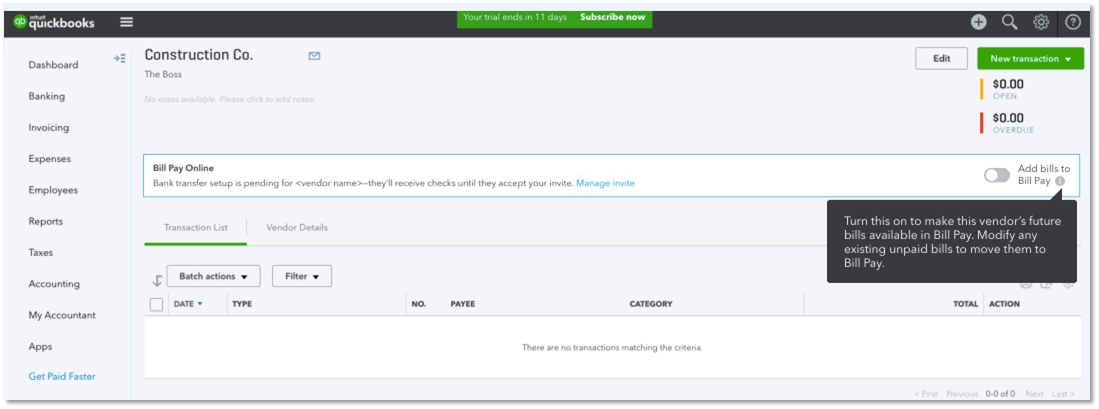
If you want to add bills for a vendor, simply turn on the Add bills to Bill Pay button for the specific vendor.
| Note You need to make an update to the bills that had previously synced in order to bring them back into Bill Pay. This will then allow the bill to repopulate on the Pay bills online screen. |
Delete bills
Selecting the Delete option will remove the bill from both Pay Bills Online and the QuickBooks Online account permanently.
- Go to Pay bills online.
- Select the bill(s) you want to remove.
- Select Batch actions.
- Select Delete to confirm.
This option will also mark the bill inactive and not to sync with Bill Pay.
Labels:
