- Mark as New
- Bookmark
- Subscribe
- Permalink
- Report Inappropriate Content
Pay a vendor
Learn how to make a payment to a vendor in Online Bill Pay.
Save time by making a vendor payment through Online Bill Pay (available feature since Jan 12, 2018). In this article, we'll explain what you need to know about this feature and how to make a payment.
Setting up
When setting up bank transfers with your vendor, there's a few things to know:
- You can only set up bank transfers with a vendor through a private bank add.
- We'll initiate a small test deposit of a penny into your vendor's bank account. This is done to verify the bank account can receive payments. (Note: If the test deposit is not successful, the bank account entry will be invalidated. A new bank account entry will need to be made for the vendor.)
- After manually adding a vendor's bank account, the earliest process date that can be selected is 2 business days after the bank account was added. This is to ensure the test deposit is successful. (Note: A federal holiday will add one additional day to processing.)
- If the test deposit is not successful and the bank account is invalidated, the payment will still process. The payment will go out as a check payment.
- If a payment needs to be made immediately, schedule a check payment before adding the vendor's bank account.
Make a vendor payment
When making a payment, a bill will be created behind the scenes and synced back to QuickBooks Online along with the payment initiated. You can code the necessary tracking categories required for the bill.
- Login to your QuickBooks Online account.
- On the dashboard, select the Bill pay online widget.
- Select the Make a payment tab.
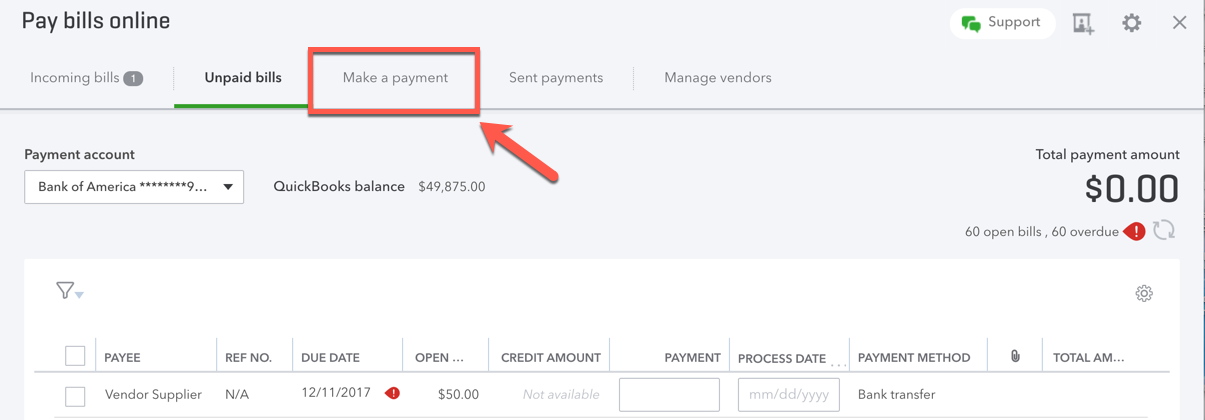
- Enter payment information for vendor.
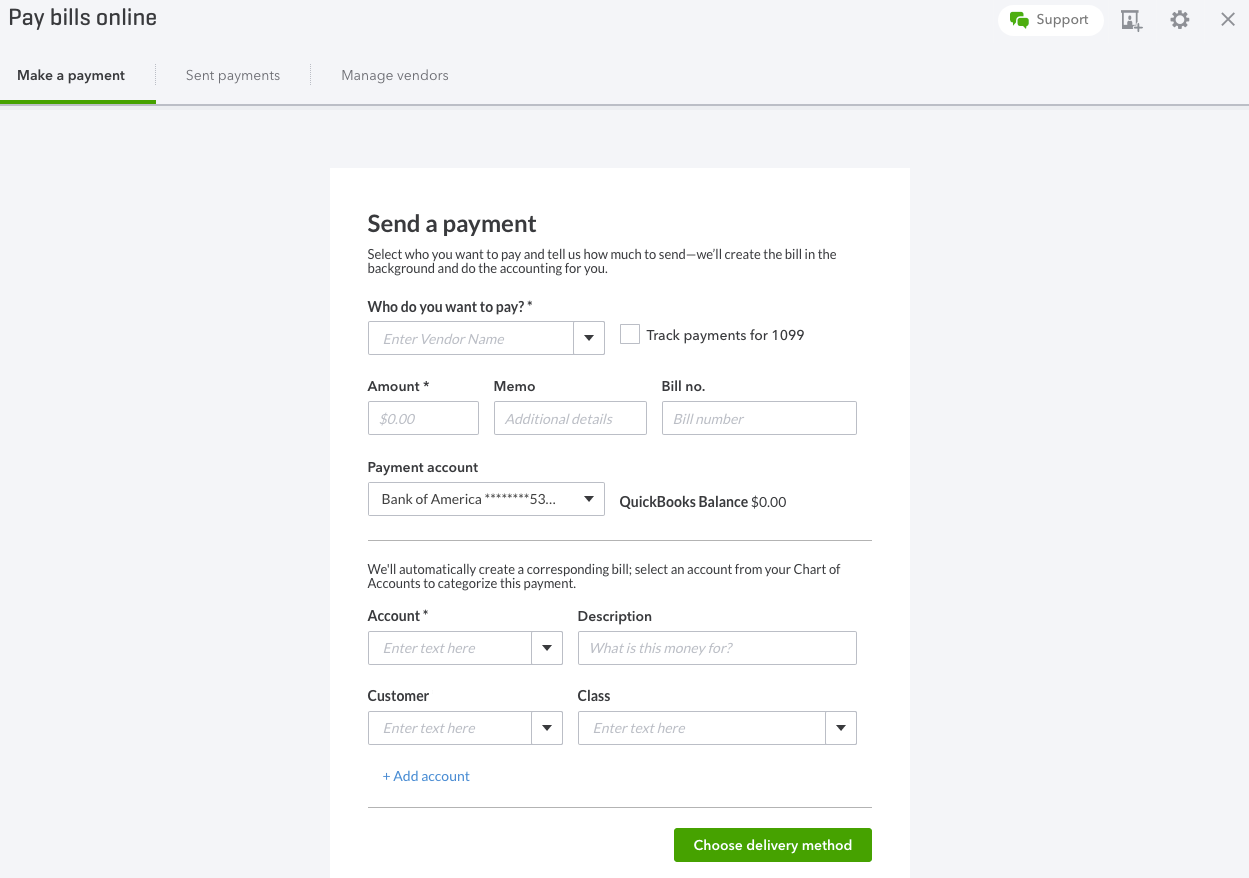
- Select Choose delivery method.
- Select Bank transfer or Check.(Note: For a bank transfer, if the vendor hasn't already been set up, enter bank account details.The bank account will be auto-confirmed immediately. For check, select a process date and edit vendor information if necessary.)
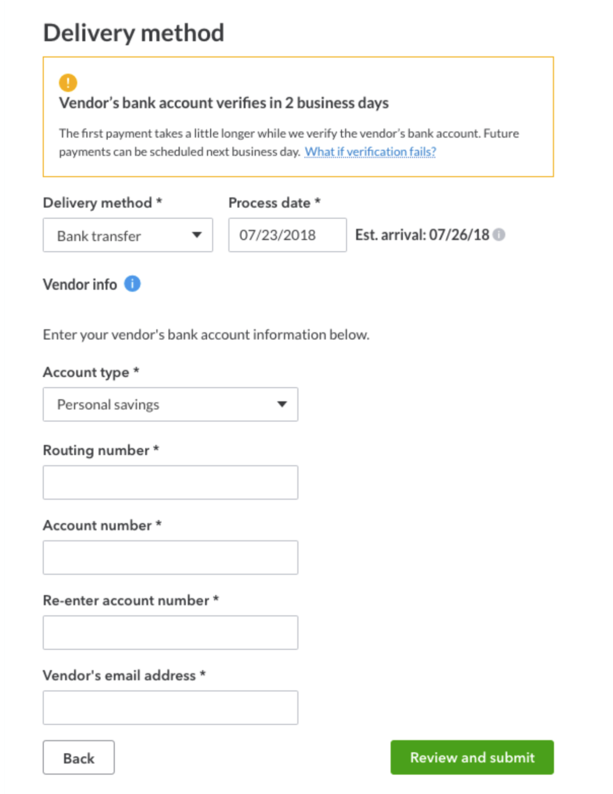

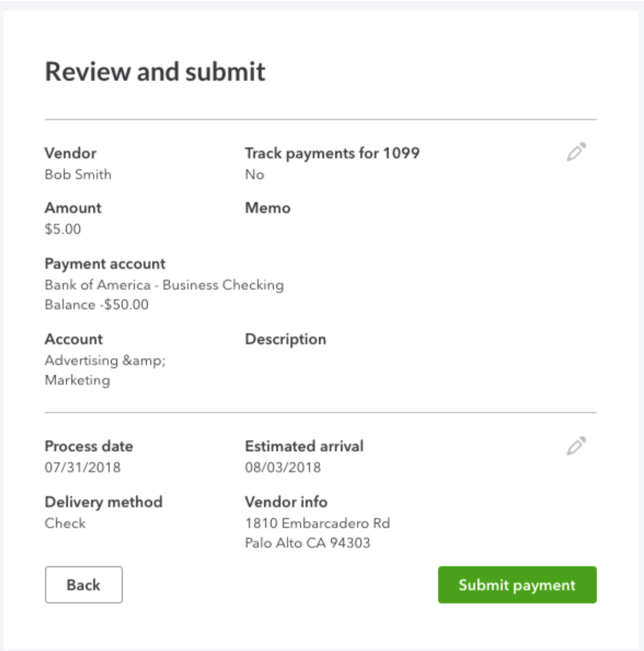
- Select Review and submit.
- Select Submit payment.
A bill is automatically created in the background for this payment:
- The description field on the bill is populated with Pay a Vendor Auto Created Bill.
- This auto-created bill is not editable.
Labels:
