Step 1: Turn on Projects
If you haven't already, turn on the Projects feature. By default, projects are already turned on in QuickBooks Online Plus and Advanced. To turn it on, refer to Set up and create projects in QuickBooks Online.
Step 2: Review your sub-customer settings
Before you can convert a sub-customer, adjust these settings:
- Go to Projects (Take me there).
- Find and select the sub-customer. If the status is Not started, select In progress from the Status dropdown▼.
- Select the sub-customer's profile, then select Edit.
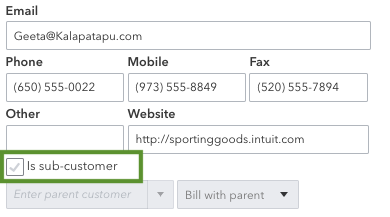
- Make sure you select the Is a sub-customer box.
- Review and select the parent customer. This is the account that's connected to the project.
- Select Bill parent customer box, then select Save.
Step 3: Check the parent customer for the sub-customer
Make sure the sub-customer is connected to only one parent customer. It can't be a sub-customer of a sub-customer.
- Go to Projects (Take me there).
- Find and select the sub-customer.
- Select the sub-customer's profile, then select Edit.
- From the Parent customer dropdown, select the parent customer. Then select Save.
Also, make sure your sub-customer doesn't have any sub-customers:
- Go to Projects (Take me there).
- Check for any sub-customers of the sub-customer you want to convert.
- Select the sub-customer's profile, then select Edit.
- Select and uncheck the Is a sub-customer box. If there are more sub-customers, remove them as well.
- Select Save.
Before you can convert Geeta K into a project, you need to make it a sub-customer of Freeman Sporting Goods. Right now, it's a sub-customer of 55 Twin Lane.
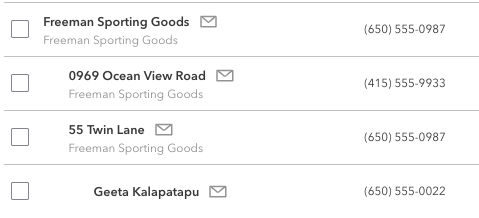
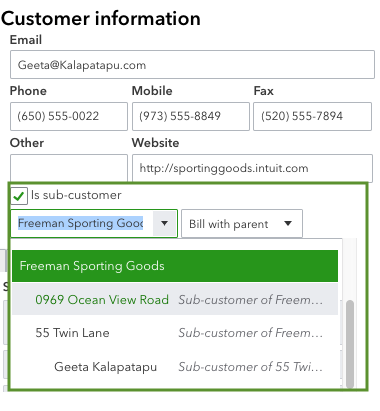
Before you can convert 55 Twin Lane into a project, you need to remove Geeta K as a sub-customer.
Step 4: Convert a sub-customer to a project
You can either create a new project from a sub-customer or merge the sub-customer with an existing project.
Create a new project from a sub-customer
This wipes the slate clean. Your sub-customer's existing transactions won't transfer over.
- Go to Projects (Take me there).
- Select the New project ▼ dropdown and then Convert from sub-customer. Or, look for the Do you organise sub-customers as projects? message and select the Convert now link.
- Select the sub-customer you want to convert.
- Select Convert, then select Continue to confirm. Remember, your existing transactions won't transfer over.
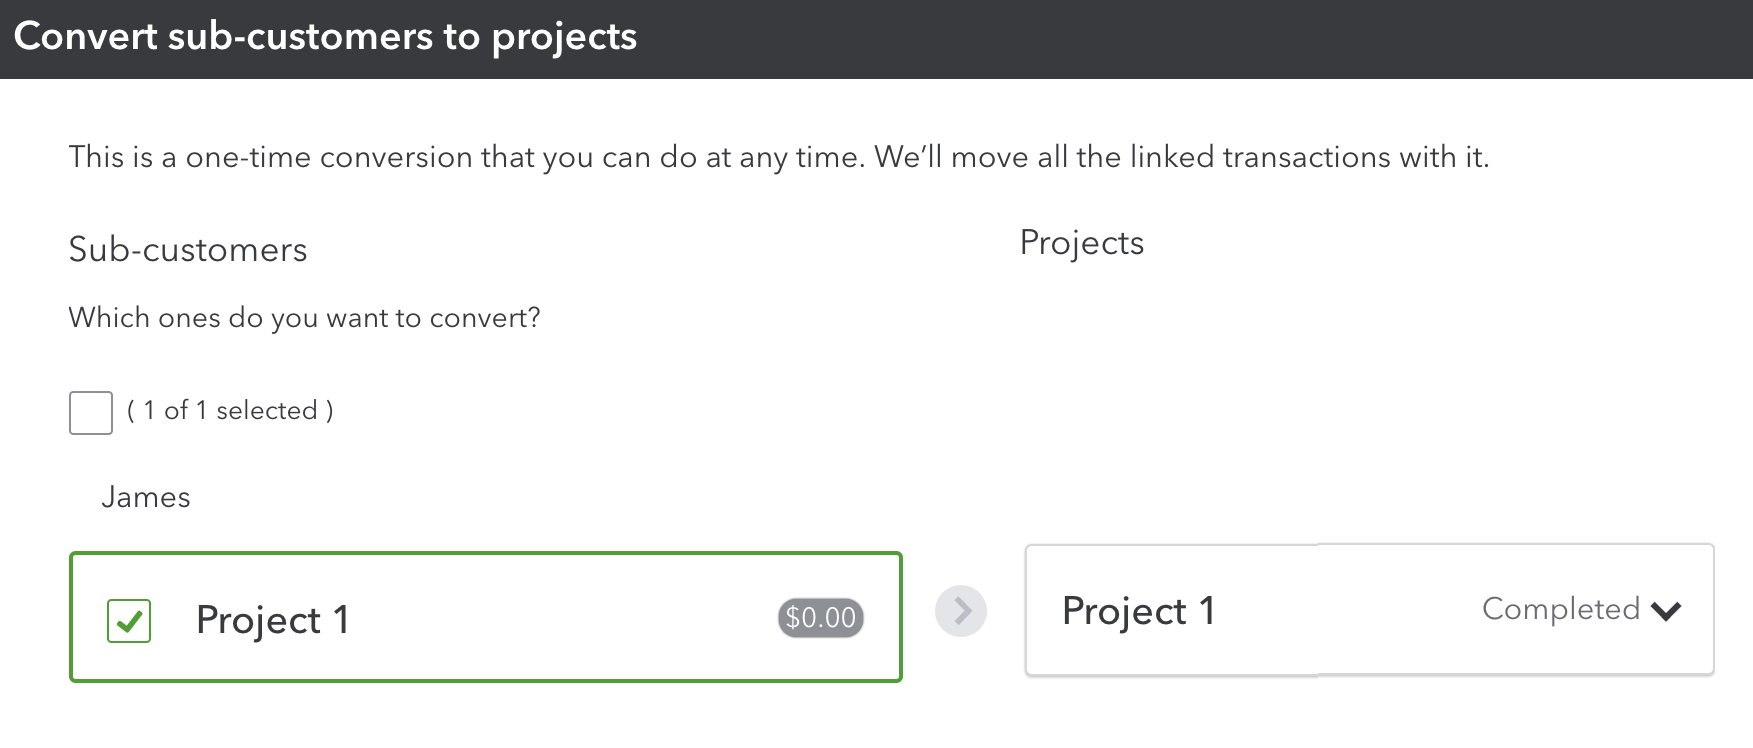
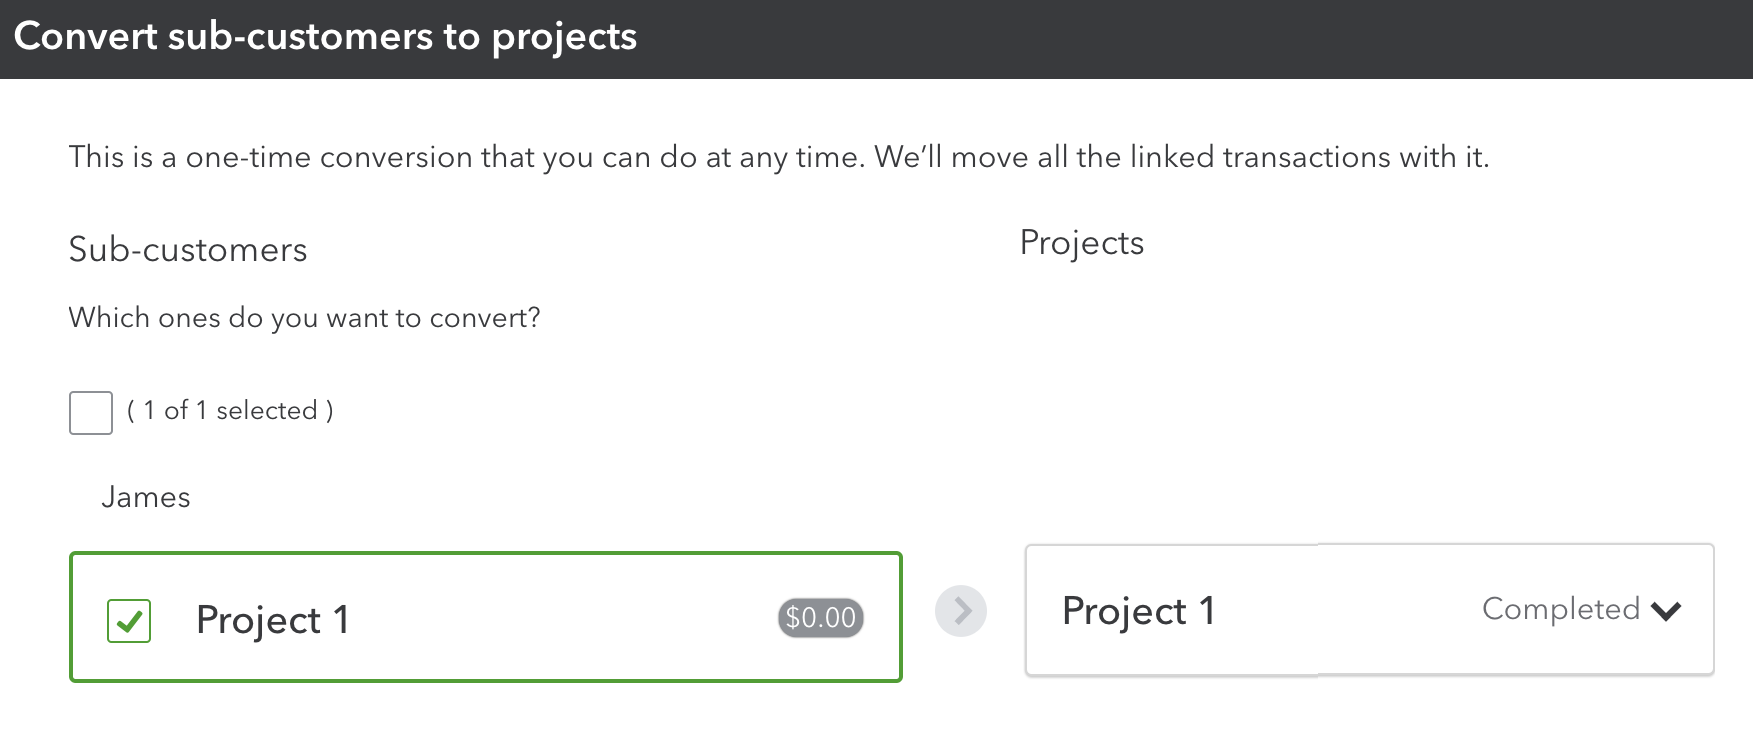
This creates a brand new project. Now you can go to the Projects menu to start working on it.
This transfers your existing sub-customer transactions to an existing project.
Merge a sub-customer with an existing project
- Go to Projects (Take me there).
- Find the project you want to merge your sub-customer with.
- Copy the name of the project.
- Go to Projects (Take me there).
- Find and select the sub-customer.
- Select the sub-customer's profile, then select Edit.
- In the edit window, change the Customer display name to match the project name exactly.
- Select Save.
Note: Your sub-customer info such as addresses, tax code, and payment and billing info won't transfer over to the project.


