What are tags and why should I use them?
Find out how tags and groups can give you better insights from QuickBooks Online. Or get started using tags.
To watch more how-to videos, visit our video section.

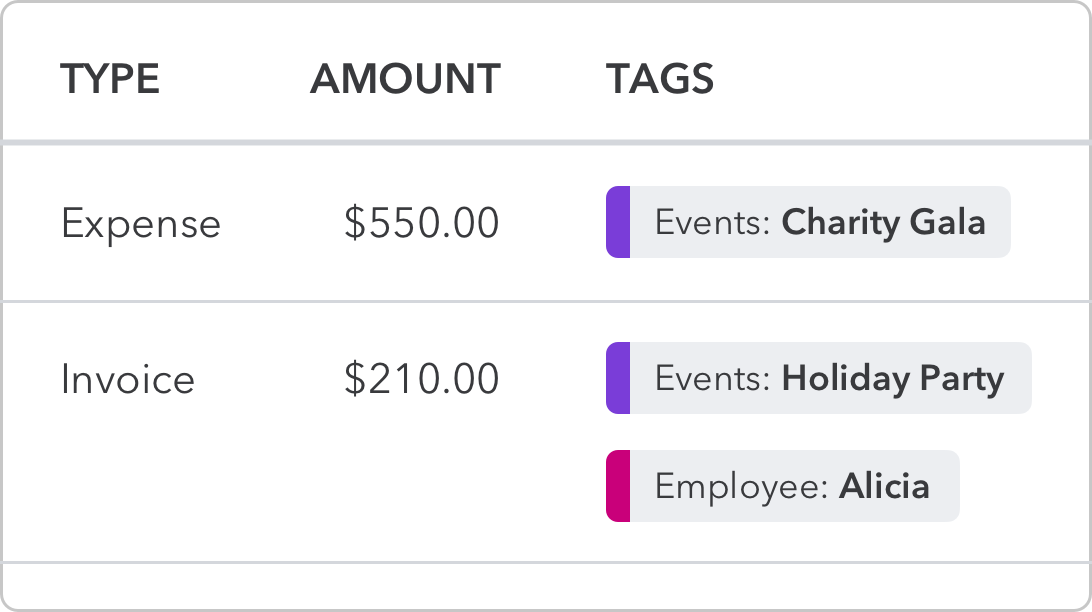
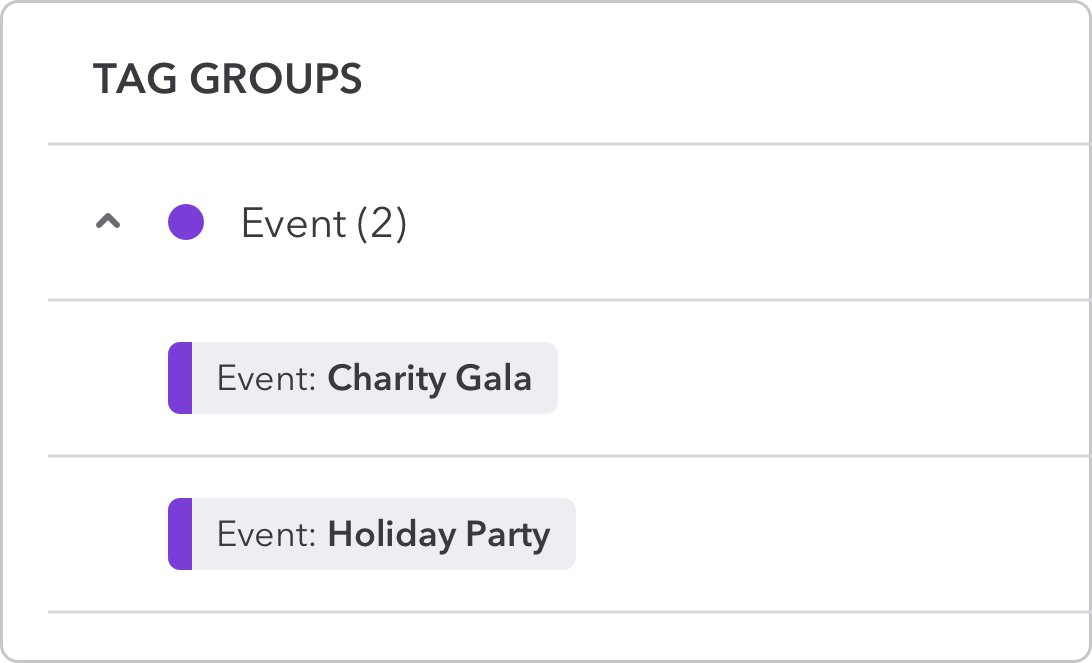
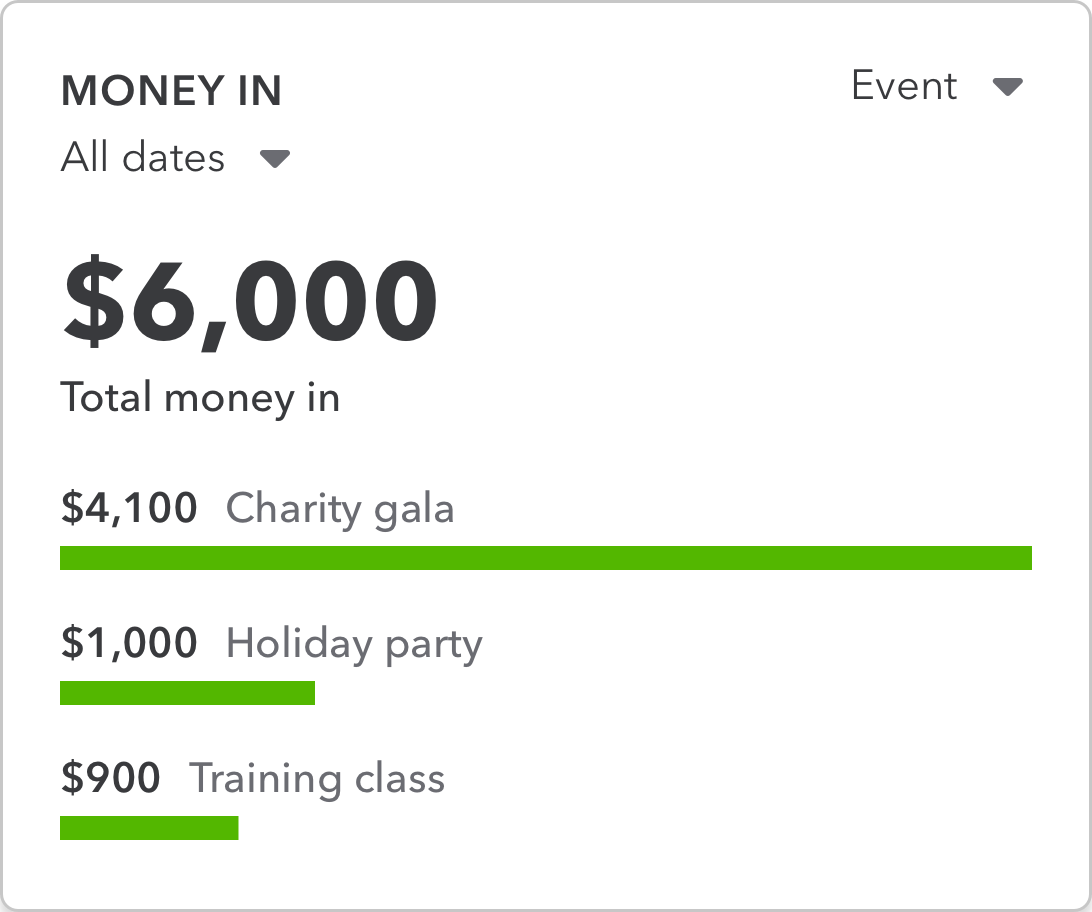
For example, let’s say you run an event company. You may want to see how much you earned and spent for each event. Your group and tags would look like this:

Here are detailed steps for how to tag any transaction.
To see and manage your tags, go to Settings ⚙ and select Tags.

What if I want to use more than one tag from the same group?
You can add as many tags as you like to a transaction. But you can only choose one tag per group.
What’s the difference between tags and categories?
Tags are more flexible. You can track things the way you want and they don't affect your books.
Categories are used on your chart of accounts and by accountants for sales tax purposes.
What's the difference between tags and classes?
Use classes if you need to group income and expenses for things like job costing, budgeting, or fund accounting. You can also use classes to track specific line items.
Tags track things at the transaction level.
If you want a simple way to track info you care about, use tags.
What’s the difference between tags and locations?
Use locations to track income, expenses, and assets for multiple sites or areas. Locations work well when you need to charge sales tax based on address.
How do I turn off tags?
- Go to Settings ⚙ and select Account and settings.
- Select Sales.
- In the Sales form content section, turn off Tags, then select Save.
- Select Expenses.
- In the Bills and expenses section, turn off the Show Tags field on expense and purchase forms, then select Save.
- Select Done.


