Merge classes in QuickBooks Online
by Intuit• Updated 6 months ago
You can merge classes by editing the class name and making it identical to the one you want to keep. By doing this, QuickBooks will combine the information and transactions that are classified into these classes. Also, please note that merging cannot be undone and is a permanent change.
To begin, you will have to identify which Class name you want to keep and which one to merge. Once done, you can now start merging the classes, here's how:
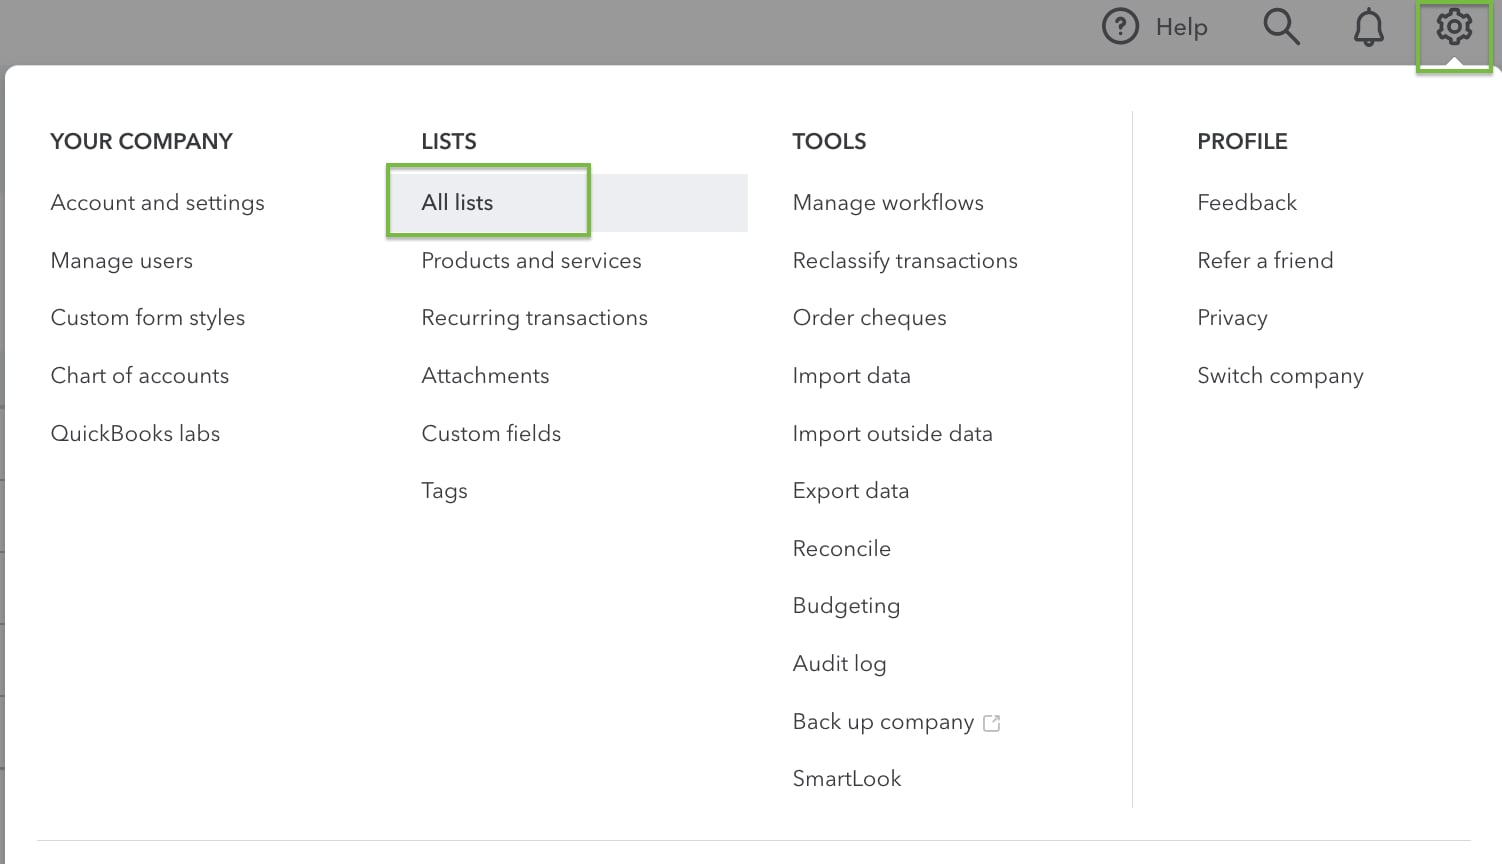
- Click the gear icon, then select All lists.
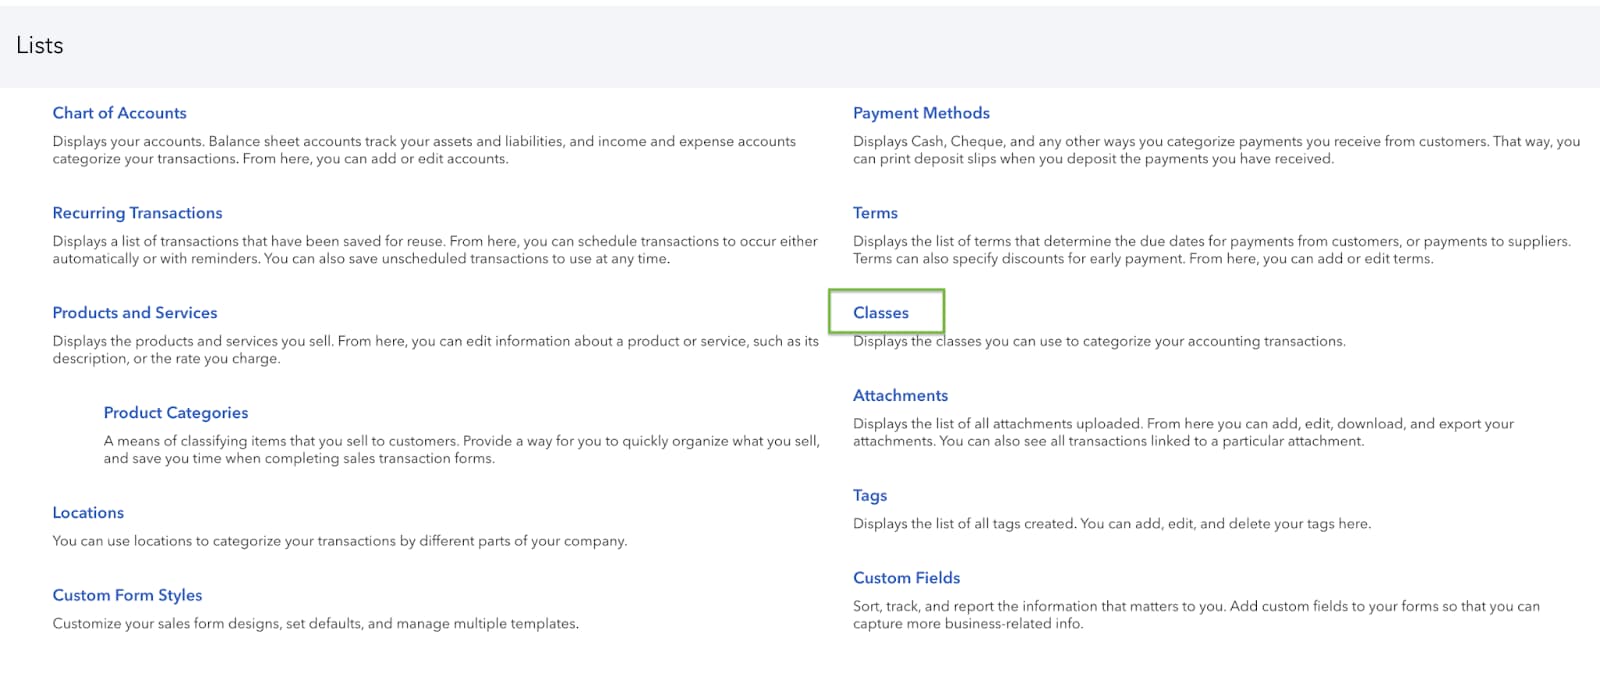
- Choose Classes from the list.
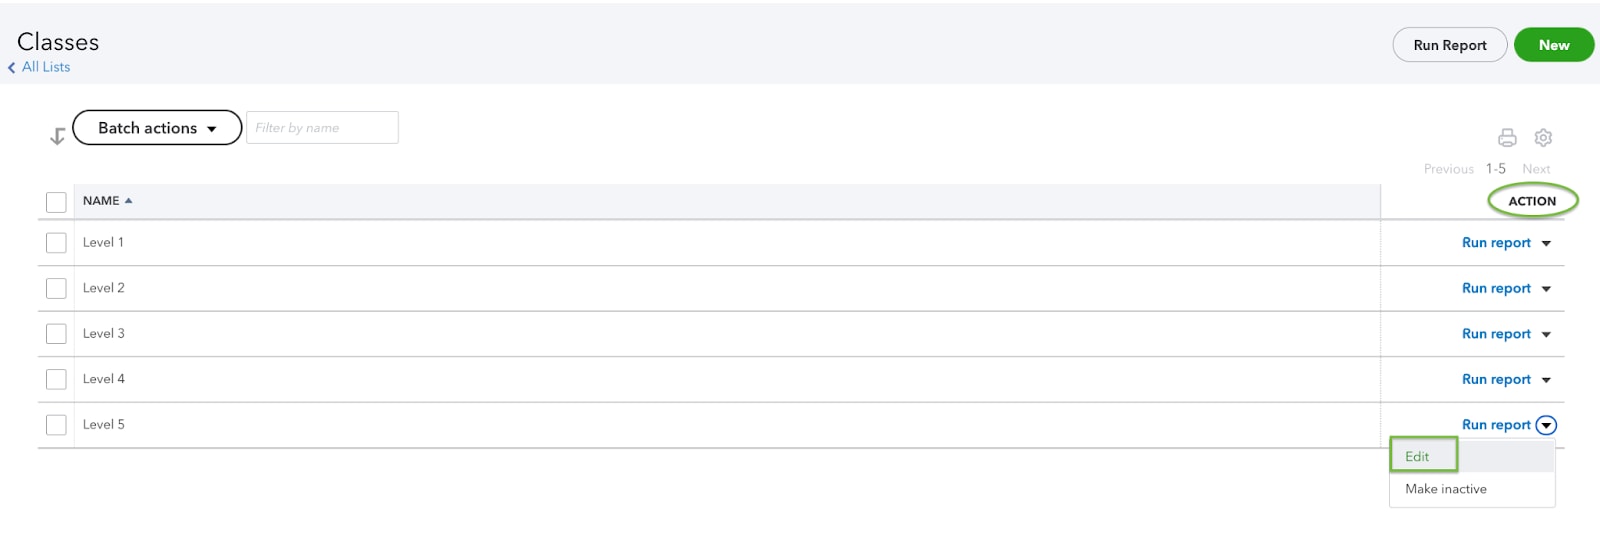
- On the page, select the class you want to merge and click Edit from the drop-down under the Action column.
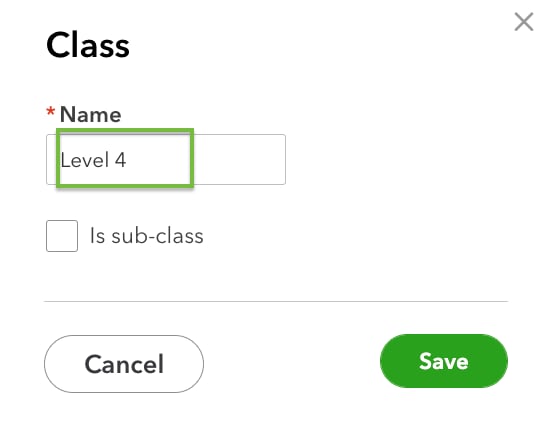
- Change the class name to the one you want to keep. Click Save.
- Click Yes to the prompt to confirm the merge.

- Follow the same steps for the rest of the classes you want to merge.
Sign in now for personalized help
See articles customized for your product and join our large community of QuickBooks users.
More like this
- Set up and use Multicurrency in QuickBooks Onlineby QuickBooks•251•Updated 1 month ago
- QuickBooks Online Supportby QuickBooks•346•Updated 4 weeks ago
- Create and manage classes in QuickBooks Onlineby QuickBooks•111•Updated June 10, 2024
- Add and manage users in QuickBooks Onlineby QuickBooks•453•Updated 3 weeks ago
- Merge duplicate accounts, customers, and suppliers in QuickBooks Onlineby QuickBooks•265•Updated 1 week ago