Access the attachment wizard
There are two methods to start attaching documents: from the right-click menu in a T2 return or from the ProFile top toolbar.
1. From the right-click menu, open the T2 return.
2. Right-click on the return or field.
3. Select Attach a Doc from the menu:
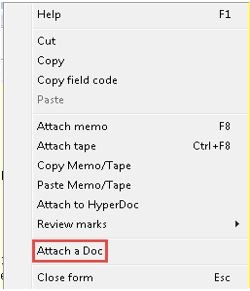
The attachment wizard displays.
4. From the ProFile toolbar, select the Attach a Doc… option from the EFILE menu in the top toolbar:
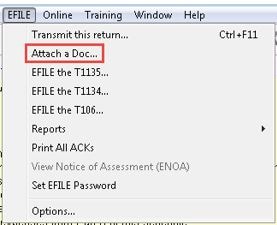
The attachment wizard displays.
Attach documents
The attachment wizard provides the ability to attach documents to a previously transmitted T2 return:
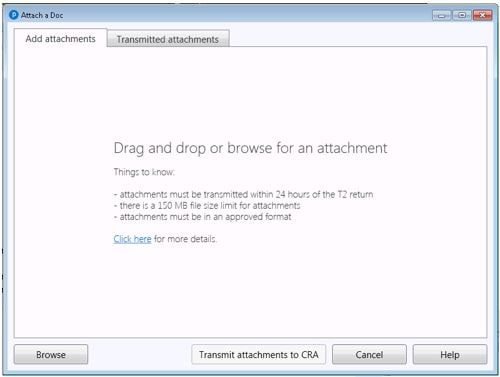
1. Select the Browse button; the browse window displays.
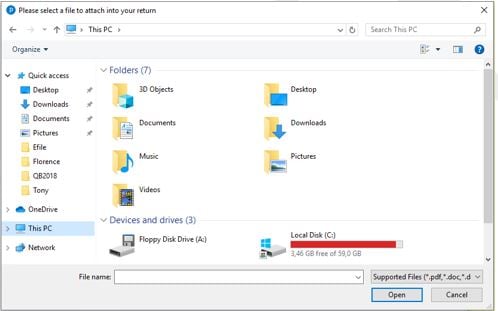
2. Navigate to the location of the file and select it.
3. Select the OK button. The Attach a file to return window displays with the file path and name of the document being attached.
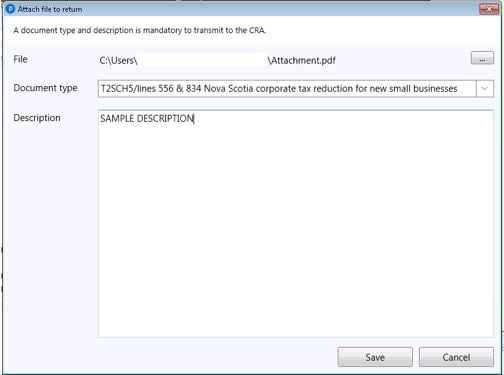
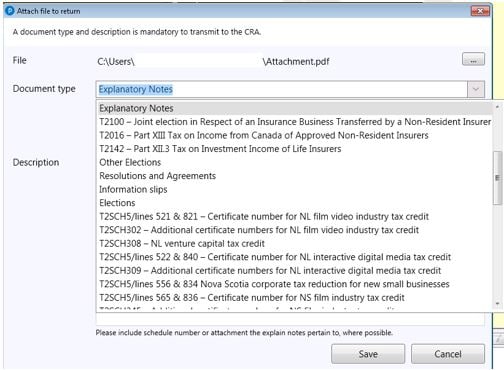
4. Select the Document type; the list pre-populates with document types accepted by the CRA for transmission. Start typing to see options or scroll down the list and make the selection.
5. Enter a brief description in the Description field. This is a mandatory field to meet CRA requirements.
6. Select the Save button.
The attachment wizard accepts the document and lists the NAME, DOCUMENT TYPE, and STATUS values.
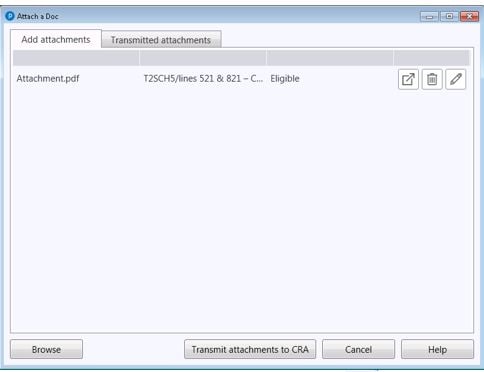
7. Use the ACTIONS icons to preview, delete, or edit the attachment description, if needed.
An attachment that fails to meet the requirements for transmission displays in red text:

Errors must be addressed prior to re-saving the window. Errors can include, but are not limited to:
- Special characters in the filename
- Failure to enter a description of the attachment
- The file was moved or deleted since being attached
See the section Troubleshoot attachment issues below for error examples and resolutions.
Transmit documents
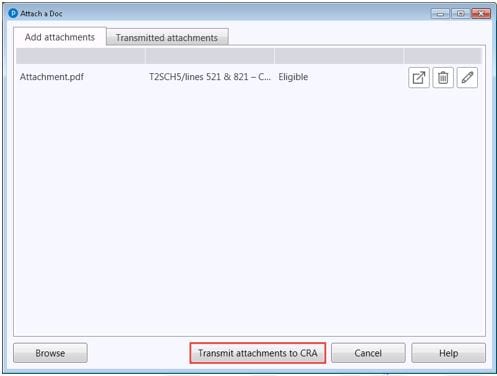
1. Ensure that all relevant files are included in the Add attachments tab of the attachment wizard.
2. Select the Transmit attachments to CRA button.
The Transmit attachment(s) to CRA window displays:
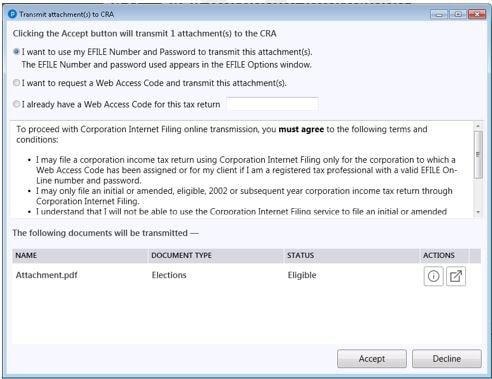
3. Select EFILE number and password or Web Access Code (WAC) as the method of transmission. If you require a WAC but do not have one, select I want to request a Web Access code and transmit the attachment(s).
4. Select the Decline button to end the transmission process. The attachment remains in the Add attachment(s) pane until submitted or deleted.
5. Select the Accept button to transmit. The Transmitting attachment(s) window displays.
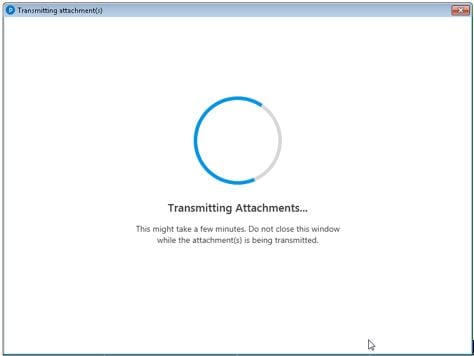
Note: Do not close the Transmitting attachment(s) window while transmission is underway. Larger files may take several minutes to complete transmission.
The Attachments(s) successfully transmitted window displays when the document successfully transmits:
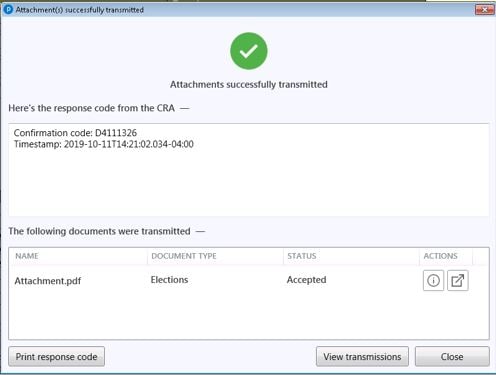
6. Select the Print response code button to view and print a record of the transmission for your records.
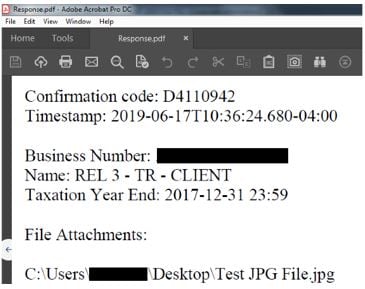
Note: The response code includes a timestamp that features the date of transmission (for example, 2019-06-17), the transmission time to the millisecond (for example, 10:36:24:680) and the time zone (for example, -04:00).
7. Select the View transmissions button to review transmissions and their status related to the T2 return.
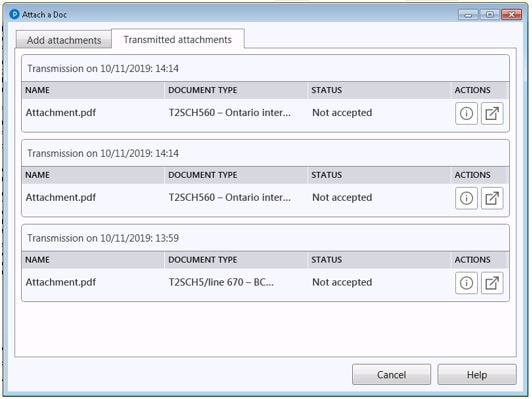
Failure to transmit attachments error
An unsuccessful transmission returns an error:
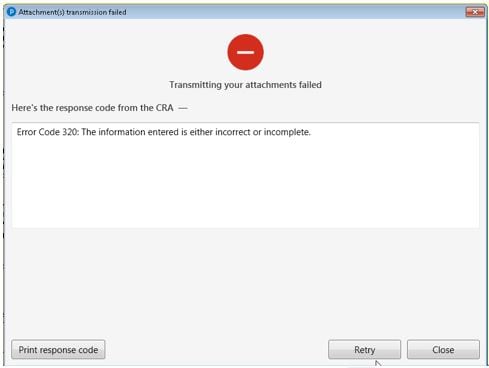
A CRA error code is provided as well as an explanation of the issue.
Address the issue (for example, the file is too large) and reattach and retransmit.
If the issue persists, contact the CRA’s Corporation Internet Filing Helpdesk.
Additional option for reviewing documents
The HyperDocs feature in ProFile allows users to review previously transmitted documents.
1. Open the T2 return.
2. Select the HyperDocs… option from the File dropdown menu in the top toolbar:
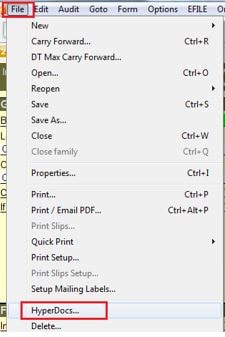
The HyperDocs window displays successfully transmitted attachments:
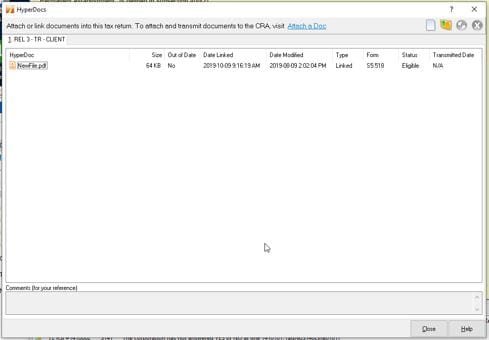
3. Select an attachment and click the red X button in the top-right corner to remove an attachment from HyperDocs. Alternatively, right-click on an attachment and select the Remove option from the menu.

The Confirm window displays:
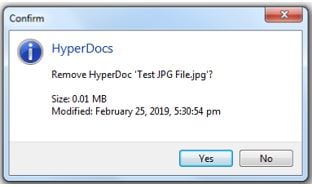
4. Select the Yes button to remove the attachment from HyperDocs.
A Confirm window displays if the attachment has not been successfully transmitted:
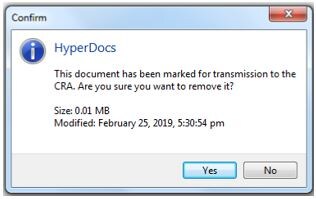
5. Select the Yes button to remove the attachment from HyperDocs.
The attachment is removed from the HyperDocs list.
Troubleshoot attachment issues
Incorrect document type
The following error indicates that the selected attachment type is not eligible for transmission:
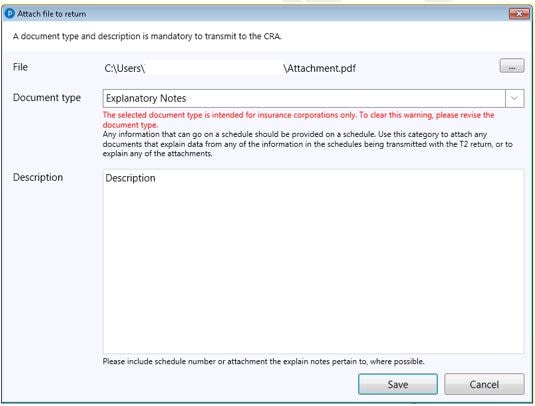
The solution is to select a file with a compatible file extension.
User did not select a document type or provide a description
The following error indicates that a document type and/or a description was not provided:
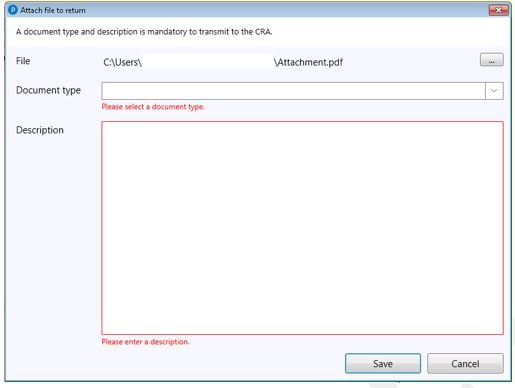
The solution is to ensure a document type and description are provided prior to saving this window.
The attachment contains special characters in the file name
The following error indicates that the file selected contains special characters in the file name that renders it ineligible for transmission:

The solution is to rename the file to exclude special characters.
A “File not found” error displays in the transmission window
The following error indicates that the file selected has moved or been deleted prior to transmission:
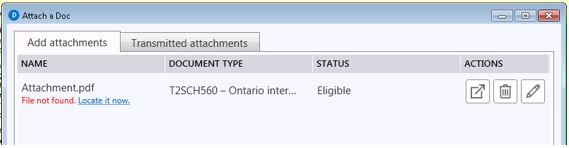
The solution is to restore the file to the path originally designated, or select the file again from its new location.