Accessing the attachment wizard
There are three methods to start attaching documents:
- Immediately after a TP1 ReFILE
- From the HyperDocs option in the File drop-down menu
- From the Attach a Doc… option in the EFILE drop-down menu
After a TP1 ReFILE
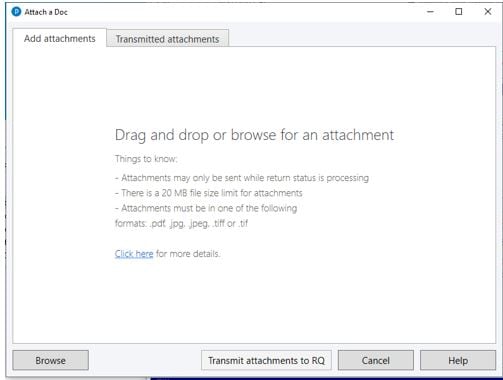
Immediately following a TP1 ReFILE, the user is prompted to transmit attachments to RQ in the following window:
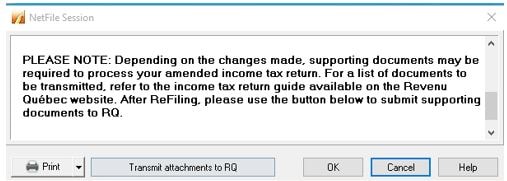
Click the Transmit attachments to RQ button.
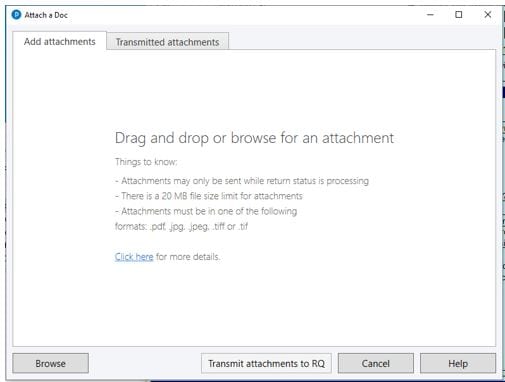
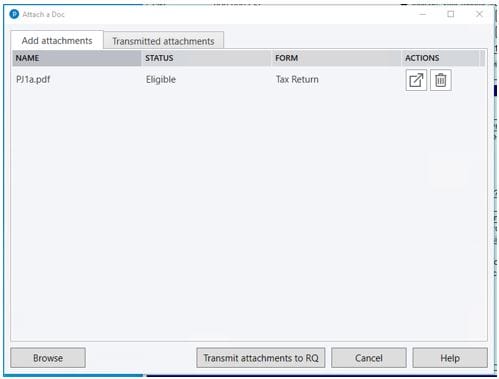
The Attach a Doc wizard opens:
From the HyperDocs option:
1. Open the TP1 return.
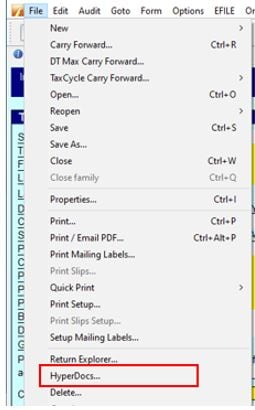
2. Select the HyperDocs… option from the File drop-down menu in the top toolbar:

The HyperDocs menu opens.
3. Click the Attach a Doc link.

The Attach a Doc wizard opens:
4. Continue to the Attaching documents section below.
From the Attach a Doc option:
Select the Attach a Doc… option from the EFILE menu in the top toolbar:
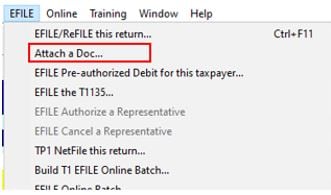
The Attach a Doc wizard displays:
Attaching documents
The Attach a Doc wizard provides the ability to attach documents to a previously transmitted TP1 return.
There are two options for selecting and attaching documents: drag-and-drop into the wizard or browse for documents.
Using the drag-and-drop option
1. Locate the document to attach.
2. Click and hold on the file.
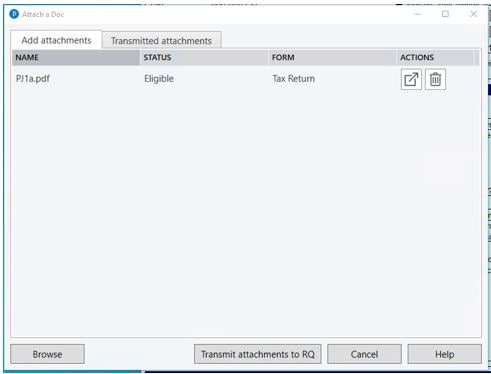
3. Drag the file into the Attach a Doc wizard; the document populates in the wizard.
Using the browse option
1. Click the Browse button in the Attach a Doc wizard. The browse window displays.
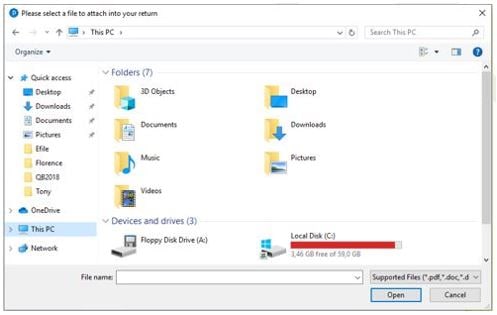
2. Navigate to the location of the document(s).
3. Click on the document(s) to attach.
4. Click the Open button; the document(s) populates in the wizard.
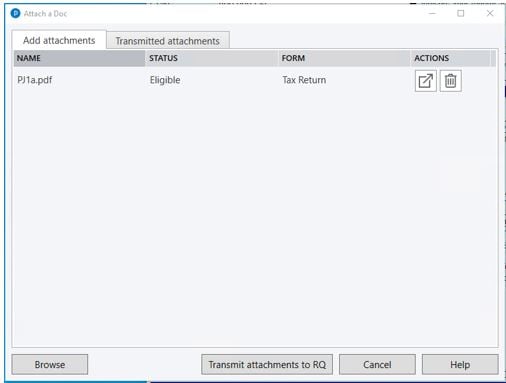
Using the ACTIONS options
The ACTIONS options display in the Attach a Doc wizard for any attached documents.
Use the ACTIONS icons to preview or delete the attachment description, if needed:
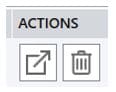
Click the arrow button to preview the attached documents.
Click the garbage can button to delete the document from the wizard.
Note: A deleted document is still in its original location; it is only deleted from the Attach a Doc wizard.
Errors when attaching documents
An attachment that fails to meet the requirements for transmission displays in red text.
Errors must be addressed prior to re-saving the window. Errors can include, but are not limited to:
- Special characters in the file name
- The file was moved or deleted since being attached
Transmitting documents
1. Ensure all relevant files are included in the Add attachments tab of the attachment wizard.
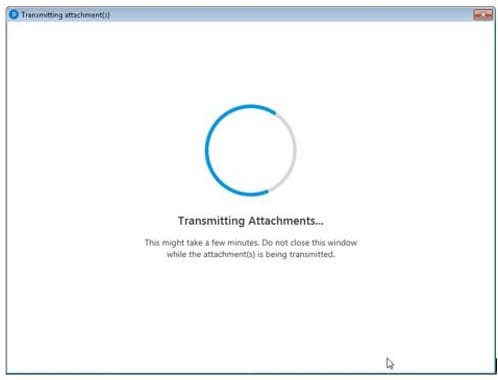
2. Click the Transmit attachments to RQ button:
The Transmitting attachment(s) window displays:
The Finalizing Submission window displays:
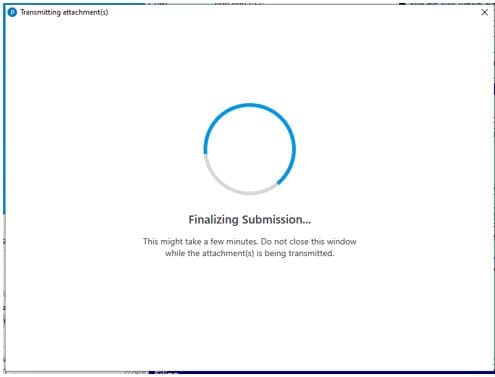
Larger files may take several minutes to complete transmission.
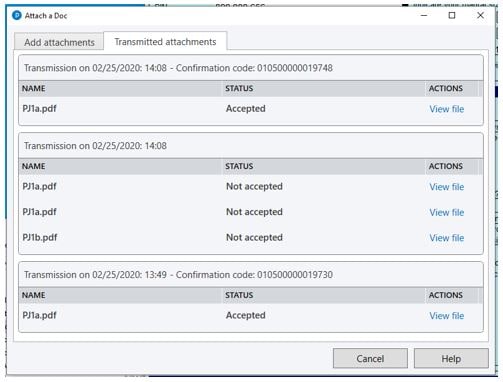
Note: Do not close the Transmitting attachment(s) window while transmission is underway. If a transmitting window is closed, the file(s) that were not successfully transmitted will still be in the Transmitted attachments list and listed as Not accepted:
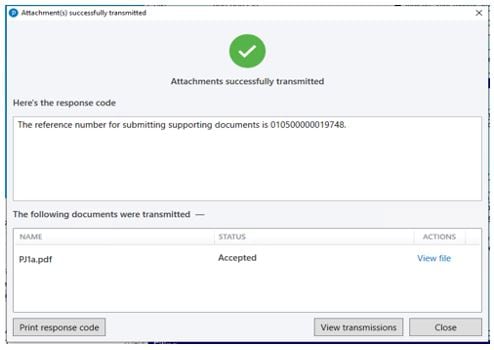
The Attachments(s) successfully transmitted window displays when the document successfully transmits:
Failure to transmit attachments error
An unsuccessful transmission returns an error:
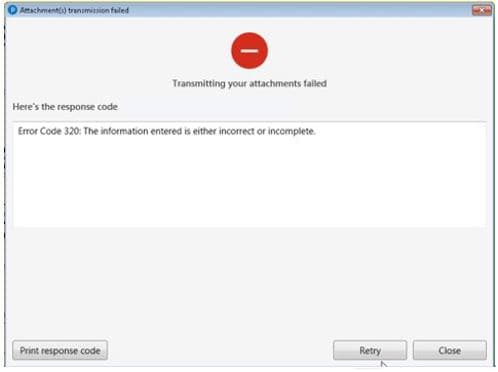
An RQ error code is provided as well as an explanation of the issue.
Address the issue (for example, the file is too large) and reattach and retransmit.
Viewing transmission results
There are two methods to review a transmission result and status:
- Under the File -> Properties menu
- Via the View transmission button
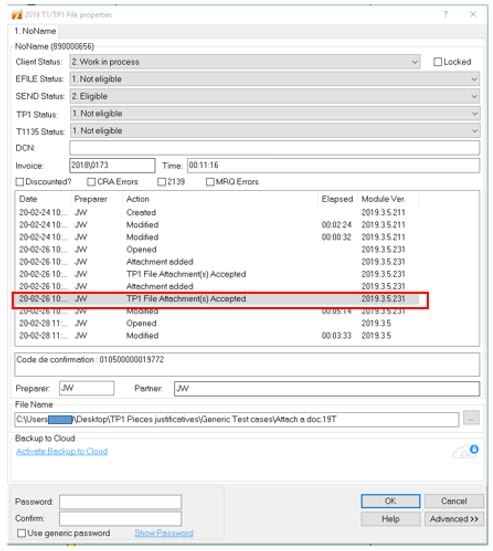
Under the File > Properties menu
1. Open the TP1 return.
2. Select the Properties option under the File drop-down menu. The T1/TP1 File properties window displays.
3. Review the transmission status in the window:
Via the View transmission button
4. Click the View transmissions button; a record of previous transmissions and status displays:
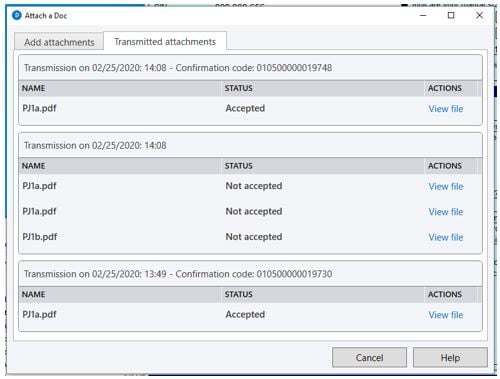
5. Click the View file link next to each submission to see the transmission information.
Printing a record of transmission
1. Click the Print response code button. The record of transmission opens in your assigned printer wizard.
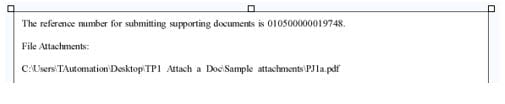
2. Print the record of transmission and save for your records.
Manage transmitted documents via HyperDocs
The HyperDocs feature in ProFile allows users to review and manage previously transmitted documents.
1. Open the TP1 return.
2. Select the HyperDocs… option from the File drop-down menu in the top toolbar:
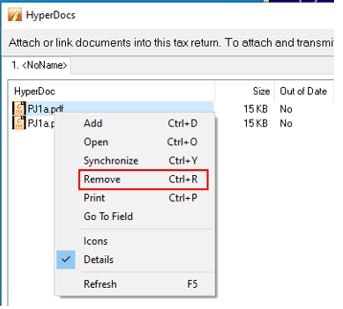
The HyperDocs window displays successfully transmitted attachments:

3. Select an attachment and click the red X button in the top-right corner to remove an attachment from HyperDocs:
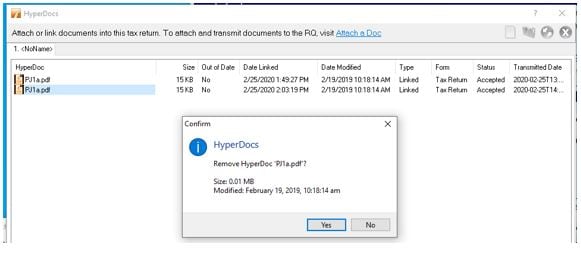
Alternatively, right-click on an attachment and select the Remove option from the menu:
The Confirm window displays:
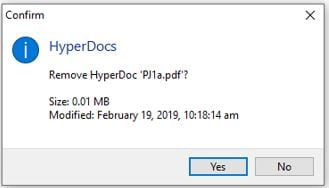
4. Click the Yes button to remove the attachment from HyperDocs.
The Confirm window displays if the attachment has not yet been successfully transmitted:
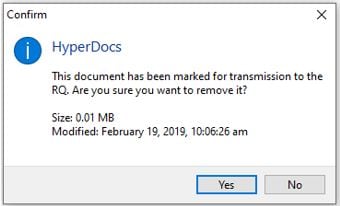
5. Click the Yes button to remove the attachment from HyperDocs.
The attachment is removed from the HyperDocs list.