Backup to Cloud is a ProFile feature that replaced the ProFile Review function.
ProFile users can safely and securely backup an unlimited number of files and returns on the cloud and retrieve the stored files at any time.
To learn more, please review the video below. The Backup to Cloud content begins at 1:55 of the video:
Back up a file to the Cloud
Set options for backup to the Cloud
The Backup to Cloud wizard displays upon starting ProFile:

1. Select the Environment Options link to set options for backup; the Environment Options window displays.
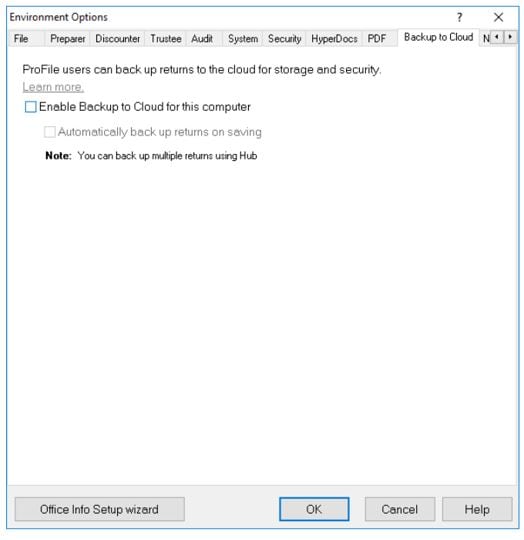
2. Navigate to the Backup to Cloud tab.
3. Select the Enable backup to Cloud for this computer option:
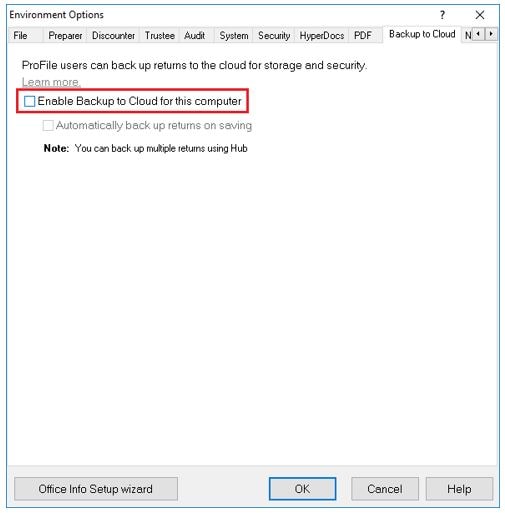
4. Select the Automatically back up returns on saving option to enable auto-backup; this is not a mandatory option but it ensures that any time the file is saved on the desktop that it is also backed up to the Cloud.
Back up a file to the Cloud
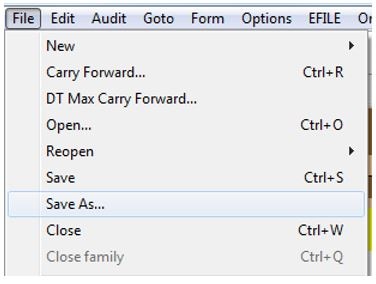
1. Open the file to upload in ProFile.
2. Select the Save As… option from the File drop-down menu in the top toolbar:
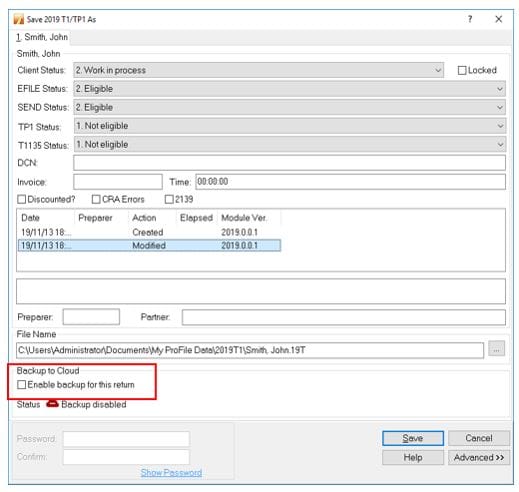
The Save As window displays.
If you selected the automatic backup option during setup, you now see a backup option when saving the file:

Note that the Enable backup for this file option is already selected.
3. Select the Ready to backup option.
4. Click the Save button.
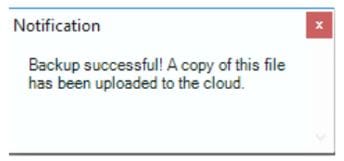
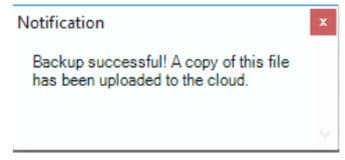
A confirmation message indicates the backup has been successful.
If you did not select the automatic backup option during setup, you will see an option when saving the file in the future to back up to the Cloud or save only to the desktop:
Users can either select the Enable backup for this file option, or leave it unselected.
5. Click the Save button; the file is saved either to the desktop only or to both the desktop and the Cloud.
A confirmation message indicates the backup has been successful.
Back up multiple files to the Cloud
Multiple files can undergo backup to the Cloud using the existing Hub feature in ProFile.
Note: Only T1 and T2 module files can undergo backup to Cloud via Hub. Other modules, such as T3 and FX, can only undergo backup via the Save As… option in ProFile.
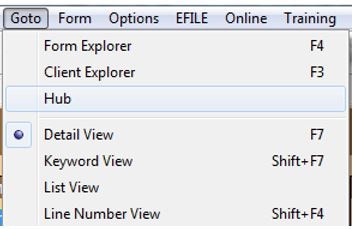
1. Select Hub from the Goto drop-down menu in the top toolbar:
The Hub backup wizard displays.
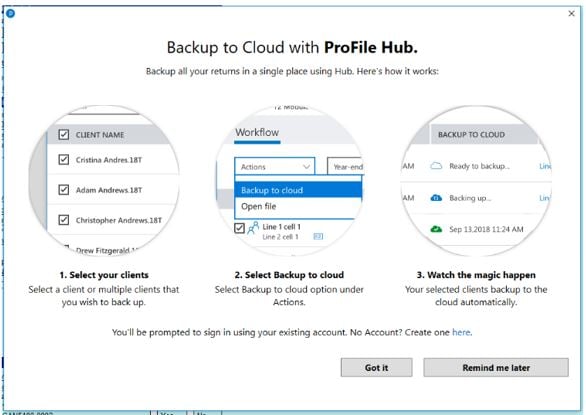
2. Click the Got it button to proceed after reviewing the wizard information.
A list of files saved in the local storage folder displays:
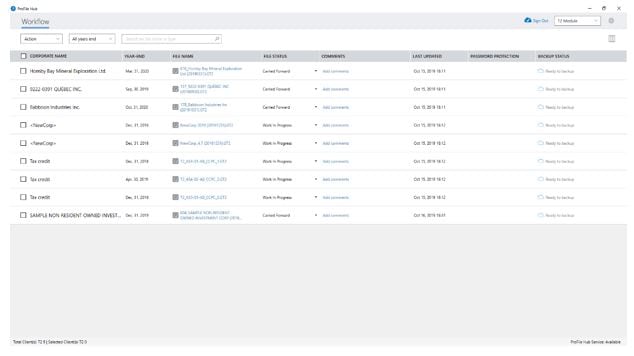
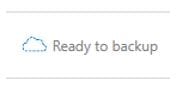
3. Review the BACKUP STATUS column. Files that are not backed up to the Cloud are designated as Ready to backup.
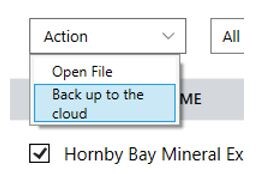
4. Select the files to back up to the Cloud.
5. Select Back up to the cloud from the Action menu.
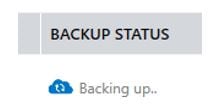
The file status changes to Backing up.
The files change status when back up is complete and display a timestamp of the most recent successful backup.

Review files backed up to the Cloud
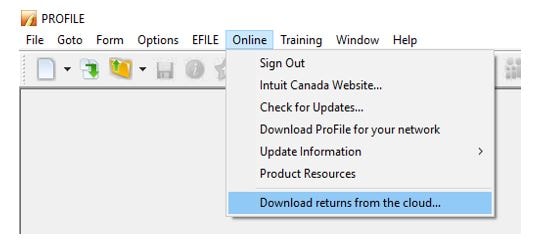
1. Select Download returns from the cloud… from the Online drop-down menu in the top toolbar:

2. Use your existing Intuit login name and password when prompted to sign in.
The Your returns in the cloud window displays.
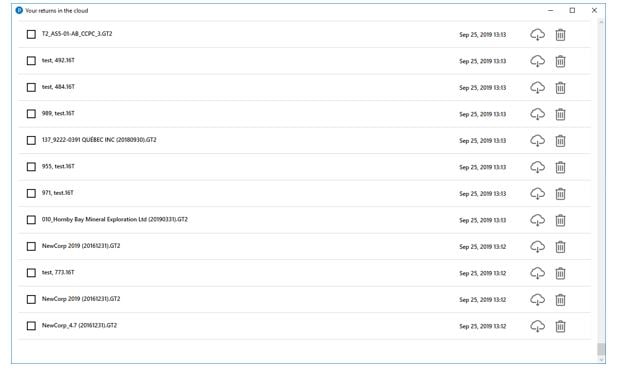
The Your returns in the cloud window lists all files currently backed up to the Cloud, including a time stamp of the most-recent successful back up in the LAST UPLOADED column.
Download or delete files from the Cloud
Select Your returns in the cloud from the Online drop-down menu in the top toolbar:
The Your returns in the cloud window displays.
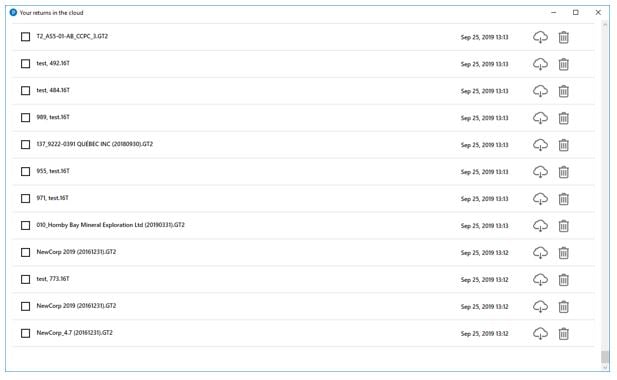
The Your returns in the cloud window lists all files currently backed up to the Cloud.
Users can:
- Select a file or files to download to the desktop
- Delete a file or files from the Cloud
Download files from the Cloud
1. Select the file or files to download.
2. Select the download icon (for a single file) or the Download option from the Action menu (for multiple files).
3. Select a destination for the file(s) in the Browse for Folder.
4. Click the OK button; the files download to the selected folder.
If the file(s) already exist in the selected folder, a confirmation displays.
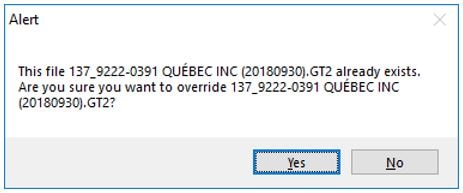
5. Click the OK button to download files from the Cloud and overwrite existing files.
Delete files from the Cloud
1. Select the file or files to download.
2. Select the icon (for a single file) or the Delete file(s) option from the Action menu (for multiple files).
A confirmation window displays:
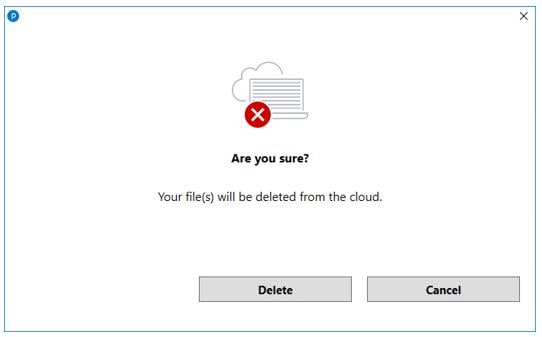
3. Click the Delete button; the file(s) delete from the Cloud.
Note: Deleting file(s) from the Cloud does not delete files from the local storage folder.