Intuit Link provides preparers with the ability to request responses and documents from clients and manage their replies and request status.
Request responses and documents
1. Navigate and log on to the Intuit Link site.
2. Select the Clients link on the left-side menu. The list of clients displays.
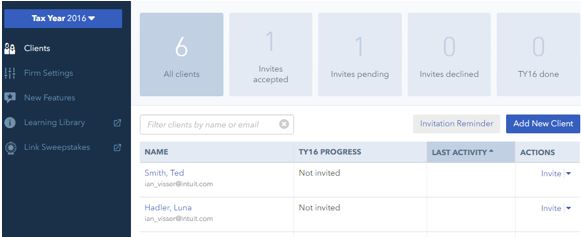
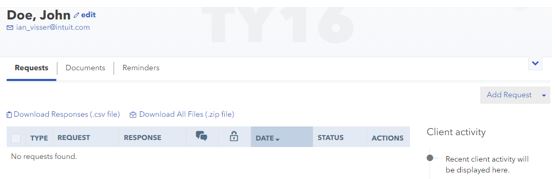
3. Select the client to request information and documents from. Their details display.

4. Select the Add Request button. The Add Request window displays.

Create a single request
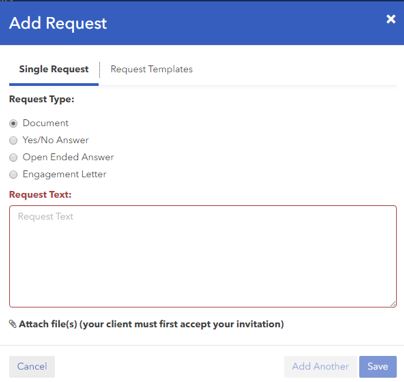
1. Select the Single Request option in the Add Request window.
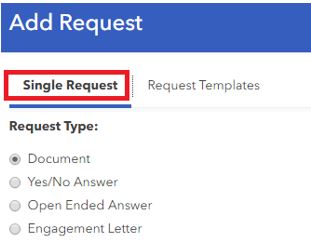
2. Select the Request Type from the menu. These options include:
- Document: A single document request made to a client, such as for a T1 form
- Yes/No Answer: A question made to a client, such as "Have you had any additional income?"
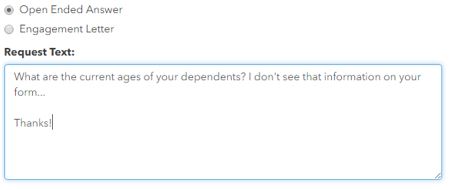
- Open Ended Answer: A question made to a client, such as "What is your new address?"
- Engagement Letter: A communication that provides for a broader, in-depth response from the client
3. Select the corresponding radio button for the request type.
4. Enter the text of the request into the Request Text field.
5. To include an additional request, select the Add Another button.
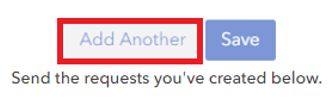
6. The first request saves as a draft under the client's details summary; you can now compose the next request.
7. Select the Save button when all requests are completed.
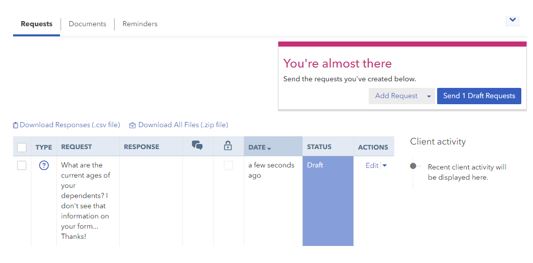
8. The request is saved in the client details summary. It displays the text, status, and creation date.
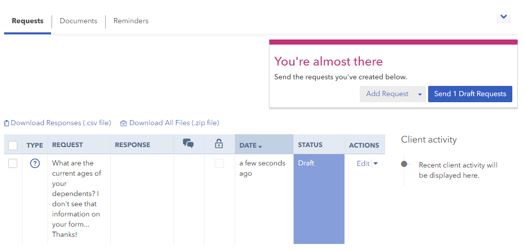
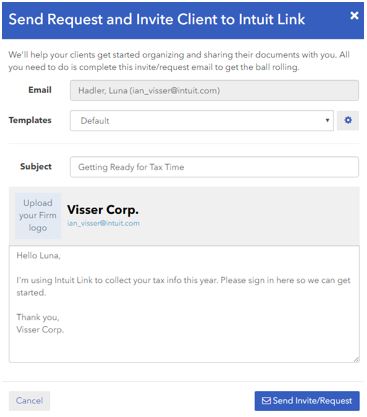
9. Select the Send 'X' Draft Requests button. The Send Request and Invite Client to Inuit Link window displays.

10. Review the content of the request. If correct, click the Send Invite/Request button. The request is sent to the client.
Create a request template
1. Navigate and log on to the Intuit Link site.
2. Select the Clients link on the left-side menu; the list of clients displays.

3. Select the client to request information and documents from. Their details display.
4. Select the Add Request button. The Add Request window displays.
5. Select the Request Templates option.
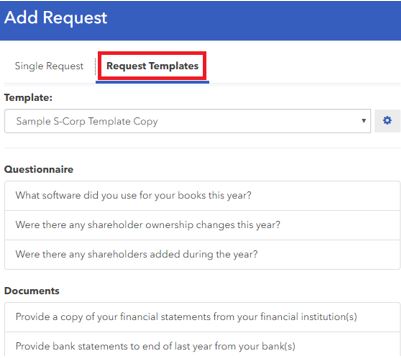
6. The Add Request window displays template types and their related questionnaire content.
7. To select a template, select the Template field down-arrow. The template options display.
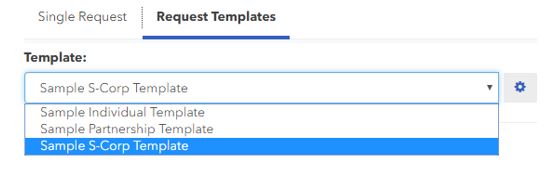
8. Select the choice of template from the menu. The Questionnaire field populates with pre-determined questions for the client.
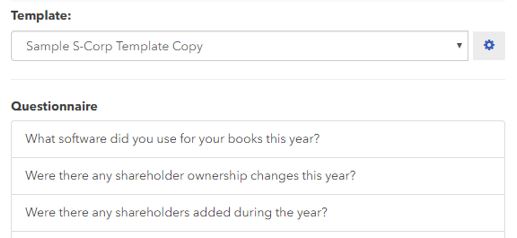
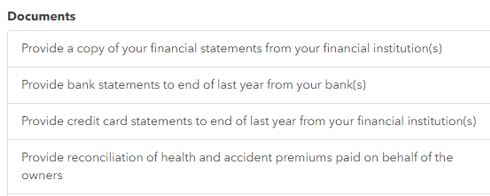
In addition, the Documents field populates with a pre-determined list of documents required by the preparer.
9. If the questions or documents tied to a template need to be altered, select the Gear icon next to the Template field. The Request Templates page displays.
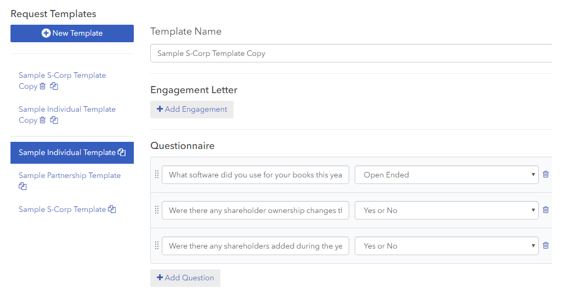
10. Select the template to be altered on the left-side menu. The individual questions assigned to the template display.
11. Select the down-arrow in the question type field to change the nature of a desired response.
12. Select the Garbage can icon to delete any unnecessary questions.
13. Select the +Add Question icon to add new questions to the template; a blank field displays to be populated with the new question and response type.

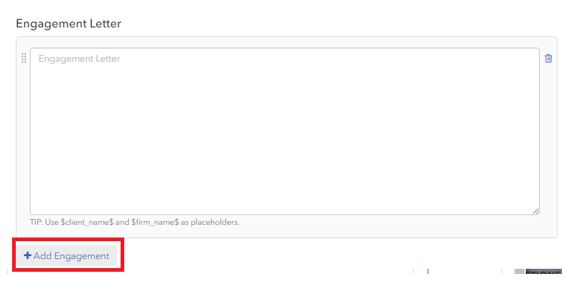
14. Select the Add Engagement button to add new communication field to the Questionnaire.
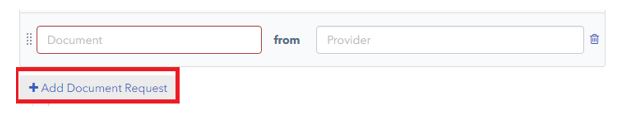
15. Select the Add document Request button to add a new document request for the client.
16. Select the Pages icon next to a template name. A new template is created that can be customized.
17. Select the Save button to save any changes.
18. The request is saved in the client details summary; it displays the text, status, and creation date.
19. Select the Send 'X' Draft Requests button.
20. The Send Request and Invite Client to Inuit Link window displays.
21. Review the content of the request. If correct, select the Send Invite/Request button.
The request is sent to the client.
Note: Requests cannot be bulk emailed and must be done individually.