There are two ways to carry forward previous year's returns using the Classic Database:
- Single carry forward (one return), including coupled returns
- Batch carry forward (multiple returns)
Single carry forward
- Select the Carry forward... option under the Database drop-down menu in the top toolbar. The Carry Forward window displays.
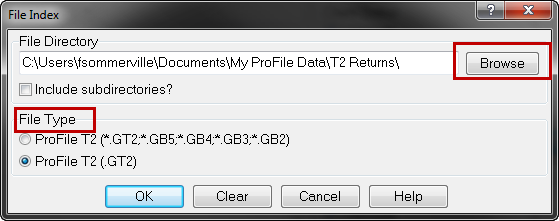
- Select the Index button. The File Index window displays.
- Select the file type to carry forward. The returns associated with the selected file type display.
- Select Browse. The Browse for Folder window displays.
- Navigate to the folder containing the previous year's files.
Note: It may be necessary to change the file type to see the previous year's files:
6. Select the file to be carried forward.
7. Select OK.
8. Repeat the previous step for each directory on your hard drive or network that contains files to be carried forward.
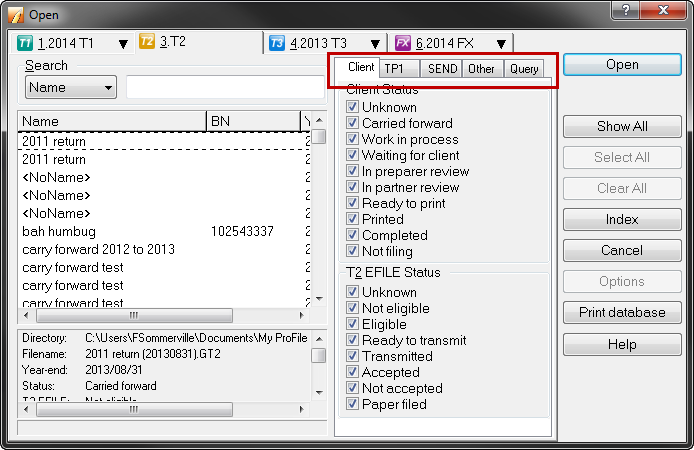
ProFile adds each of the files to the database. By default, all of the files in the database index appear in the file list.
To change which files appear in the list, modify the filters (for example, "Client", "TP1", "SEND", "Other" or "Query"):
8. Select a client name, and select Carry Forward.
Coupled return
If the file is coupled with a spouse's return (and the spouse appears in the index list), ProFile carries both of them forward and stores them in a single data file.
Batch carry forward
- Select the Batch carry forward... option from the Database dropdown menu in the top toolbar. The Batch Carry Forward window displays.
- Select Index. The File Index window displays.
- Select the file type to carry forward. The returns associated with the selected file type display.
- Select Browse. The Browse for Folder window displays.
- Navigate to the folder containing the previous year's files.
Note: It may be necessary to change the file type to see the previous year's files:
6. Select each of the files to be carried forward, or select the Select All button to select all files in the directory.
7. Select OK.
8. Select Carry Forward.
ProFile automatically sets the status for all the files included in the batch to carried forward.