Auto-fill my Return (AFR) is a secure CRA service. It allows authorized representatives to electronically request and receive certain tax information to fill in parts of their client's income tax and benefit return. ProFile offers the service for both single and multiple individual T1 returns.
Import data for a single individual T1 return
The tax preparer must have a valid authorization from the taxpayer to access the Represent a Client website. There are two ways to acquire this authorization:
- The taxpayer can access CRA's My Account service. Request that the taxpayer enter the Rep ID to authorize the Tax Preparer as an individual, a Group ID to authorize a group of representatives, or a Business Number (BN) to authorize all employees of a business.
- Request the permission of the taxpayer to file an Authorize a Representative form.
Before the Authorize a Representative form can be filed, the Tax Preparer must register a BN with the Represent a Client service.
Enter the Rep ID, Group ID or BN on the Authorize a Representative form.
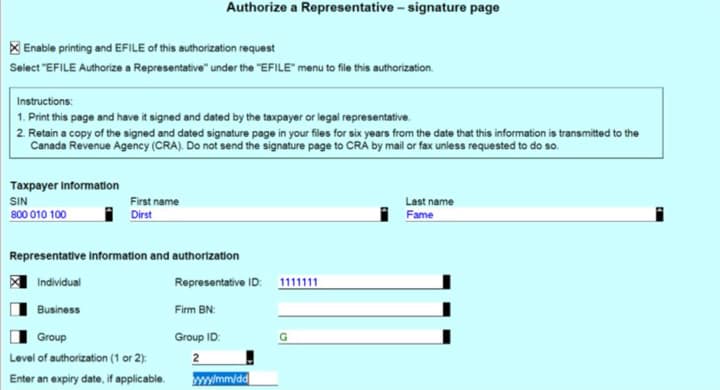
Note: All information must match what the CRA has on file. The return doesn't have to be completed before transmitting the Authorize a Representative form.
- Open or create a T1 return.
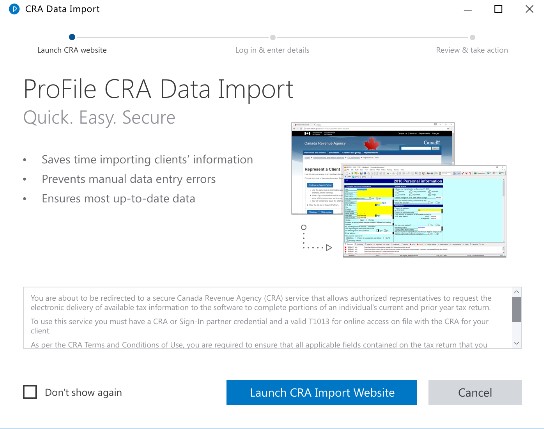
- Navigate to the File menu and select the Auto-fill my Return (AFR) option. ProFile opens the CRA Data Import Tool.

- Select the Launch CRA Import Website button. The CRA's Tax information web service launches in a separate browser window.
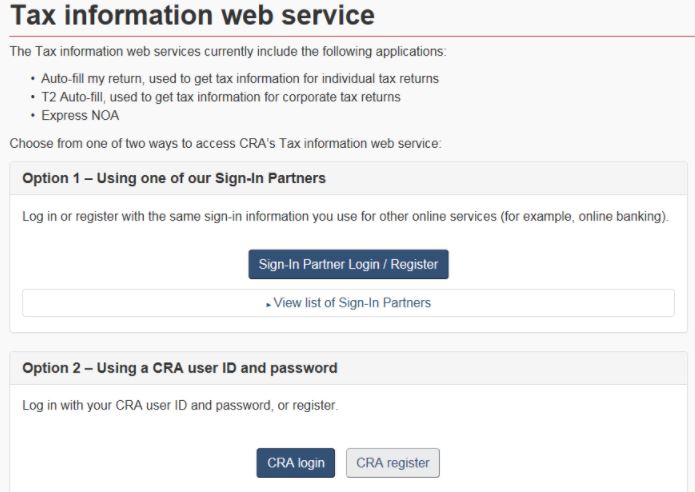
- Select the CRA login button under Option 2 - Using a CRA user ID and password. The CRA Login window displays.
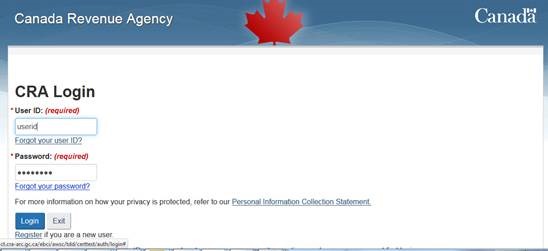
- Sign in to the CRA site.
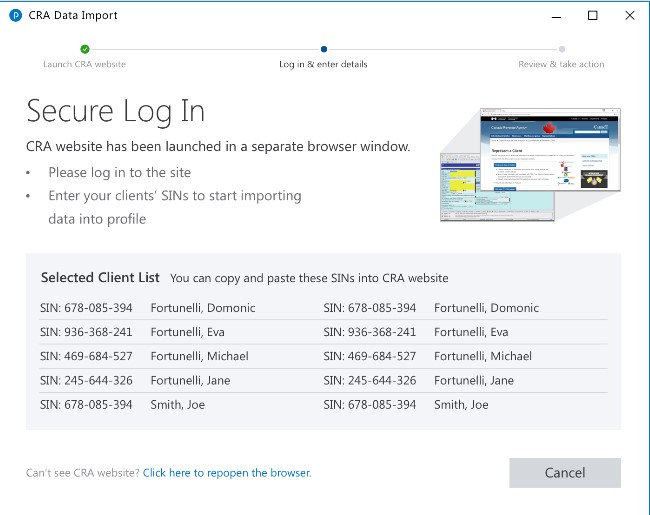
The CRA Data Import window lists the clients whose SINs can be entered into the CRA website.
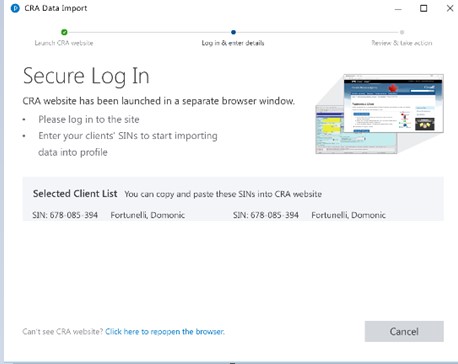
- Select the client.

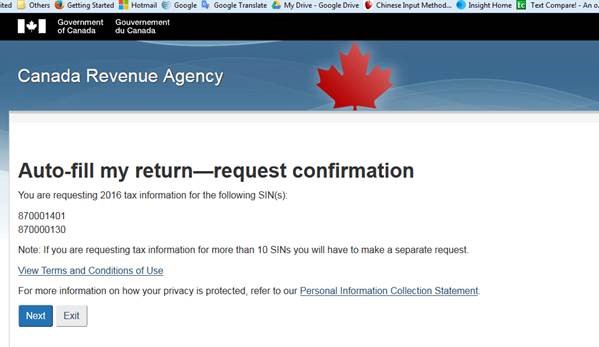
- Select the Next button to provide confirmation. The CRA system processes the request.
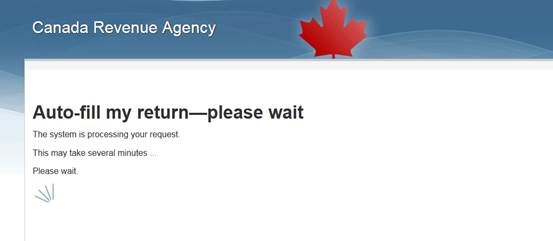
The CRA processing occurs simultaneously with the data import in ProFile. Users will also see the processing screen for CRA Data Import working.
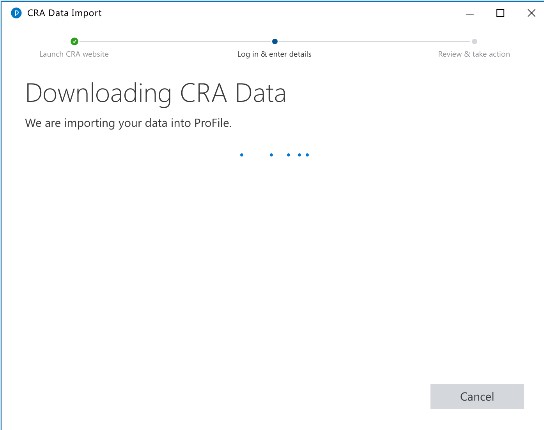
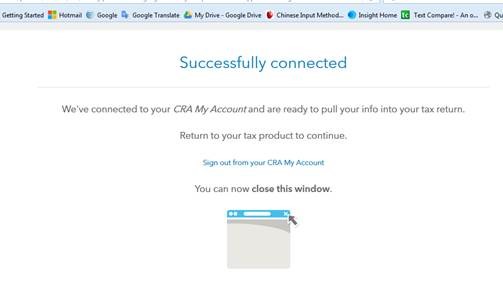
The Successfully connected message displays when the connection has been made between ProFile and CRA systems.

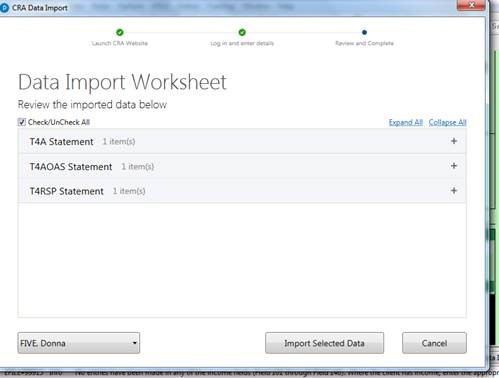
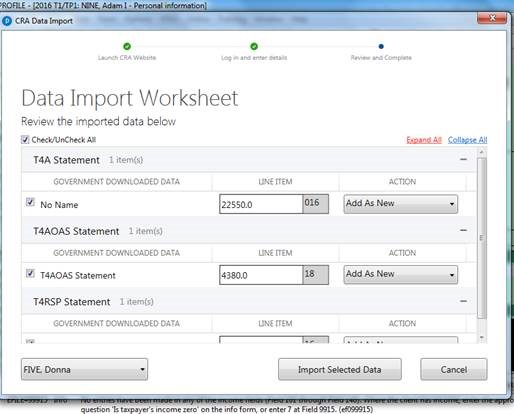
The ProFile Data Import Worksheet displays; the default display setting is the basic view.

- Select the + icon next to each statement to reveal the expanded view of the information, which displays more details.

- Review the data and forms to be imported. If correct, select the Import Selected Data button.
The import window displays a Data Import Completed message.
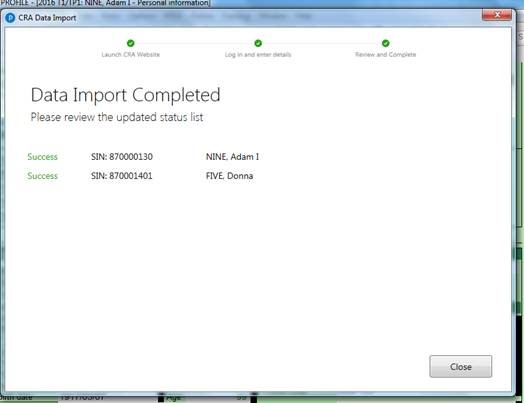
- Select the Close button.
- In ProFile, select the data to import by selecting individual boxes or selecting Select All for all the listed data types to be imported.
- Select Accept CRA Data auto-fill data into the taxpayer's return.
Note: To review the data imported, select the Data Import tab in ProFile's Auditor.
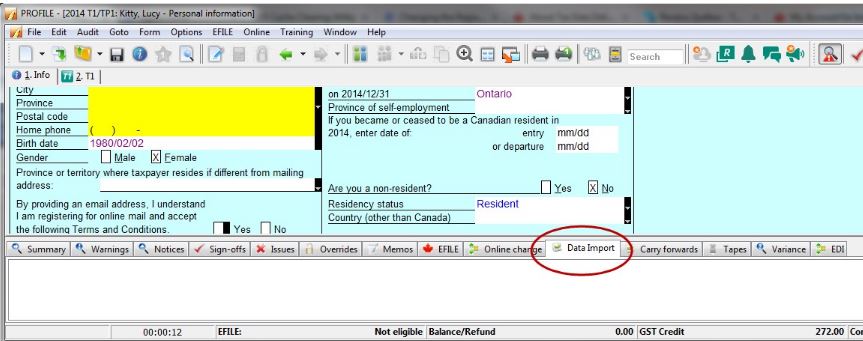
The imported data appears in purple within individual fields on the appropriate forms and slips.
Import data for multiple individual T1 returns
Note: Only the latest tax year is eligible to have data imported for multiple individual returns using Client Explorer. Previous tax years that support AFR must be have data import undertaken on an individual basis.
- Select the Launch CRA Import Website button; this launches CRA's Login in a separate browser window.
- Sign in to the CRA site.

The CRA Data Import window lists the clients whose SINs can be entered into the CRA website.
- Select the clients.
- Select the Next button to provide confirmation. The CRA system processes the request.
The CRA processing occurs simultaneously with the data import in ProFile. Users will also see the processing screen for CRA Data Import working.

The Successfully connected message displays when the connection has been made between ProFile and CRA systems.
The ProFile Data Import Worksheet displays; the default display setting is the basic view.
- Select the + icon next to each statement to reveal the expanded view of the information which displays more details.
- Review data and forms to be imported; if correct, select the Import Selected Data button.
The import window displays a Data Import Completed message.

- Select the Close button.
- In ProFile, select the data to import by selecting individual boxes or selecting Select All for all the listed data types to be imported.
- Select Accept CRA Data auto-fill data into the taxpayer's return.
Note: To review the data imported, click on the Data Import tab in ProFile's Auditor.

Note: For more details on importing government information into a return, search for the topic Import government data into a T1 return in the in-product Help feature.
Import Data for multiple T1 returns via the Client Explorer Database
- Open ProFile.
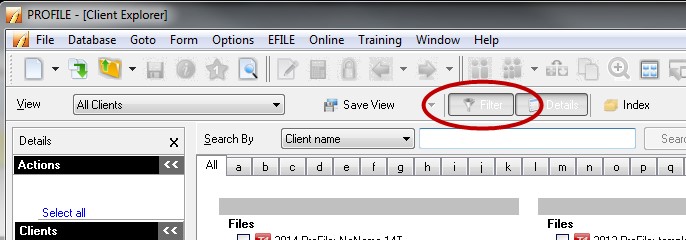
- Open the Client Explorer by selecting the Client Explorer option from the Go to toolbar menu, or pressing F3 on the keyboard.
- Select the Filter button to display the filter pane in the Client Explorer:
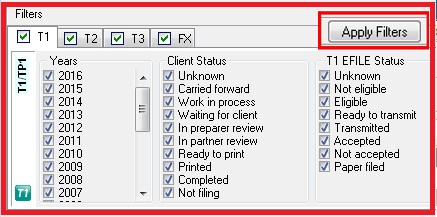
- Select the tab or module and filter the specific year for the query you'd like to run and select Apply Filters.
- Select the necessary returns from the filtered results. A maximum of 10 clients can be selected.
- Select the CRA Import option from the Database menu in the top toolbar menu.

ProFile opens the CRA Data Import Tool.
Additional resources
T5008 slips that are imported into ProFile with the AFR function are now grouped by financial institution and display greater detail than in the previous experience. Learn about the AFR T5008 Group Function experience.