Integrate Shopify contacts into QuickBooks Online with OneSaas
by Intuit• Updated 2 months ago
Learn how to send your contacts from Shopify to QuickBooks Online.
You have the option to choose between three different methods of sending your contacts to QuickBooks Online. We’ll explain how each of these works, and how to set them up.
How can I set this up?
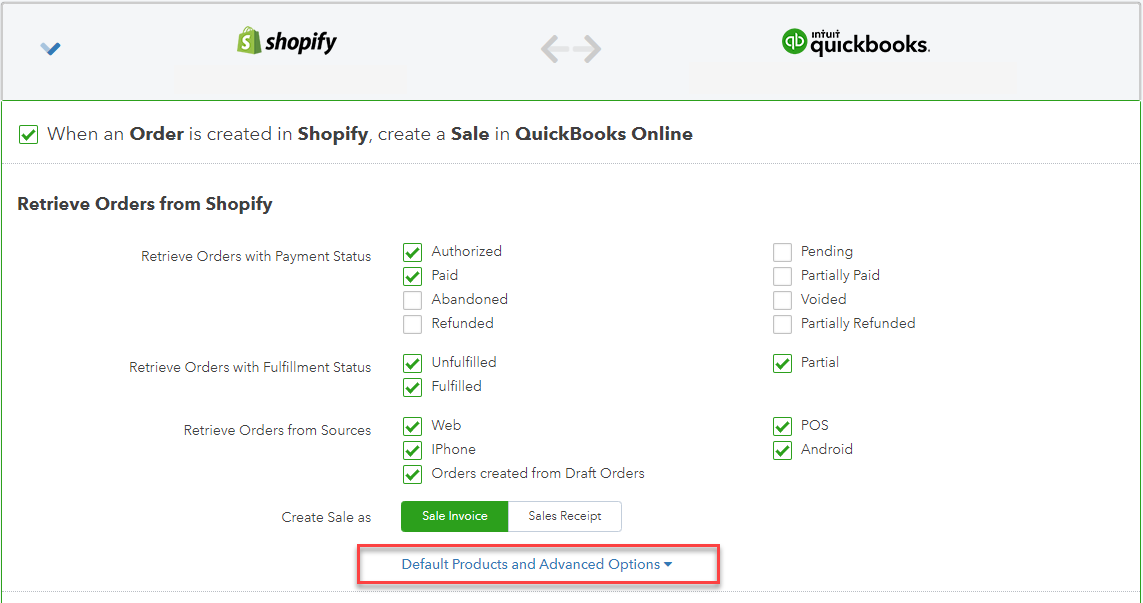
You'll find the option to change how we send your contacts on your configuration. You can access this by selecting Default Products and Advanced Options as seen in the screenshot.
Then, select an option at the Assign Sale to the on how you want to send your invoices.
| Option | Description |
| Original Customer | Choosing this option will send invoices to QuickBooks Online along with the contact details of the customer who created the invoice. This is great for users who would like to track all of their customers ordering details in QuickBooks Online. |
| Customer’s Organisation | This will send your invoices with the original customer's company/organisation details instead of the contact itself. This is useful for users who would rather track their customers on an organisation level, rather than contact by contact level. In the event that no company/organisation details are present, QuickBooks Connector will fall back to using the Original Customer details. |
| Generic Online Sales Customer | When using this option, we'll send all your invoices to your QuickBooks Online account with the same customer named in the following format: First Name: QuickBooks Online Last Name: QuickBooksaccount name (for example, My Online Store) This is useful for customers who wouldn't like their QuickBooks Online account cluttered with individual contact details. |