Ecwid and QuickBooks Online integration guide using OneSaas
by Intuit•1• Updated 4 months ago
Ecwid is an online platform that lets small business owners manage their stores and sell their products.
Here’s a step-by-step guide on how you can set up the integration between Ecwid and QuickBooks Online.
Connect
Begin by connecting your apps to QuickBooks Connector (OneSaas). If you haven't already connected your apps, follow our guides to connect Ecwid and QuickBooks Online.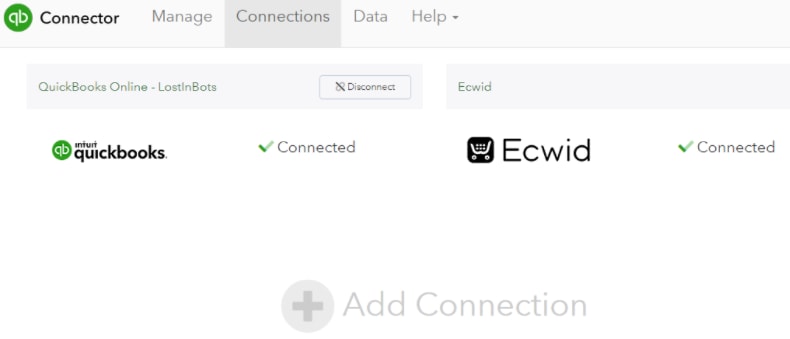
Configure
The configuration process below will present you with various options detailing exactly how you want your Ecwid and QuickBooks Online integration to work. You'll need to have some basic accounting knowledge to make sure that the integration settings are tailored to your business and accounting practices.
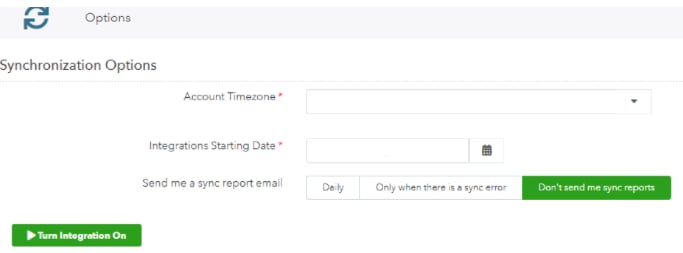
- You'll need to set up your synchronisation options before you can start configuring your workflows. You need to set up the following:
- Account timezone
- Integrations starting date
- Email sync report options
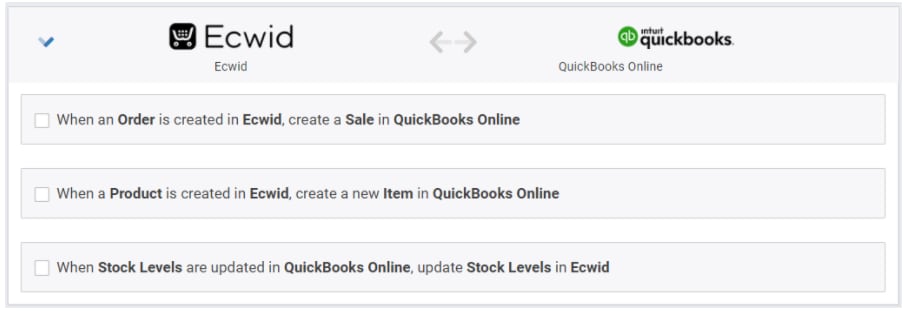
- You will be presented with workflows that are all optional. In this walkthrough, these workflows will be selected to demonstrate the full capabilities of the setup process.
- Sales from Ecwid will be sent to QuickBooks Online as an Invoice
- Products from Ecwid will be created in QuickBooks Online
- Stock Level Updates from QuickBooks Online will be sent to Ecwid
Invoice creation workflow
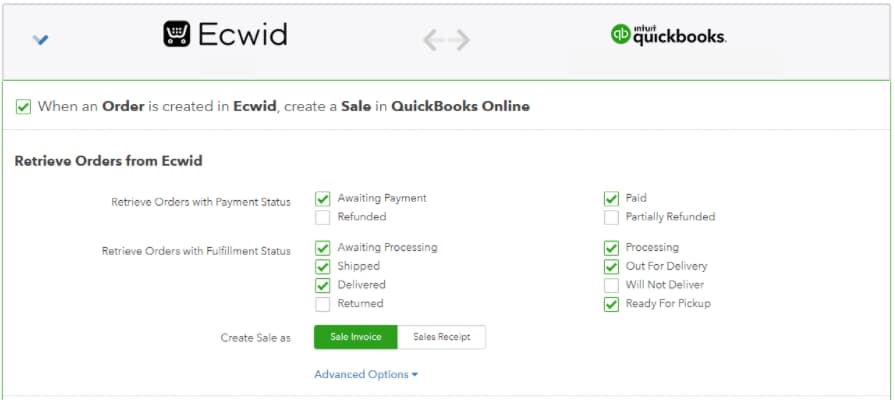
When you click the When an Order is created in Ecwid, create a Sale in QuickBooks Online checkbox, you will be asked to:
- Set up the filters to determine which orders will be retrieved from Ecwid. You will have to set up the filters based on the order status
- You also have the option to select whether you want the sale to be created as sales invoice or sales receipt to QuickBooks Online
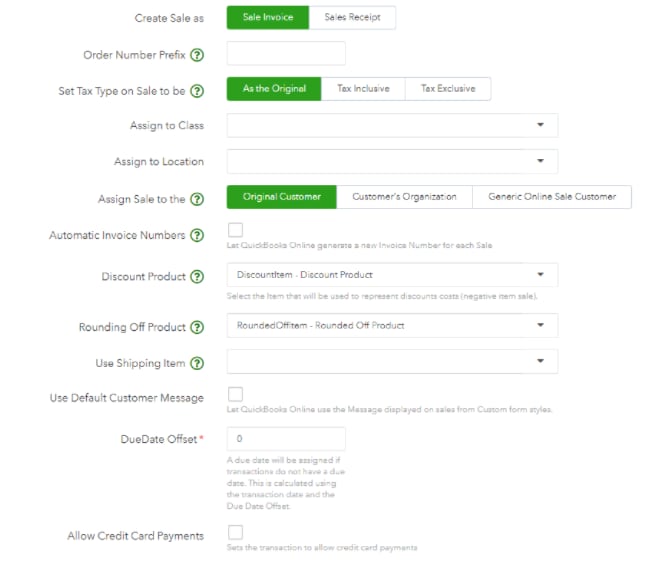
Select Advanced Options and set up the following:
- Order Number Prefix - The prefix you input here is added to all orders retrieved from your Ecwid account. For example: If you have order '1234' in Ecwid and you add the prefix 'EW' in the configuration, your order will be retrieved into QuickBooks Connector with the order number 'EW1234' and sent to QuickBooks Online accordingly.
- Assign Sales to Class / Assign Sales to Location - These two options allow you to choose a default class or location within your QuickBooks Online system. This is an option unique to QuickBooks Online, and only if you have set up classes or locations within your QuickBooks company file.
- Assign Sale to the - Most accounting systems require a customer record to be specified when a sales invoice is created. This particular option allows you to choose the nature of the customer record that is being created. The default option is Original Customer; however, if your Ecwid customers specify a company name and you prefer to have that appear within your accounting system instead, then you can opt for the Customer's Organisation option. Alternatively, if you do not want any customer records to be created within your accounting system at all you can select the Generic Online Sale Customer option, this means all sales will be synced to your Accounting system against a generic "Ecwid" customer record.
- Automatic Invoice Numbers - This option allows you to disregard the Ecwid order number completely, and use the sequential numbering convention within your accounting system.
- Discount Product - You can specify a dedicated discount 'Item' so you can track your discounts on sales.
- Rounding Off Product - Select the preferred product to be used when sending rounding discrepancies as a line item.
- Use Shipping Item - You may be charging your customers extra shipping charges on your sales. If this occurs, the integration can allow you to specify a dedicated "Item" to assign these shipping charges. This will allow you to easily track any revenue generated from shipping charges.
- Use Default Customer Message - This option will allow you to use the message that exists on the template in QuickBooks instead of having any notes populated from Ecwid.
- DueDate Offset - A due date type will be assigned if transactions do not have a due date. This is calculated using the transaction date, the Due Date Offset and the type specified. If not set, the transaction date is used as the due date.
- Allow Credit Card Payments - Check this option if you want to allow credit card payments for the transactions.
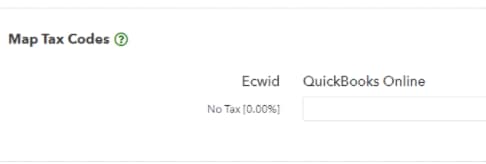
- Next, you'll be taken to the tax configuration page. Here, for each tax created/defined in Ecwid, you must select its corresponding tax code in QuickBooks Online. You can read more about tax configuration here.
- You can also select how you want to match your Ecwid products with your QuickBooks Online products. You can either match by name or SKU. In order for sales to properly integrate with your accounting system, we expect that you have all of your Ecwid items set up with unique SKUs.
Note: With QuickBooks Online integrations, we have two product matching options:- Name: We match the product's SKU field from Ecwid to the product's name field in QuickBooks Online
- SKU: We match the product's SKU field from Ecwid to the product's SKU field in QuickBooks Online

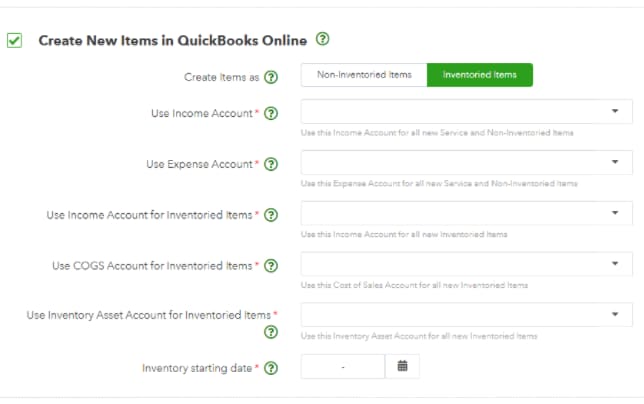
- Additionally, if you want the new items within your invoices from Ecwid to be created in QuickBooks Online, just simply select the Create New Items in QuickBooks Online checkbox. In this section, you'll have to select the income and expense accounts to be used for your inventoried and non-inventoried items. You can find more information on the integration of items here.
- You also have the option to select Create Credit Notes in QuickBooks Online. In this workflow, you will be asked to map a Fallback account from which the payment money is refunded. You will also be asked to input your preferred refund number prefix which will be appended before the refund receipt number.

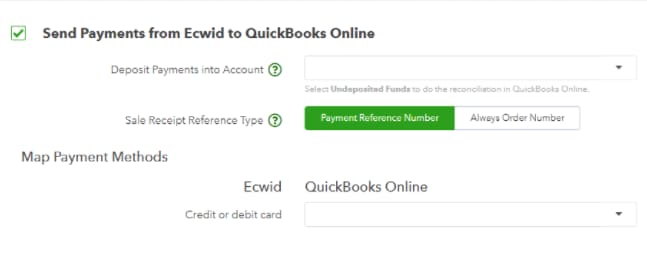
- Then, the Send Payments from Ecwid to QuickBooks Online settings will allow you to select whether you want payment data from Ecwid to be registered against your sales within QuickBooks Online.
- Don’t forget to select Save to keep your progress.
Product creation workflow
If you want all your new products from Ecwid to be created in QuickBooks Online, all you have to do is to select the When a Product is created on Ecwid, create new Items in QuickBooks Online checkbox. You'll have to select the income and expense accounts to be used for your inventoried and non-inventoried items. You can find more information on the integration of items here.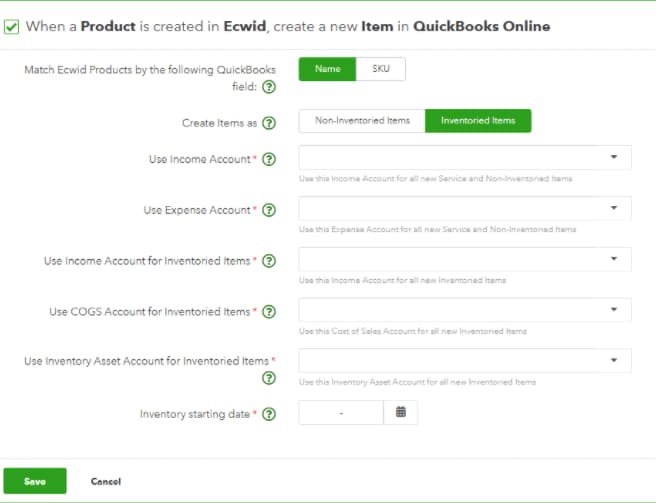
- Don’t forget to select Save to keep your progress.
Stock update workflow
When you select the When Stock Levels are updated in QuickBooks Online, update stock levels in Ecwid checkbox, you will be asked to select how you want to match the items to QuickBooks Online items either by name or SKU, then select Save.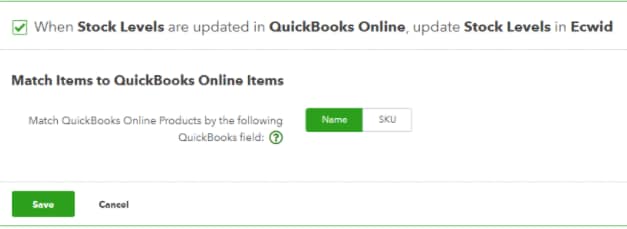
Note: This option should only be enabled if you have stock levels set up in QuickBooks Online prior to the integration. Otherwise, you will risk wiping out your Ecwid stock levels. Learn more more about our stock control process.
Sync
Your account is now ready to sync your data across your apps. When auto-sync is on, your account should sync every hour, but you can trigger a manual sync at any time. Just select Sync Now on the Synchronisation Options on top of your Manage tab.
If you have any questions, reach out to our Support team for help at any time.