Navigate the QuickBooks Connector (OneSaas) Interface
by Intuit• Updated 4 months ago
Learn more about the menu functions of QuickBooks Connector (OneSaas).
The following guide will be your complete tour through the QuickBooks Connector application.
Manage Tab
The Manage tab is the first thing you see when you log in to QuickBooks Connector after your initial setup. On this page, you can perform the following tasks:
- Turn automatic sync off or on.
- Run manual syncs using the Sync Now button.
- Configure your integration date and time zone. Check out managing your sync settings.
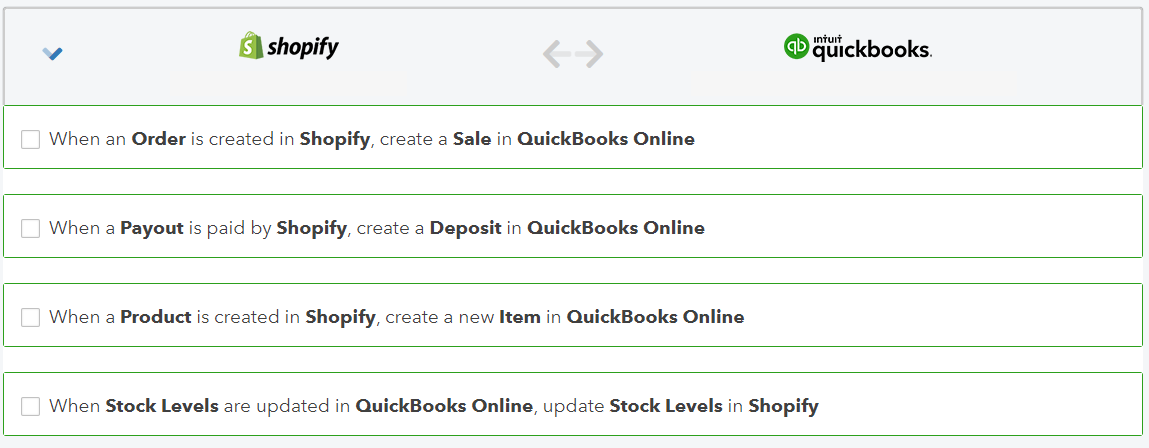
- Configure your integration workflows.

You can start the configuration process on the Manage tab. This is probably the most important part of your integration, as this is where you tell QuickBooks Connector how you would like the integration to behave. If you need a step-by-step guide for your configuration, you can find our integration guides here. - Viewing basic reporting data.
You are able to see some reporting data on the Manage tab. This will give you a basic overview of how your integration has performed in the last 24 hours. Any errors in your synchronisation will also appear in this section.
Below is an example of how this will look:
Connections tab
This is where you will see your connected systems in QuickBooks Connector. Guides on how to do this for every connector can be found here.
Data tab
Everything that you sync through QuickBooks Connector will be here for you to review. You will see the following data types:
- Orders/Invoices
- Contacts
- Products/Items
- Accounts & Payment methods
- Taxes
Help
For your convenience, we've provided you with an option to contact our support, or even access our whole help centre right within the QuickBooks Connector application.