After you connect your bank or download your transactions, QuickBooks looks for and tries to match them with existing transactions. If it can't find a match, it creates a new transaction record for you. You only have to approve the match or newly created transaction.
This article will show you how to:
If you use the QuickBooks Online app, follow these steps to categorise transactions.
Step 1: Find your transactions
QuickBooks downloads the latest available transactions every day–the specific time depends on your bank. You can also manually update your accounts anytime to get the latest available transactions:
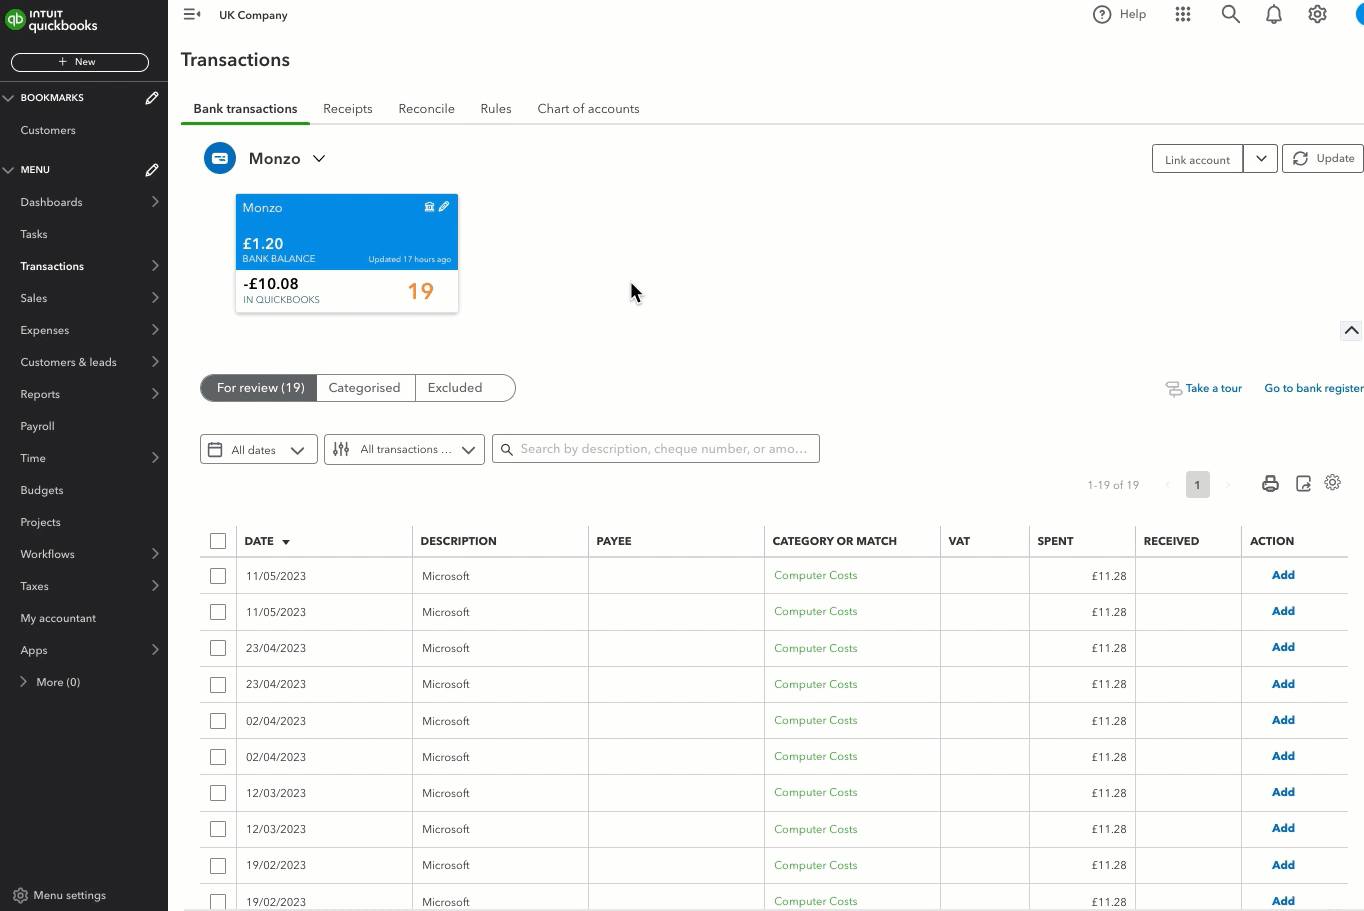
- Go to Transactions, select Bank transactions (Take me there).
- Select Update. This updates all of your bank and credit card accounts.
- Select the bank account or credit card tile that you want to search.
- Select the following tabs to see the different categories of transactions:
- Newly downloaded transactions will be in the For review tab.
- Recently categorised transactions will be in the Categorised tab.
- If you mark a transaction as personal or a duplicate, it goes to the Excluded tab. QuickBooks won't add excluded transactions to your accounts. If you want to include it, select Undo from the Action column.
Can’t find the transaction you’re looking for?
Note: QuickBooks Online won’t download pending transactions. It only downloads transactions when they’re no longer pending and are officially posted on the bank site.
1. Check your Account History and use filters
- Go to Transactions and select Chart of accounts (Take me there).
- Find the account you want to review. Then, in the Action column, select Account history.
- Select the Filter icon and select the filters you want to apply. You can use the Find field to search by amount, reference number, or memo.
- To remove a filter, select the X next to the filter name.
- Select Apply.
You can also edit each transaction from here.
- Find and select the transaction in the account register to expand the view.
- Make changes to the available fields.
- If you want to change something that is greyed-out, select Edit to open the full transaction form where you can make additional changes.
- When you're ready, select Save or Save and close.
Note: If the transaction you want to edit is marked with the letter R, this means the transaction has already been Reconciled. In order to edit it, select the field with the letter until the field becomes blank. Then select Save. You will now be able to edit this transaction
2. Check your uncategorised accounts
If you don’t categorise transactions into specific accounts, QuickBooks puts them into the Uncategorised Income or Uncategorised Expense account. To check these accounts:
- Go to Transactions and select Chart of accounts (Take me there).
- Look for the Uncategorised Income or Uncategorised Expense accounts.
- Select Run report.
- Look for your missing transaction in the report.
3. Reconnect your bank account
Transactions may go missing if the connection between your bank and QuickBooks Online has expired. This happens because the transactions cannot be pulled through until you authorise the connection again.
Follow these steps to reconnect your account.
(Back to top)
Step 2: Review and categorise your downloaded transactions
You can match, add, view or exclude multiple matches from the For review tab. Select the following headings to find what you need.
Tip: You can set up bank rules that will automatically classify transactions to help speed up the review process.
Note: The Enable suggested categorisation ⚙️ setting in the banking window helps to auto-categorise transactions with similar bank details.
Match an existing transaction
Match means QuickBooks has matched the downloaded transaction with the one you've already entered. This links them together so you don't get duplicates.
- Find a downloaded transaction with the Match option in the Action column.
- Note the Date, Description, Payee, and amount spent or received.
- Select the downloaded transaction to expand the view.
- Review the Matching records found in QuickBooks. This is the possible matching transaction you've already entered in QuickBooks.
- Select the link next to each match to get more details.
- Make sure this is the correct match. In particular, review the Deposit to, Payment method, or Bank account fields on forms for the existing transaction in QuickBooks. The fields you see may differ depending upon the transaction you're matching.
- If this is the correct match, close the open transaction.
- Select Match.
Why are there transactions that don't have a match?
If you find transactions without matches, it could be because:
- Dates don't match or are not close
- The bank account on the payment is not the same as the bank where the match is located (Or the connected bank account is set up as a credit card)
- The amounts don't match
- The payment has been reconciled
- Multicurrency issue with exchange rates
- It's already been matched to something else
- The transaction may be older than 6 months, you can select the Find Match option to find it
Add a new transaction
Add means QuickBooks didn’t find an existing matching transaction. Instead, it started a brand new transaction for you using the info from your bank or credit card.
All you have to do is make sure we haven’t missed anything and approve the addition
- Find a downloaded transaction with the Add option in the Action column.
- Select the transaction to expand the view.
- Review the recommended Category. This is the account QuickBooks wants to categorise the transaction into. For example, for a petrol expense, QuickBooks may suggest categorising it under expenses related to travel. You can always change the category and put it in a different account.
- Change the supplier or customer as needed. If you think you've already entered this transaction into QuickBooks, select the Find match option. Review the list of possible matches and select one if you find it.
- Review and add any other information that may be mandatory or missing.
- When everything looks good, select Add.
Add a product or service to a different type of transaction
When creating a new transaction in QuickBooks, it adds a new item to your accounts. You can include a product or service in different types of transactions, like a sales receipt.
Tip: Make sure you set up VAT before you add sales receipts.
However, if you manually add a sales receipt from the Banking page, you won't be able to select a product or service. This is because it's designed for quick additions when the transaction doesn't exist.
To change the product or service:
- For manually entered sales receipts, match it on the Banking page to display the chosen product or service.
- For quick-add transactions, open the transaction after adding it and manually update the product or service to the desired account instead of the default 'services' account.
Add CIS expenses/bills
It is not possible to enter an expense or bill with the CIS withholding amount included on the Banking page, as this may disrupt the calculation of the CIS amount. However, you can add expenses or bills manually and match the bank transactions.
View a transaction
View means QuickBooks has found more than one potential match. All you have to do is pick the right one:
- Find a downloaded transaction with the View option in the Action column.
- Select View.
- Review the Matching records found in QuickBooks. These are the possible matching transactions you've already entered in QuickBooks.
- Select the link next to each match to get more details.
- Make sure one of these is a match. In particular, review the Deposit to, Payment method, or Bank account fields on forms for the existing transactions in QuickBooks. The fields you see may differ depending on the transaction you're matching.
- Compare the potential matches.
- When you find the correct match, close the open transactions.
- Select the correct match and then select Match.
Exclude a transaction
Excluding a transaction can affect your ability to reconcile your account, as it will not appear in any of your accounts or financial reports.
There may be scenarios where you might need to exclude duplicate transactions or personal expenses. It's always best to check with your accountant or bookkeeper if you're unsure about how to handle personal expenses or any other type of transaction.
- Go to Transactions, select Bank transactions (Take me there).
- Select the For review tab.
- Select the checkbox of the transactions to exclude.
- Select Exclude. The transaction moves to the Excluded tab of the Banking page.
- Tip: If you accidentally exclude the wrong transaction, just select the Excluded tab, select the checkbox for the transaction, then select Undo. The transaction goes back to the For review tab so you can decide what to do with it again.
For more information, see our article about Excluding transactions.
(Back to top)
Step 3: Review matched or added transactions
After your match or add downloaded transactions, it's always a good idea to check that everything is in order and recorded accurately in QuickBooks.
- Go to Transactions, select Bank transactions (Take me there).
- Go to the Categorised or Reviewed tab.
- Select the link in the Added or Matched column to review the transaction.
Split transactions between multiple accounts
You can split transactions, such as a large business travel expense, between multiple accounts for better tracking.
- Go to the For review tab.
- Select the downloaded transaction to expand the view.
- If the option in the Action column is Match, change the Find match to Categorise.
- Select Split next to the Add button.
This opens the Split transaction window.
- From Category dropdown, select the categories (the accounts) you want to split the transaction into.
- Enter an Amount for each split.
- Select a Customer or Received From for each split.
Note: The fieldname may vary depending on the transaction. - When you're done, select Apply and accept.
(Back to top)
We're here to help
If you're confused about how to review, match or categorise transactions, or need help with manually uploading them, let us know. Sign in to QuickBooks and start a discussion with a qualified QuickBooks Online expert in the community.