Welcome to QuickBooks Online!
This article will help you get familiar with some of the main features in QuickBooks Online. You’ll also find links to other how-to articles so you can get your business up and running.
You'll learn how to:
- Get to know your dashboard
- Personalise your company info and product features
- Connect your bank and credit card accounts
- Import your data
- Set up VAT
- Customise and send invoices
- Add and manage users
- Run and customise reports
- Find out where to get more help
Not signed up yet? Sign up for QuickBooks Online.
Ready to get started? Check out our introduction to QuickBooks Online video.
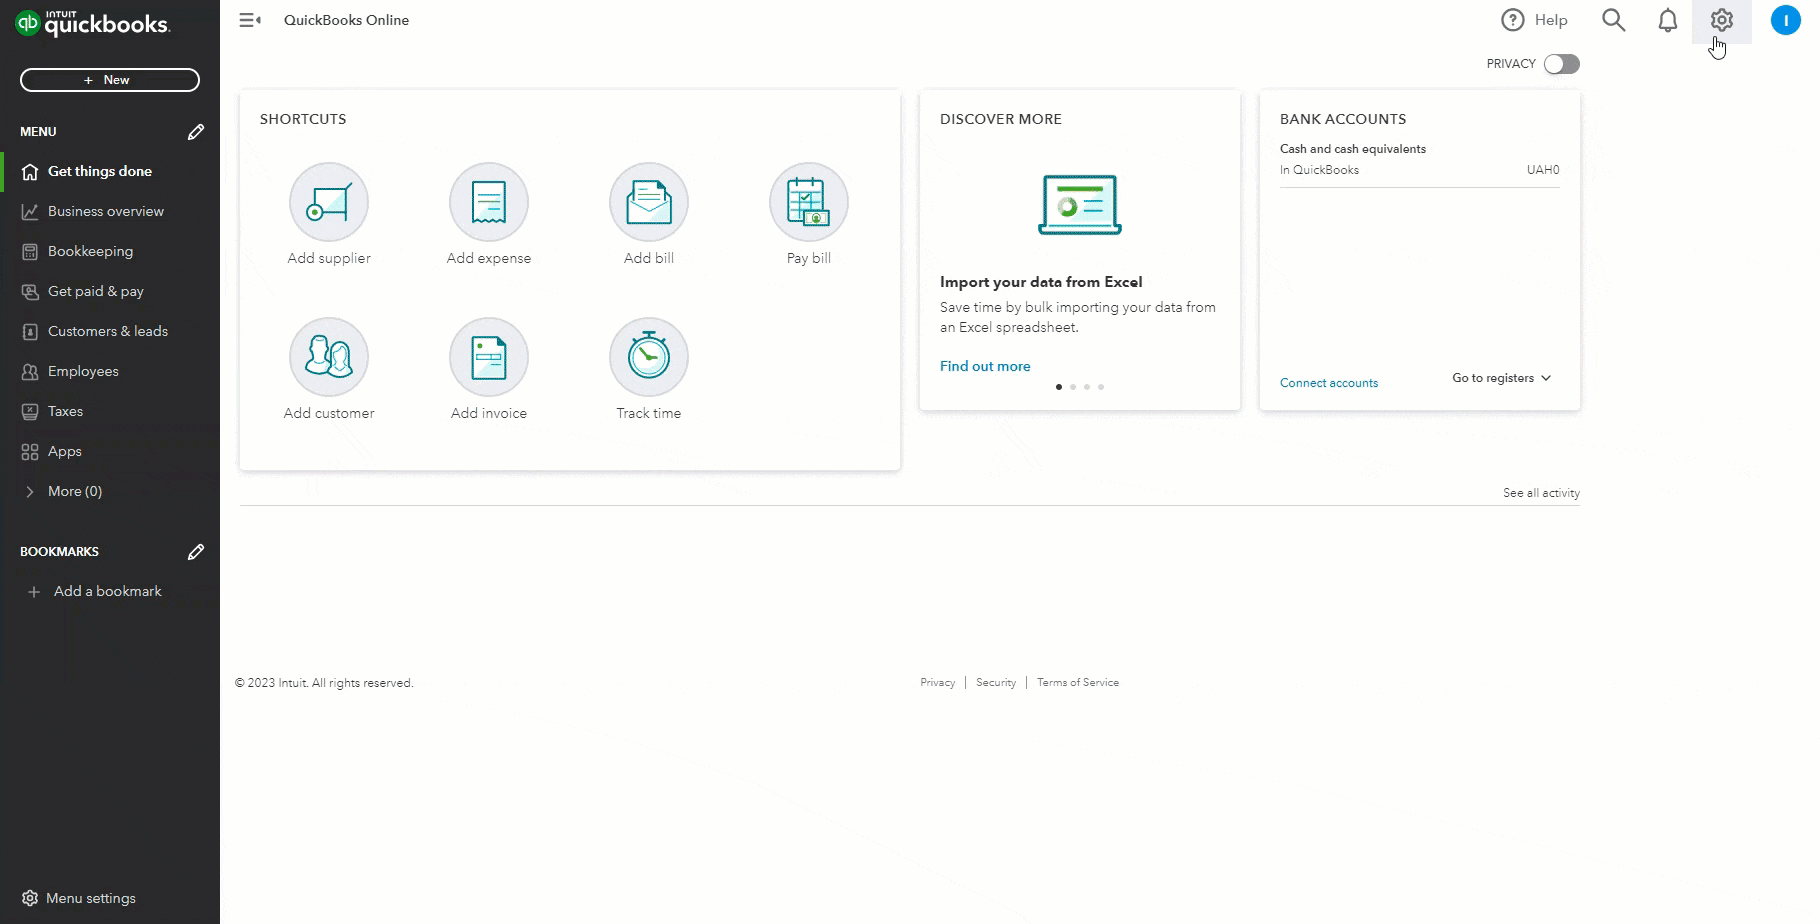
Get to know your dashboard
Firstly, let’s get to know your dashboard.
Your dashboard serves as a homepage for all your QuickBooks activities. If you're looking for a quick snapshot of your business's health, this is where to find it.
The dashboard displays basic information on the current status of your income and expenses. These values change in real-time, displaying an updated overview of your company's finances.
Learn more about your QuickBooks Online dashboard.
Personalise your company info and turn on product features
Go to Settings ⚙️, then Account and settings to start adding information about your business, and turning on the features that may be useful to your business. Some of the things you can adjust include: company information, billing information, product language, and sales forms.
Learn more about Account and settings in QuickBooks Online.

Connect your bank and credit card accounts
The bank feed is one of QuickBooks Online's most helpful and time-saving features.
When you link your bank and credit card accounts to QuickBooks Online, recent transactions are automatically downloaded and categorised for your review. You'll have up-to-date insight into your sales and expenses with virtually no data entry required.
If you need to add older information, you can upload historical transactions manually. This is required if you want to include information that existed prior to linking your bank and credit card accounts with QuickBooks Online.
Note: Before you connect your bank account to QuickBooks Online, you'll need to make sure your bank supports Open Banking.
To link a bank or credit card account:
- Go to Transactions, then select Bank transactions (Take me there) and select Connect account.
- Select your bank and sign in to your account.
Follow our guide to connect your bank and credit card accounts to QuickBooks Online for step-by-step instructions.
Note: If your bank is not yet compatible with QuickBooks Online, you can also manually import your bank transactions. Once you’ve connected your bank or credit card account, you can set up bank rules to help speed up the categorisation process.
Import your data
If you have existing lists from another QuickBooks company or accounting software, such as those for suppliers, customers, stock, or a chart of accounts, then you can import them into your QuickBooks Online file.
Follow our guide to moving lists to QuickBooks Online or importing data from other software for step-by-step instructions.
Set up VAT
It's easy to add VAT to your invoices and receipts and track how much you owe. Follow the steps below to set up VAT for the first time:
Note: The terminology for VAT may differ depending on which country you are based in.
- Go to Taxes and select VAT (Take me there).
- Select Set up VAT.
- Enter Tax name, Description, Tax agency name.
- Enter your 9-digit VAT registration number.
- Select your Start of current tax period.
- Select the filing frequency for your VAT.
- Select your Reporting method. Tip: If in doubt, consult your accountant.
- If applicable, select This tax is collected on sales, then enter the Sales rate.
- If applicable, select This tax is collected on purchases, then enter the Purchase rate. If Purchase tax is reclaimable, select the checkbox.
- Select Save.
Learn more about how to set up and use VAT in QuickBooks Online.
Customise and send invoices
Invoices are an important part of running your business. Customising your invoice is a simple, yet effective way to enhance your business communications.
Customise your invoice template
To customise the look of your invoice, select Customise from the bottom of the invoice. You can edit the existing template, or create a completely new style.
Learn more about customising invoices in QuickBooks Online.
Create an invoice
- Select + New, then select Invoice.
- From the Customer ▼ dropdown, select a customer.
- Review the Invoice date, Due date, and Terms and change them if you need to.
- From the Product/Service column, select a product or service. You can also select + Add new to create a new product or service right from the invoice.
- Enter Qty, Rate, and Amount if needed.
- Select an applicable VAT option.
- When you’re done, select Save.
Note: There are several options for saving or sharing the invoice. You may select the appropriate one.
Get more info on how to create invoices in QuickBooks Online.
Add and manage users
Adding users allows them the opportunity to help you manage your books, depending on the level of access you grant.
QuickBooks Online has five different user types:
- Primary administrator
- Company administrator
- Standard users
- Reports only users
- Time tracking only users
Select Settings ⚙️, then Manage users. By default, the person who set up the QuickBooks Online account will be the Primary administrator, but you can assign that role to another user if you prefer.
In most cases, you can customise both the user and their level of access. You can change or adjust the access you grant your users at any time.
You also have access to the Audit log from Settings ⚙️. This feature is helpful when you want to see the actions taken by a specific user within QuickBooks Online. To view specific user actions:
- Go to Settings ⚙️ and select Manage users.
- Find the user whose activity you wish to see.
- Under the Action column, select View user activity from the dropdown menu.
Run and customise reports
QuickBooks is a home to dozens of financial reports that provide you with a snapshot of your business. Within the Reports tab, you can run basic financial reports or apply filters which will customise reports, helping you to focus on specific details. Find out more on customise reports in QuickBooks Online.
Where to get more help
We’re always here to help!
For access to user guides, video tutorials, and more visit your local QuickBooks Online learn and support page.
Want to speak to like-minded business owners? Visit your local QuickBooks community and get answers to questions, talk shop, and get inspired.
Looking for quick answers while you work in QuickBooks Online? You can chat with our Digital Assistant 24/7. Just login to your account, select Help (?) and enter your question.
Alternatively, need to speak to an expert? Find out more about how and when you can contact QuickBooks Online support.