Getting started with QuickBooks Online Accountant
by Intuit•12• Updated 6 months ago
Need help setting up QuickBooks Online Accountant? Want to know how to use the Accountant Toolbox and manage your clients? We've got you covered!
This guide will help you get familiar with features in QuickBooks Online Accountant, plus you'll find links to other how-to articles so you can get your firm up and running.
Feel free to scroll through or jump to the relevant section:
1. Set up your account
After you sign up to QuickBooks Online Accountant, the first thing you'll need to do is set up your account. When you login you'll be asked to enter the following details:
- Sign in to QuickBooks Online Accountant.
- Enter your firm's name.
- Enter your firm's postcode–we'll use this to help potential clients find you on our ProAdvisor portal.
- Select Continue.
2. Navigate the QuickBooks Online Accountant dashboard
QuickBooks Online Accountant lets you manage your work and your clients all in one place. You can see a full list of your clients and switch between your clients' books and your practice by selecting the Go to client's QuickBooks dropdown menu.
To return to your client dashboard/list, select the QB Accountant icon.
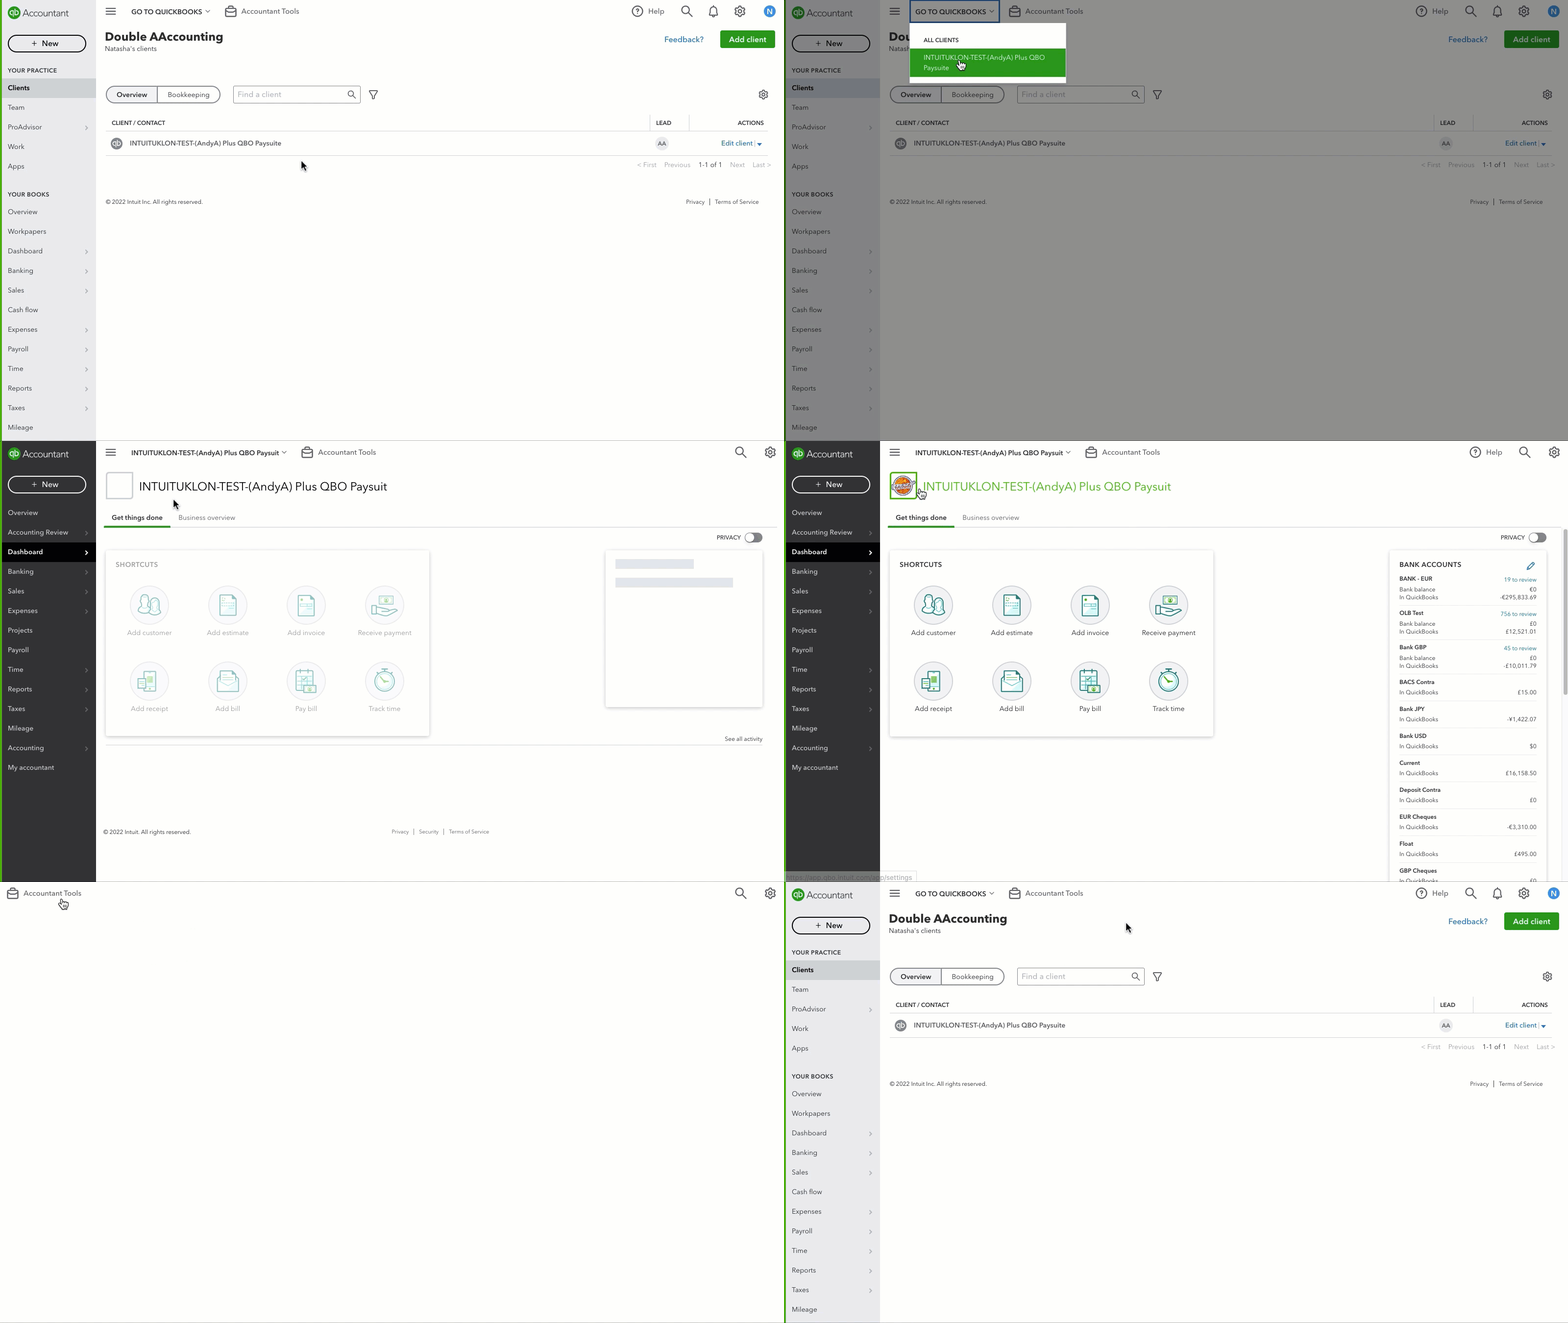
Let's explore the different areas you can access from the QuickBooks navigation:
Clients
The Clients tab is where you can add, track and manage all of your clients in QuickBooks Online Accountant–even ones that don't use QuickBooks.
The client list shows your clients' info, including who their lead accountant is. If you want to check the status of the current month-end review for a specific client, select the Bookkeeping tab.
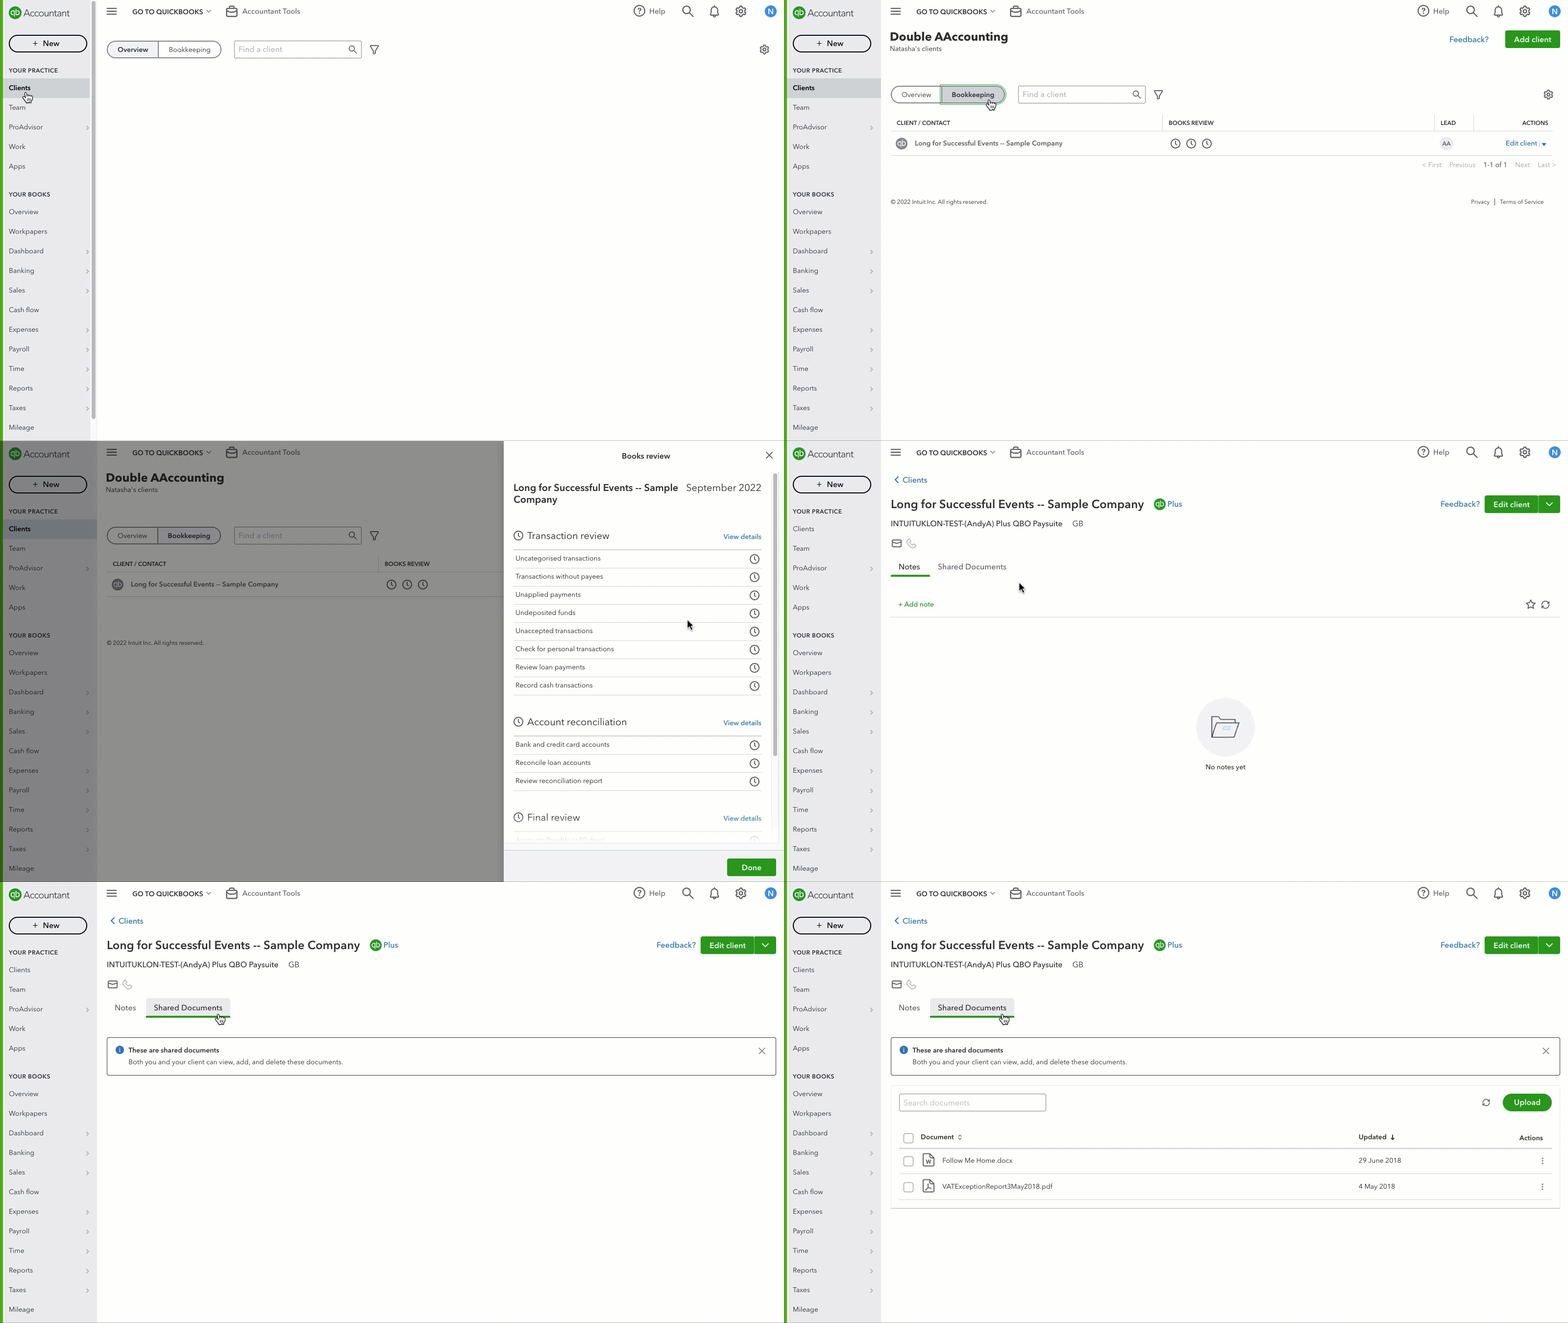
To review a client's information in more detail, select the client's name under the Client/Contact column to open their profile. Once you're in their profile you can:
- Add notes and important information about the client. QuickBooks places a stamp on each note made in the client file so you can track it.
- Upload and manage shared documents–both you and your client can add, view and delete shared documents.
Learn more about clients, overview and bookkeeping.
Add clients in QuickBooks Online Accountant
Ready to start adding clients? Great! Adding clients is essential to growing your practice, plus you'll get 10 points for first QuickBooks Online client you add. Learn how to add a new client and manage your client list.
Team
The Teams section includes a list of all your team members, their user information and access to client files. But not everyone on your team does the same work, so you can supervise their roles and permissions or restrict client access and administrative tasks.
From this dashboard, you can add and manage team members in your accounting or bookkeeping firm. Or, if you need to add, edit, or remove team members, here's how to manage users of your firm.
ProAdvisor
With QuickBooks Online Accountant you instantly get free access to unlimited training materials, including how-to videos, on-demand webinars, virtual conferences, certification exams and more to help your firm succeed.
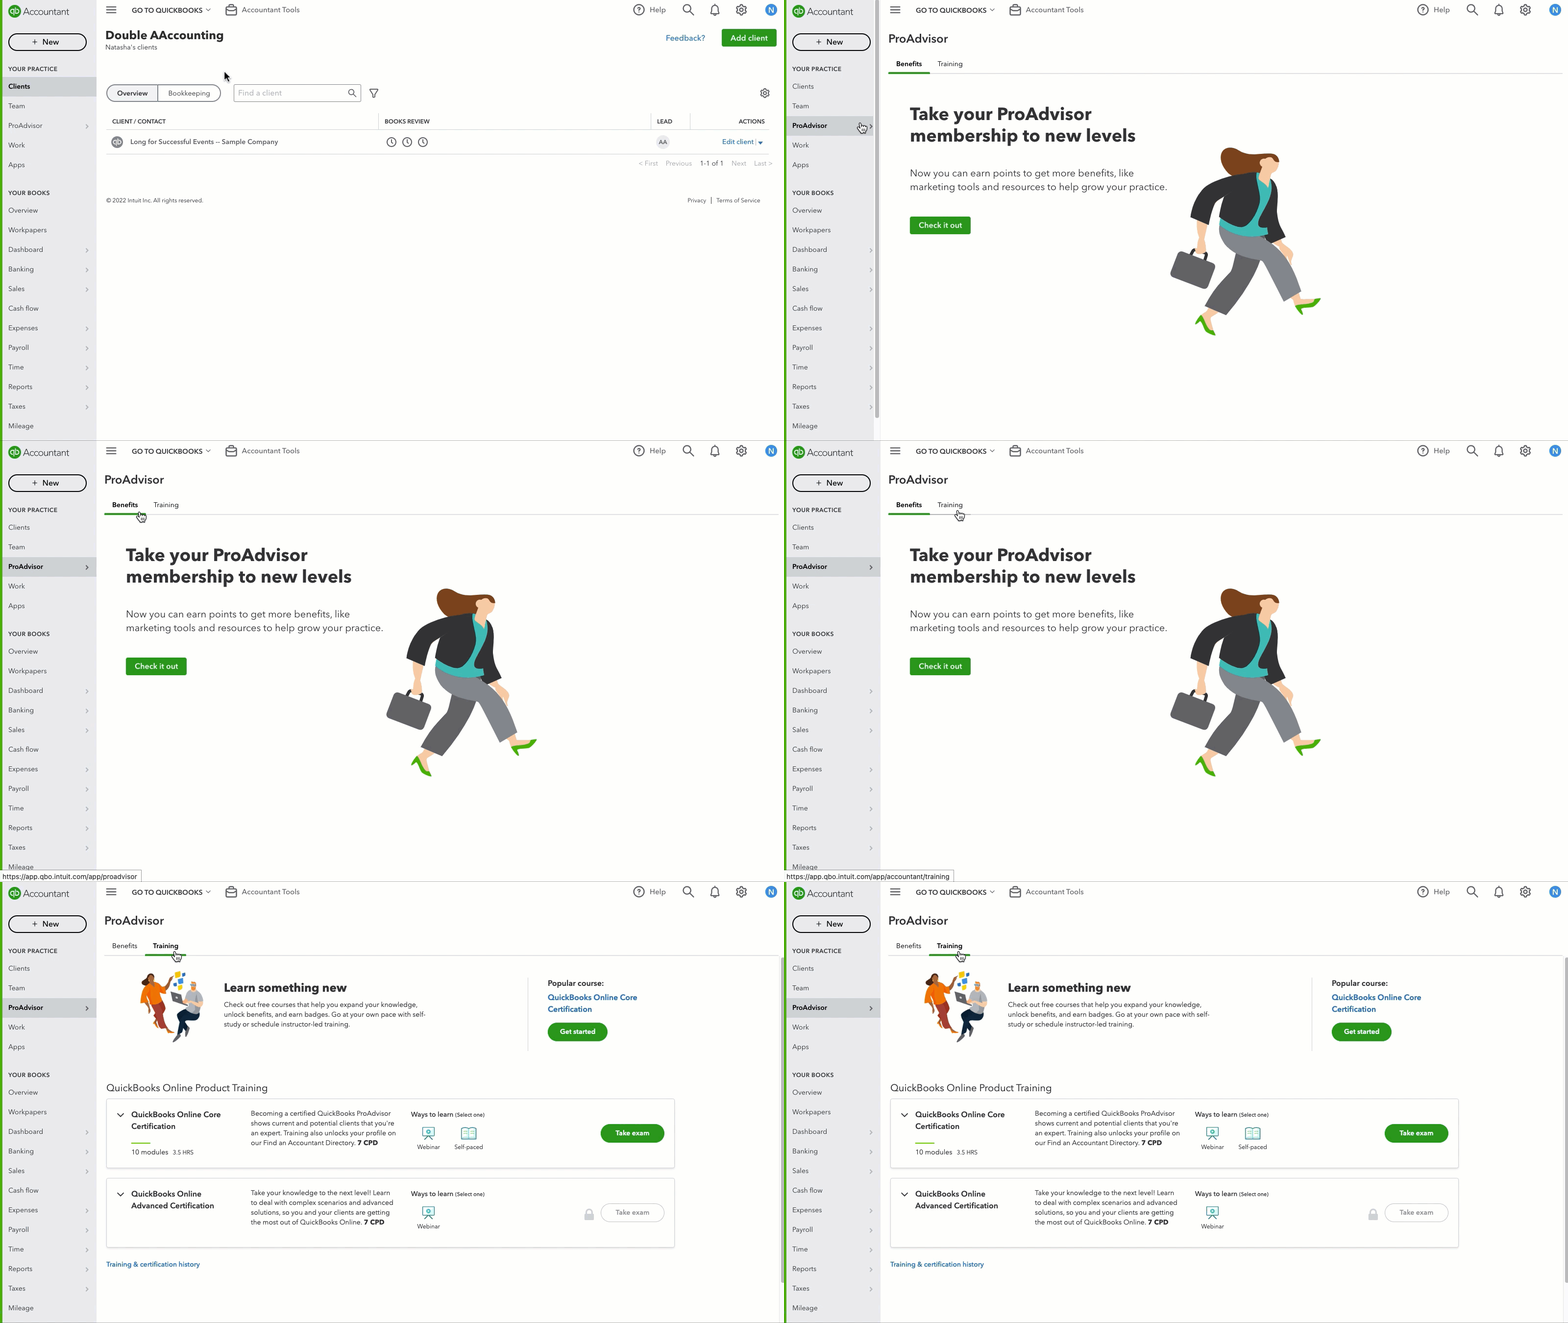
You can become a certified QuickBooks ProAdvisor and earn points to get more benefits, like marketing tools and resources to help grow your practice. Read about the ProAdvisor benefits, tiers and points for more information.
Once you become a certified ProAdvisor and publish your profile, we'll list you on our Find-a-ProAdvisor Directory so you can connect with potential clients.
To learn more about becoming a ProAdvisor, check out these articles to get started:
- Learn about ProAdvisor and Find-a-ProAdvisor
- Create a ProAdvisor profile
- Update and enhance your ProAdvisor profile
- ProAdvisor member guide for brand use
Plans and pricing
Learn how wholesale billing works so you can pass on discounts to your clients. If you need to, here's how you can review and manage clients who are already part of your plan or transfer clients to your preferred pricing program.
Work
Get a birdseye view of upcoming or overdue tasks in the Work tab so you never miss a beat. Create projects and tasks to track all the work that your firm is doing from start to finish which is all organised by due date.
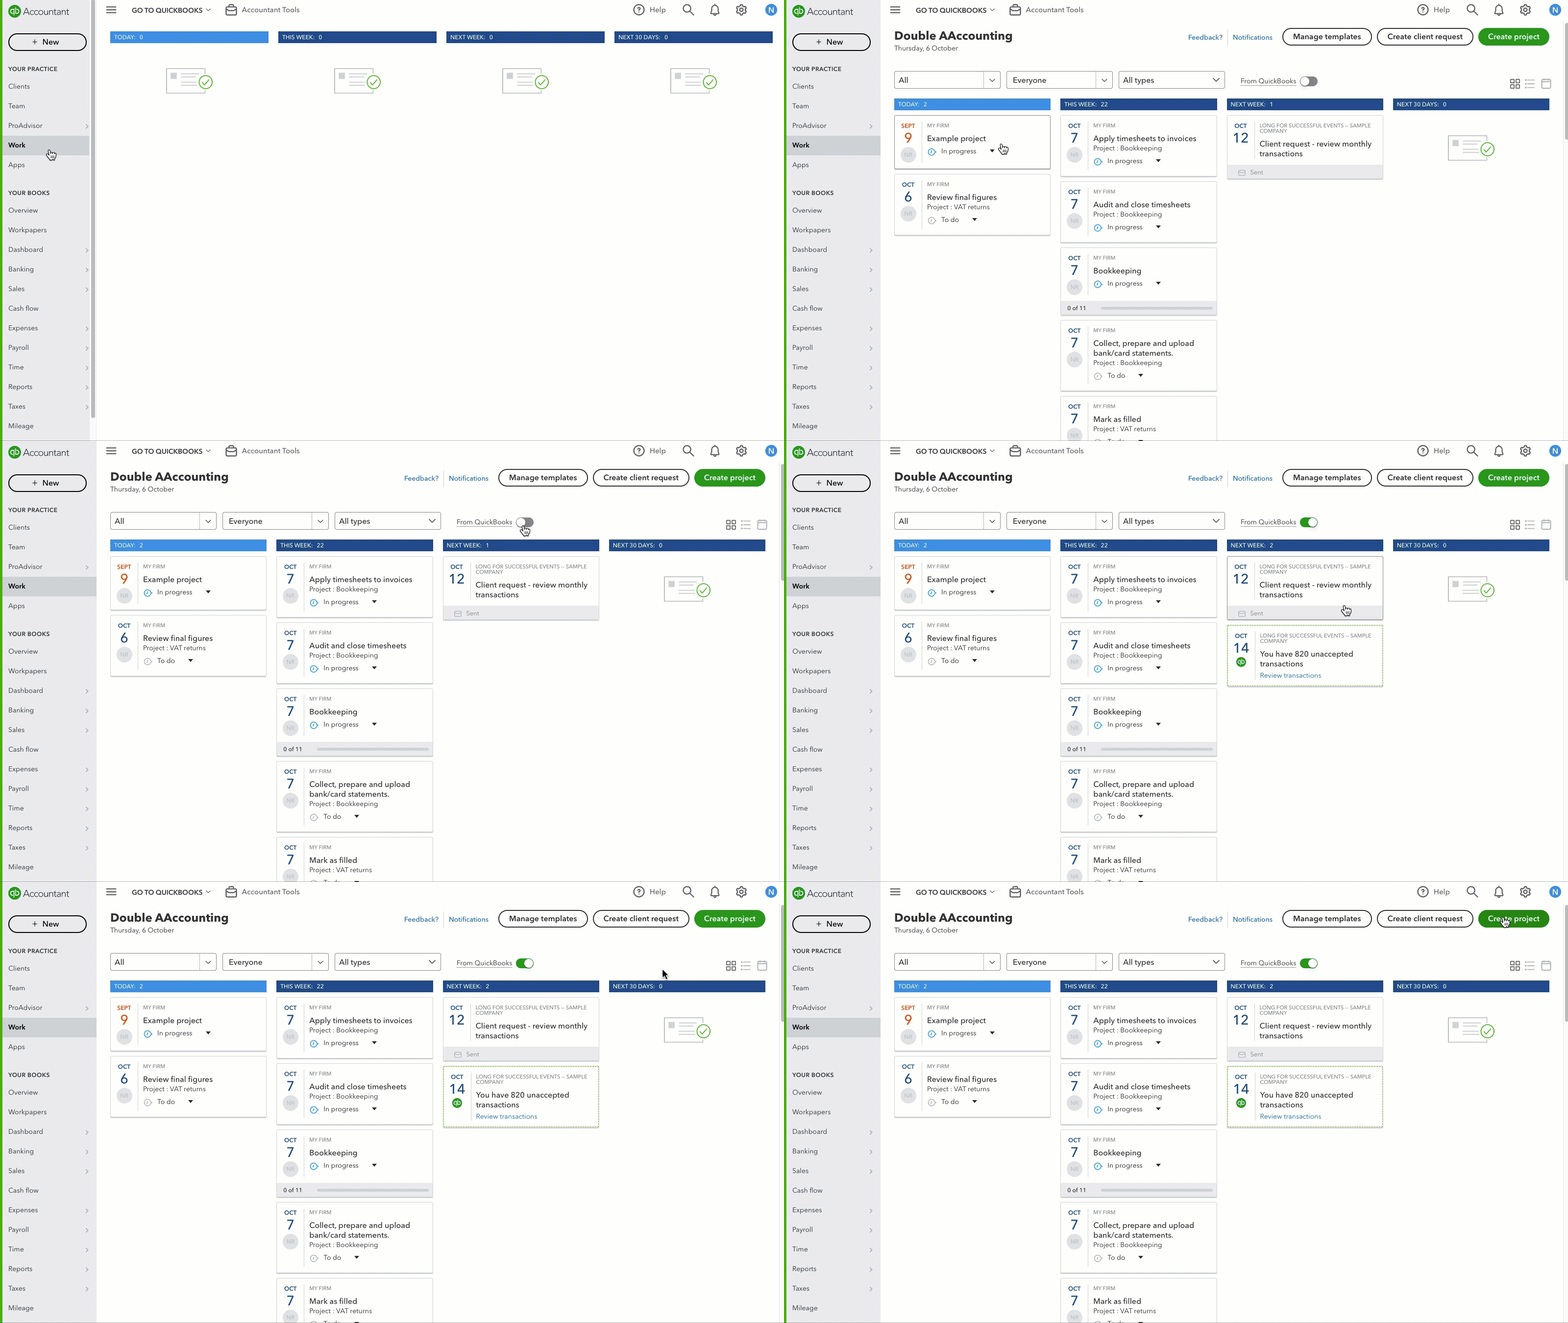
Projects brings your team's work together in one shared place so you can have a consistent workflow, complete projects on time, and collaborate with clients and your team. Plus, you can create custom templates to suit your firm or client's needs.
To automatically show activities and actions to take in your client's QuickBooks, select the From QuickBooks toggle.
Use these help articles to start managing deadlines and assigning tasks:
- Set up and create projects
- Manage and track client requests, projects and tasks
- Add invoices to projects
3. Accountant Toolbox
Ever wished for tools that help you complete your work more efficiently? Save time with the Accountant Toolbox which contains some of the most used tools you'll need to work on your clients' books. Saving you time and keeping you focused.
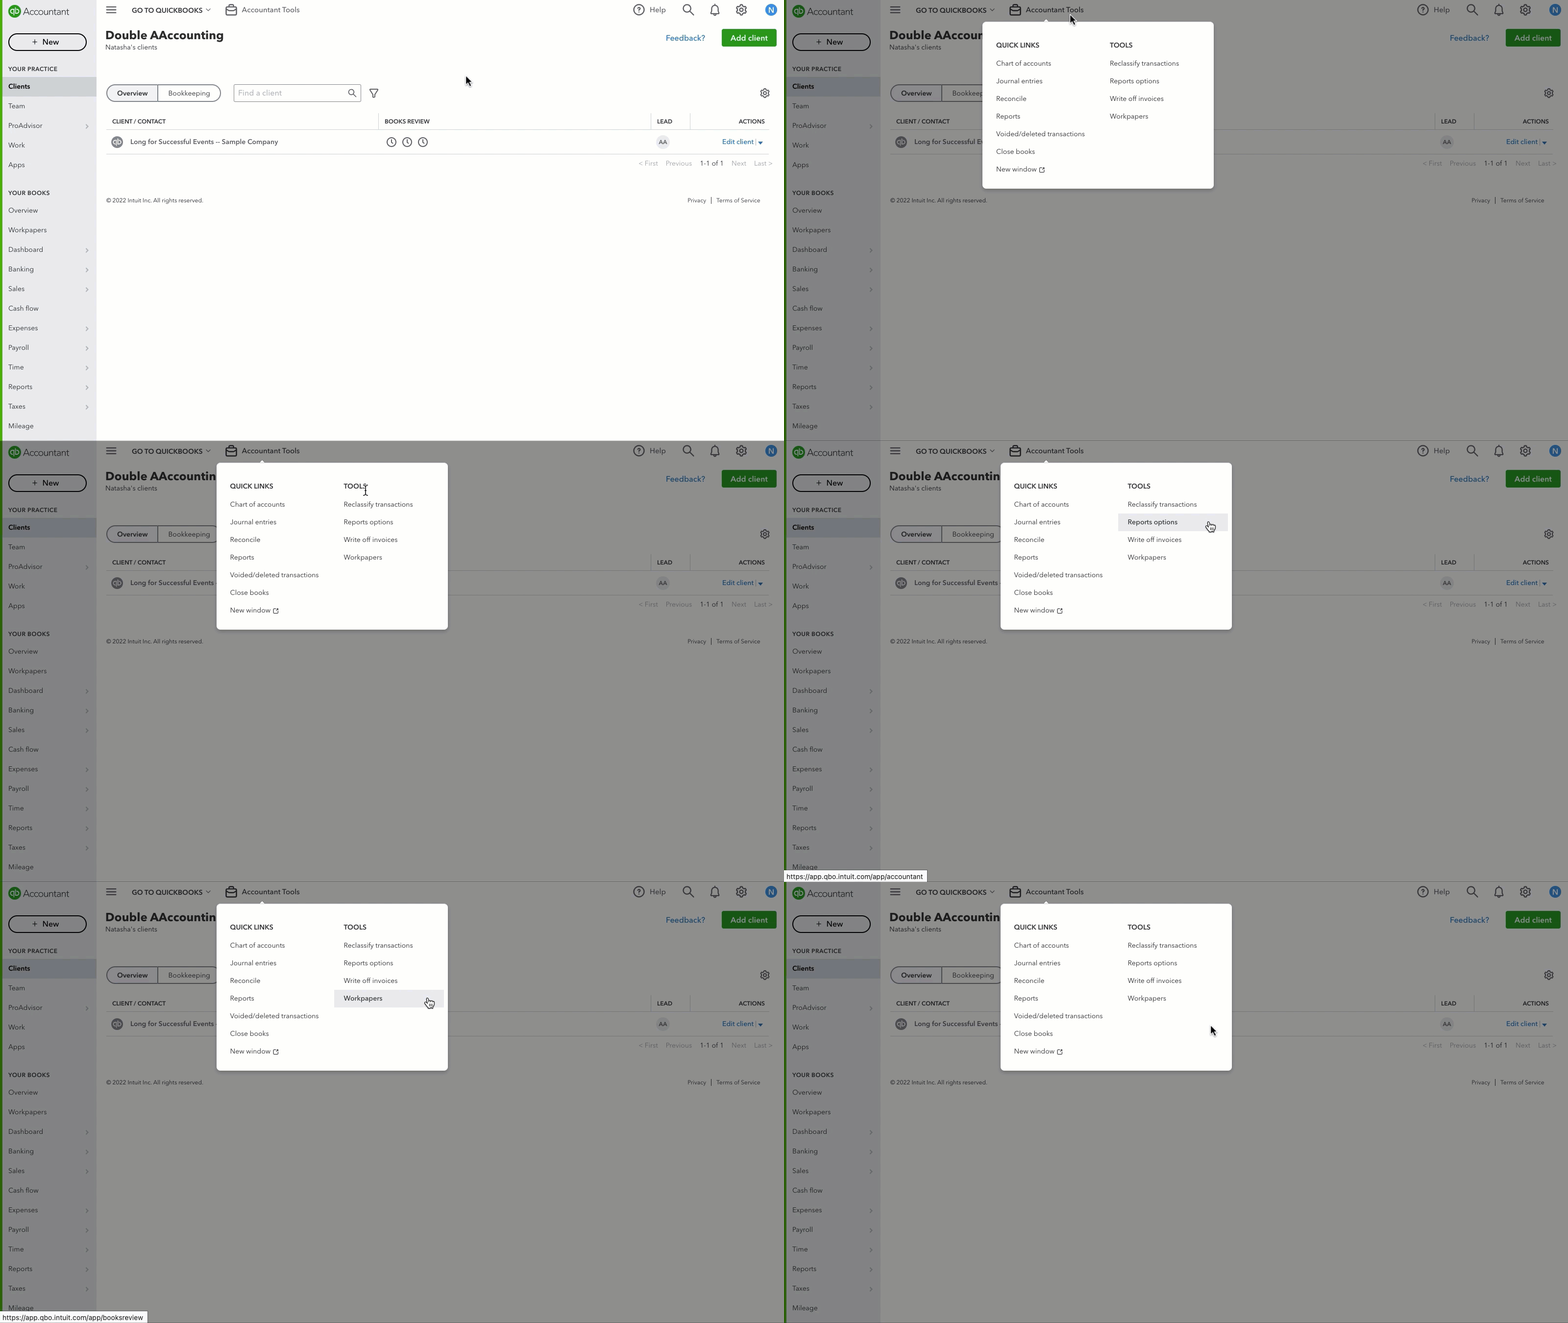
Let's take a look at some of the tools you'll find in the Accountant Toolbox:
Reclassify transactions
The Reclassify tool lets you find transactions that have been assigned to incorrect accounts, classes or locations. Instead of manually changing these transactions individually, use this tool to reclassify the account, class or VAT on a bunch of transactions at once.
Here are the full instructions on how to reclassify or move transactions.
Voided/deleted transactions
Need to see an audit log report of deleted/voided transactions and make additional customisations? No problem. Select Voided/deleted transactions from the Accountant Toolbox to filter the report by user, date and events.
Read How to void or delete transactions.
Journal entries
Use the Journal entries feature in situations where you need to make a journal entry for special transactions. Let's say you need to enter debits and credits manually, transfer money between income and expense accounts, or perhaps a transaction should have been split into two different ledger accounts. Either way, QuickBooks Online Accountant lets you make general journal entries to handle these transactions.
Learn how create a journal entry and make journal adjustments.
Reports options
Want reports to be presented in a way that is more useful to you and your firm? You can customise reports and setup a default date range if you prefer to see your client reports in a month-to-date format. Check out these articles on managing reports:
Workpapers
Save time and resources required to gather formal reports and financial statements at year-end by organising your workflow with Workpapers. Watch this introduction video to get familiar with the feature.
You can review your client accounts, adjust journal entries and complete your year-end engagements or period-end work all from one dashboard. Learn how to use the Workpapers feature.
4. Manage your subscription and billing
You can edit subscription billing info and details about your firm right from QuickBooks Online Accountant at any time.
Does your client need more from QuickBooks Online? Or is their current product more than they need? You can upgrade or downgrade your clients' QuickBooks Online subscription level so they get more (or fewer) accounting tools.