Thanks for the feedback, mattdavis12345.
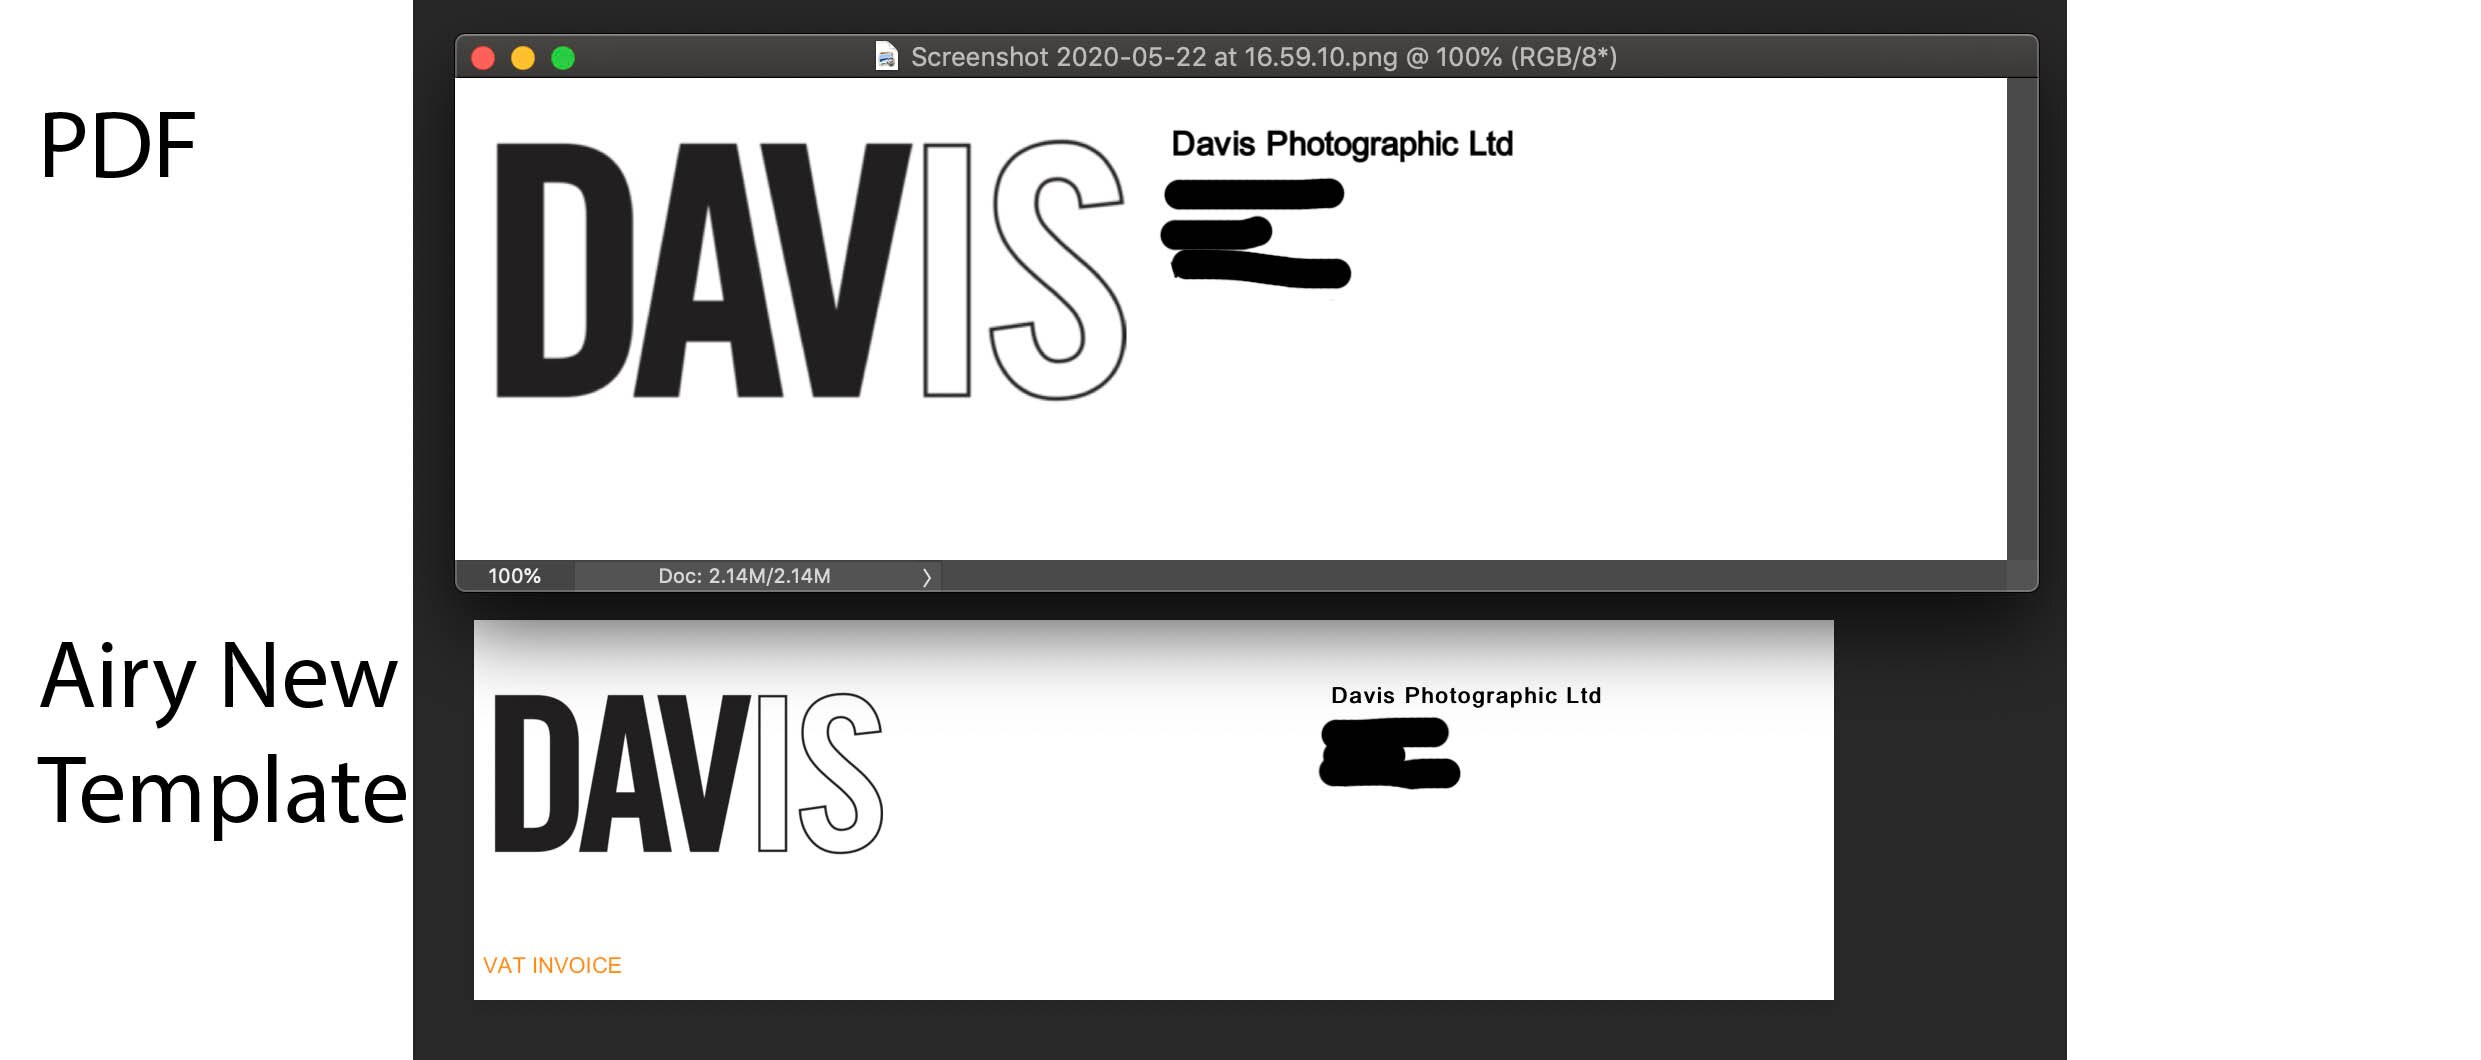
Currently, this is how QuickBooks Online (QBO)works once you place your logo on the left part of the invoice. You'll want to import the invoice template via word document. Let me walk you through with the steps.
To map your template field:
- Open your DOCX template.
- As you design your template, identify text or fields that don’t change with each print. Logos, company information, certifications, and such are static info. Make it part of your template.
- Replace all fields with scalar or table fields, as appropriate to your chosen form type.
- Make sure all fields match the EZ Map fields defined in the EZ Map catalog.
To save and upload your DOCX template:
- Click the Gear icon, then select Custom Form Styles.
- Select the New style ▼ dropdown menu, then Import style. Note: Don't see Import style? Go to Settings ⚙, then QuickBooks Labs. Then turn on Import Styles.
- Select a form type.
- Select Upload your .DOCX file field, then find and select your .docx template.
- Click Next.
To match your fields with QuickBooks:
- Verify your template fields match correctly with QuickBooks fields. You can change the QuickBooks fields if they don't.
- Click Next if everything looks good.
Please check this article for more detailed steps: Import Custom Form Styles For Invoices or Estimates.
For future reference, you can also email sales from multiple email addresses: Email A Sales Form or Report To Multiple Email Addresses.
Post a reply to this thread if you have any other concerns. I'm always right here to help.

