Create a Social Post on iOS
by Intuit•1• Updated 11 months ago
Use Mailchimp’s mobile app to quickly create a social post and publish on Facebook, Instagram, and X (formerly Twitter) all while you are on the go.
In this article, you'll learn how to create and publish social posts from your iOS mobile device.
Before you start
Here are some things to know before you begin this process.
- Make sure you've set up the integration for each social network you want to include in your social post. To learn more, check out Connect or Disconnect X (formerly Twitter), Connect or Disconnect Facebook, and Add Instagram to Your Facebook Page.
- Make sure you’re familiar with how social posts work in Mailchimp. To learn the basics, check out Create a Social Post.
- To create a social post on your Android mobile device, check out Create a Social Post on Android.
- X (formerly Twitter) reporting is not supported at this time.
Create a social post
You can create a social post from the Quick Actions menu (plus icon) or access the feature from the Campaigns menu.
To create a social post from the Quick Actions menu, follow these steps.
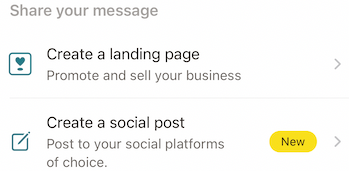
- In the Mailchimp mobile app, tap the plus icon.

- Tap Create a social post.
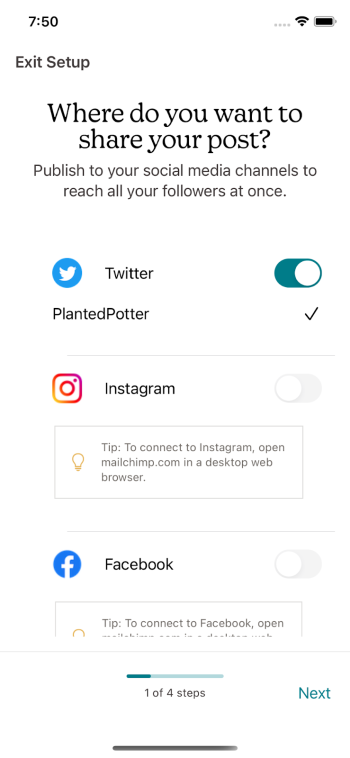
- Select where you want to share your post.
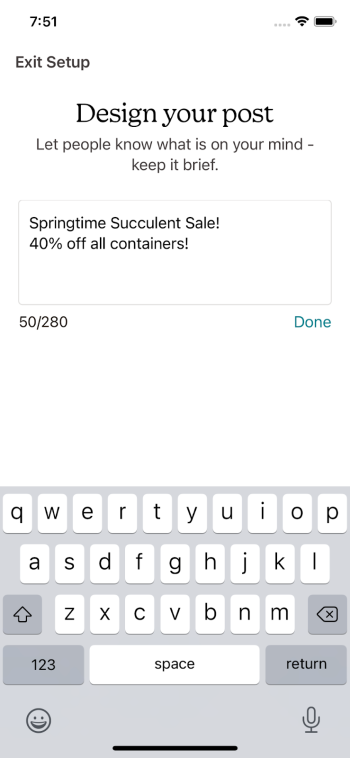
- Add text to your post, then tap Done.
- Tap Add Image to choose an image to feature on your social post, then tap Next to continue.
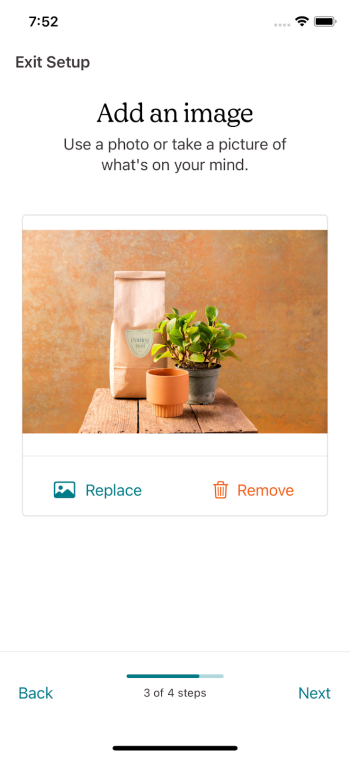
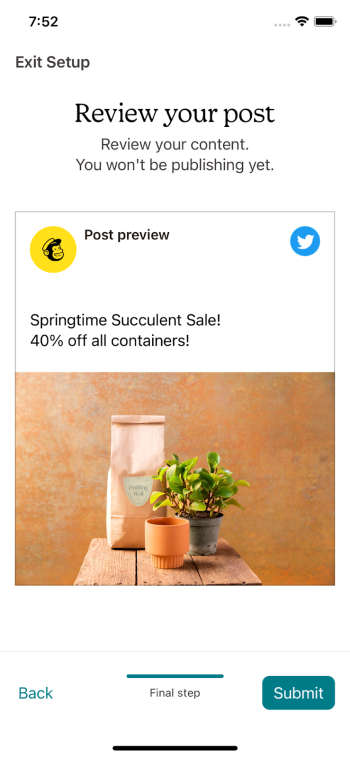
Tap Replace to change the image, or tap Remove to delete the image. Social posts created in the mobile app must include an image. To share Facebook or X (formerly Twitter) content without an image, create a social post on the desktop version of Mailchimp. - Now it’s time to review your social post. If it looks good, tap Submit or, tap Back to make changes.
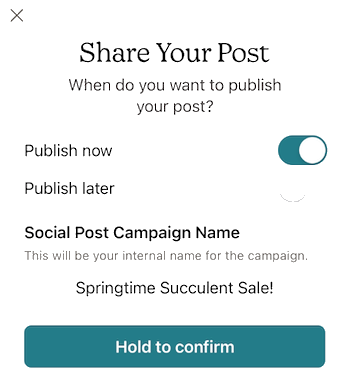
- Turn the Publish now toggle on to publish your post or choose Publish later to schedule for another time. Enter your social post campaign name and then tap Hold to confirm for a few seconds.
Nice job! You’ve published or scheduled your social post from Mailchimp’s mobile app. After you publish your post, it may take a few minutes to appear in the social networks you selected.
Next steps
After you publish your post, stay informed about its performance on Facebook and Instagram in the social post report. You’ll see how many people have viewed your post, how many likes and comments it has received, and more. To learn more, check out View Reports on the Mobile App.
More like this
- Create a Social Post on Androidby QuickBooks
- Create a Social Postby QuickBooks
- Schedule a Social Postby QuickBooks
- About Social Post Reportsby QuickBooks


