Learn how to fix printing issues in QuickBooks Desktop.
There are multiple reasons you might have trouble printing from QuickBooks Desktop. Here are some solutions to the most common issues.
Before you start make sure:
- You update QuickBooks to the latest release.
- Your computer is connected to the printer.
- You have the latest printer driver installed.
- There are no error messages or warning lights on your printer.
Solution 1: Print from another program
Let’s make sure you can print from any program. In these steps we’ll use Notepad. You can try to print from any program you have, as long as it's not QuickBooks.
- Select Start and browse to Notepad.
- Enter some text and go to File, then select Print.
- Select the correct printer and select Print.
If it didn’t print, go to Solution 2.
If the other program did print successfully, go to Solution 3.
Solution 2: Test the printer setup
Use these steps to test your printer’s setup.
Step 1: Make sure the printer is setup correcrtly.
- Turn off the printer, restart your computer, and then turn the printer back on.
- Make sure you load the printer paper correctly.
- Select Start, select Control Panel, then double-click Printers and Faxes.
- If the printer shows Offline, right-click the printer and select Use Printer Online.
- Double-click the printer and if there are print jobs displayed in the queue, select Printer, then Cancel All Documents.
- Close the window.
- Right-click the printer, select Properties, and then select Print Test Page.
Note: If the printer is a network printer and the test page doesn't print, network issues could be the cause.
Step 2: Make sure the printer is the right one
- In QuickBooks, go to the File menu and select Printer Setup.
- Select the form you want to print.
- Make sure the printer name matches the exact name of the printer you want to use. If not, you’ll need to correct the setup within your computer’s Printer Setup first.
- Select Help in this area for more help on these settings.
Step 3: Print to a different printer
- In QuickBooks, go to File, then select Printer Setup.
- Select the form you want to print.
- Select a different printer, like the Microsoft XP printer.
- Select Help in this area for more help with these settings.
Solution 4: Run the Print and PDF tool from the QuickBooks Tool Hub
Step 1: Download the QuickBooks Tool Hub
The QuickBooks Tool Hub helps fix common errors. You'll need to close QuickBooks to use the tool hub. For the best experience, we recommend you use Tool Hub on Windows 10, 64-bit.
- Close QuickBooks.
- Download the most recent version (1.6.0.3) of the QuickBooks Tool Hub. Save the file somewhere you can easily find it (like your Downloads folder or your Windows desktop). Note: If you've installed Tool Hub before, you can find out which version you have. Select the Home tab. The version will be on the bottom.
- Open the file you downloaded (QuickBooksToolHub.exe).
- Follow the on-screen steps to install and agree to the terms and conditions.
- When the install finishes, double-click the icon on your Windows desktop to open the tool hub.

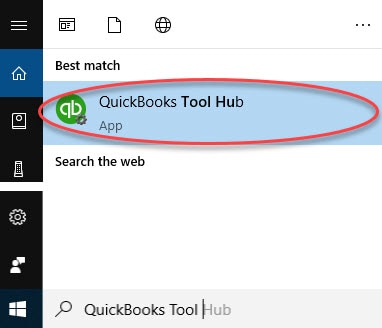
Note: If you can't find the icon, do a search in Windows for QuickBooks Tool Hub and select the program.
Step 2: Use the Print and PDF Repair tool
- In the QuickBooks Tool Hub, select Program Problems.
- Select QuickBooks PDF & Print Repair Tool. It'll take about a minute to run.
- Try to print or save as a PDF from QuickBooks Desktop again.
If you still can’t print, Re-install QuickBooks for Windows.