Space for pervasive banner when authenticated

Manage Enhanced Inventory Receiving


Learn about Enhanced Inventory Receiving (EIR) and how to manage it in QuickBooks Desktop Enterprise.
The EIR changes how you get and pay for items. It's only available in QuickBooks Desktop Enterprise. This version creates an inventory offset account, which is a liability account. It keeps item receipts separate from bills.
Important: Once you turn on the EIR, you can’t turn it off. The Purchase Order Management Worksheet will no longer be available. Here’s what we suggest.
Back up your company file before you turn on the EIR.
Test the EIR in a sample file first to check if it fits your business needs.
Once you decide, update your main company file. If it’s large, condense it.
Learn what happens when EIR is on
Bills don't add to inventory. Item receipts don’t replace bills.
Item receipts don’t affect your accounts payable unless you get a bill for an open item receipt.
If your bill shows a different cost than the linked item receipt, QuickBooks updates the cost on the receipt.
QuickBooks Desktop updates the average cost of inventory each time you receive a new item. This can change the order of inventory transactions in a day. Sometimes, it may cause small rounding errors in the average cost.
QuickBooks creates an item receipt for every bill in your company file. It includes items that add to the number of transactions.
Third-party apps might not work with inventory.
Check the latest updates on EIR
The EIR shows the correct quantity received and the quantity on the bill in the purchase order.
From the purchase order, you can create first-level linked item receipts and bills.
From these first-level item receipts and bills, you can create second-level linked bills and item receipts.

Note:
You can edit the quantity on the purchase order if it’s more than the total of the first-level linked item receipts and bills.
You can edit the quantity on the first-level linked item receipts and bills. Make sure it’s more than the total quantity of the linked second-level bills and item receipts.
You can edit quantities on second-level linked bills and receipts if they're lower than the first-level ones.
Know the limits with EIR
You can’t add negative items to item receipts or bills.
You can’t add expenses to an item receipt.
If you create a purchase order for non-inventory items, use an item receipt to close it.
You can no longer mark items as "Billable" on item receipts.
Learn accounting entries with EIR
The inventory offset account is a liability account which QuickBooks Desktop creates when you turn on the EIR. It clears the amounts from the bills and item receipts you create.
Journal entry in QuickBooks Desktop when you create an item receipt.
| Item Receipt | ||
| Debit | Inventory Asset Account | |
| Credit | Inventory Offset Account | |
Journal entry in QuickBooks Desktop when you create a bill.
| Bill | ||
| Debit | Inventory Offset Account | |
| Credit | Accounts Payable | |
After you turn on the EIR, QuickBooks Desktop may create transactions in a different way. This can change how your common reports look.
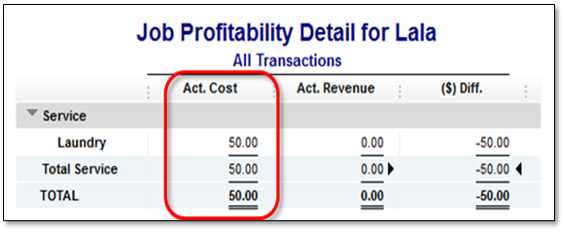
Actual cost shows 0.00 in the Job Profitability Detail report after turning on the EIR.
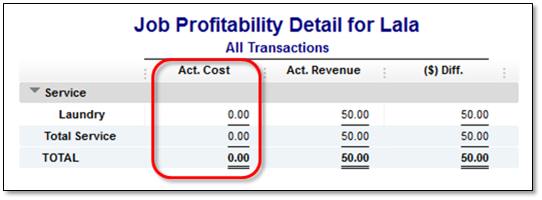
When EIR is on, QuickBooks Desktop Enterprise creates an inventory offset account. This liability account separates item receipts from bills. It links the bill items to this account instead of the original income or expense accounts.
The actual cost column shows 0.00 in reports like the Job Profitability Detail. This happens when the report filters out the inventory offset account. The account records the cost of items.
To show correct amounts in the actual cost column, modify the report filter to include the inventory offset account.
Turn on the EIR
Go to Edit, then select Preferences.
Select Items & Inventory.
Go to Company Preferences, then select Enable.
Review the warning message.
For older versions of QuickBooks Desktop, select Continue. Then select OK.
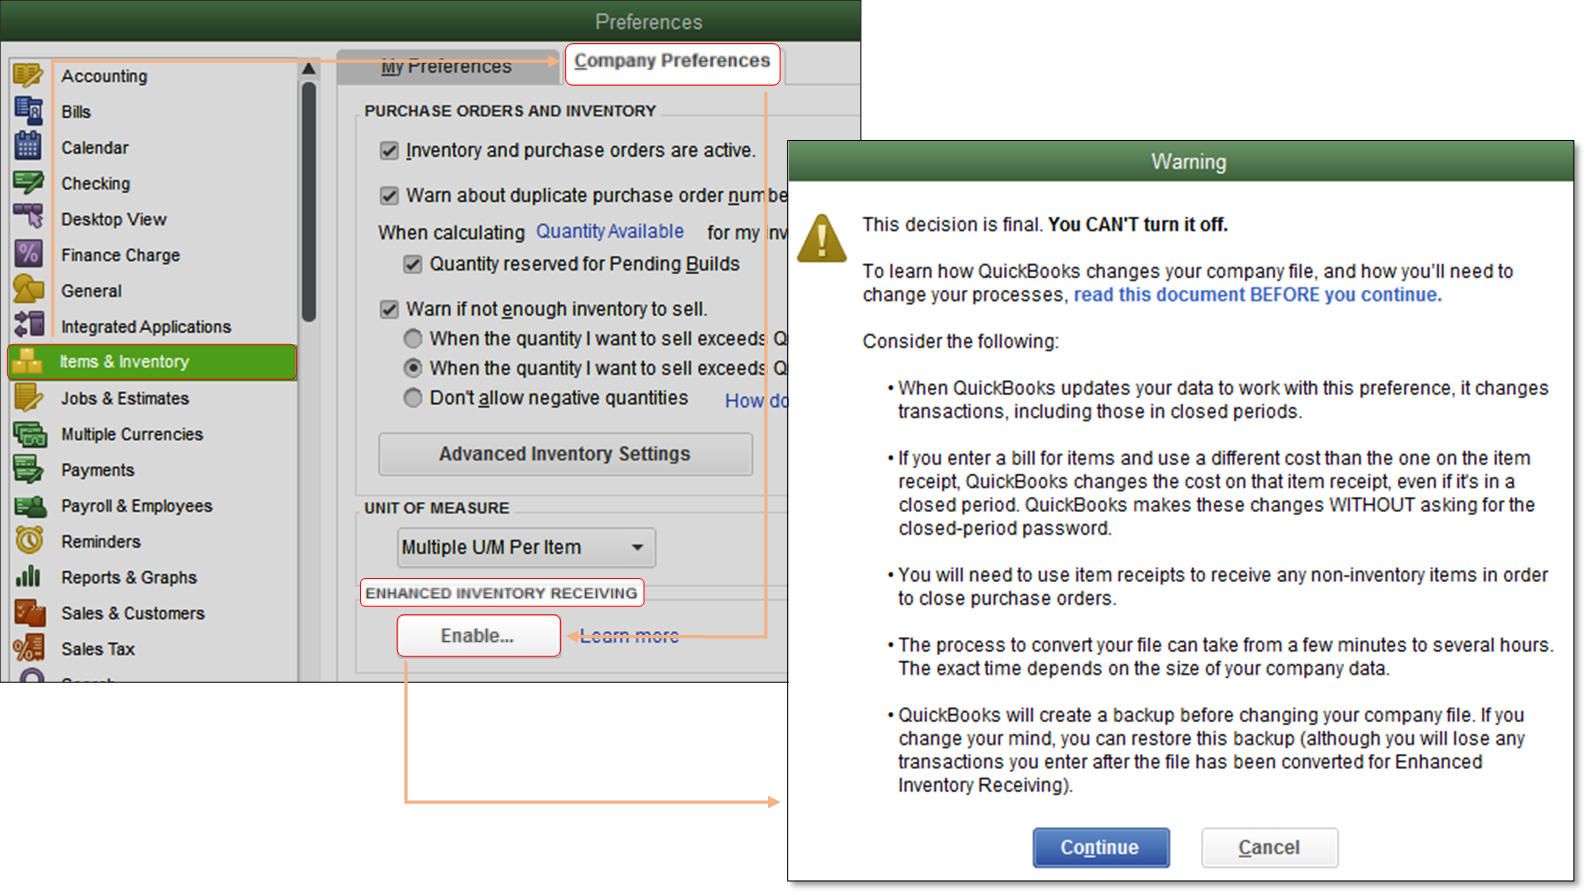
For QuickBooks Desktop Enterprise 24.0, enter ‘Yes’ to confirm, then select Continue.
.
Back up your company file.
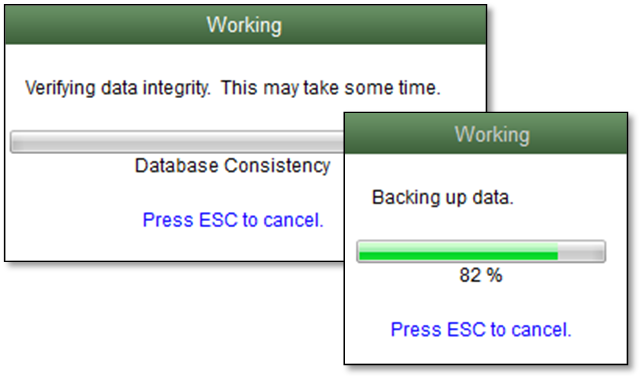
Note: This might take some time, depending on the size of your company file.
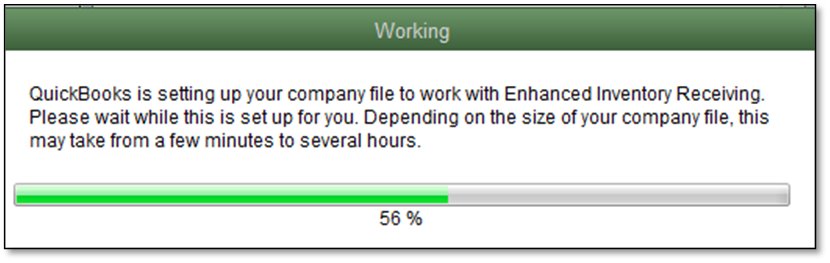
When done, QuickBooks Desktop will show a summary of the changes.
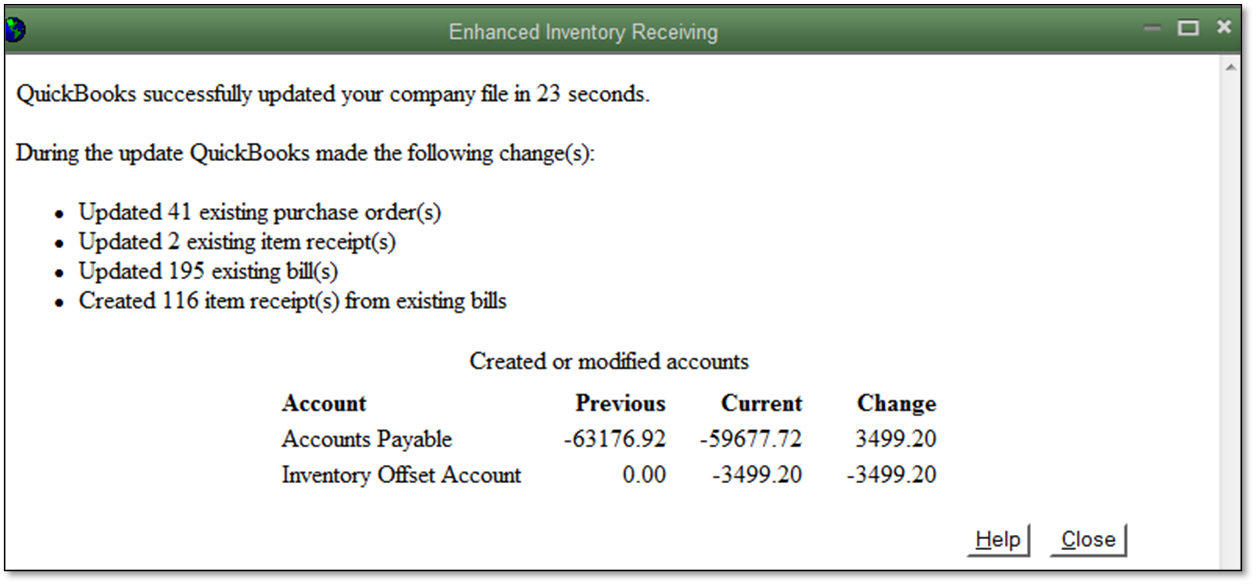
Receive and pay for items
There are two ways to receive and pay inventory when EIR is off.
Single Transaction: Enter a bill that also increases your inventory on hand.
Two Transactions: Enter an item receipt to increase your inventory and record a bill against the item receipt.
Turn on the EIR, then record these two transactions in any order:
An item receipt to increase inventory.
A bill to pay for the items.
Note: Item receipts don’t change your accounts payable after the EIR is on. Create a bill for an open item receipt to see the correct accounts payable.
Important: This process is only for bills. You can still increase your inventory and pay for items in one step with checks or credit cards.
Sign in now for personalized help
See articles customized for your product and join our large community of QuickBooks users.
Call Sales: 1-800-365-9606




