Learn how to assign a class to a shipping charge.
Seeing charges show up as "Not Specified" on reports, or looking for a way to classify them? No problem. You just need to create a product/service item for shipping charges. Here's how.
Before you get started
There are two things to remember before you get started.
- If you are going to use shipping charge as a Product/Service line item leave the Shipping field blank.
- If you leave the Shipping field blank it won't appear on invoices emailed or printed.
Assign a class
Here's how to assign a class to a shipping charge.
- Make sure that the Class Tracking preference is turned on before you perform the following steps. (When you turn on class tracking, if you assign one class per transaction, there's no need to also assign a class to the Shipping service item. The class you selected for the transaction will also apply to that Shipping item.)
- Go to Sales, then select All sales (Take me there).
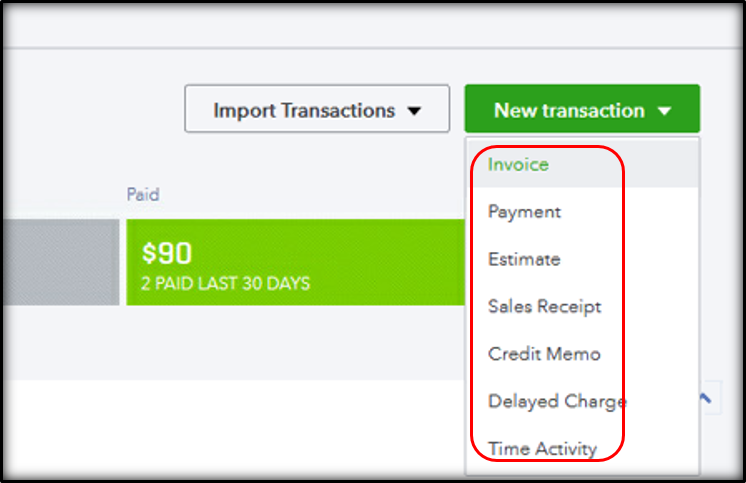
- Select New transaction.
- Select the sales transaction you want to enter.
- Choose the name of the customer from the dropdown menu. Then select Shipping Charge from the Product/Service column.
- Assign a Class to the shipping charge by selecting the dropdown menu of the Class column.
- Select Save and close.