


Xero is a global leader in cloud-based accounting solutions. With over a million subscribers using their platform, Xero is the accounting software of choice for many small and medium sized businesses globally.
The appeal is not hard to see - Xero automates accounting processes and integrates with vital parts of small business operations to ensure accurate bookkeeping. However, despite its accessible price point and intuitive user interface, accounting novices may still struggle with initial set up or be unaware of how to get the most out of their Xero account.
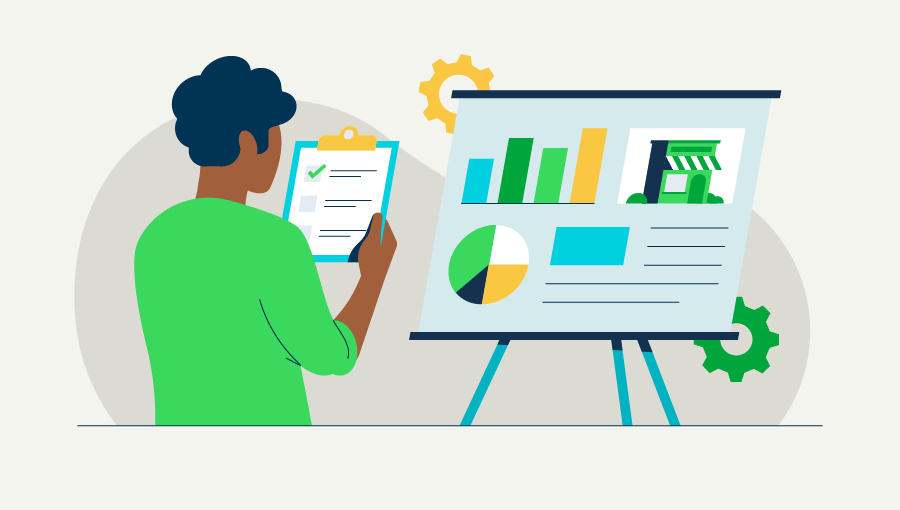
We’ve put together a list of basic user tips as well as advanced tips for Xero users at various stages of their journey with the software. These tips are designed to help you and your team use Xero more efficiently.
Basic User Tips
Quick Xero login
For a quick and hassle-free login;
Replace the capital letters below with your Xero login address save as a browser or desktop bookmark so you only have to enter a password.
https://login.xero.com/?username=REPLACE_WITH_YOUR_USERNAME
Perform quick actions with ‘+’ button
On the top right hand you’ll see a small plus icon (+). Click the icon to quickly access several different functions including creating a purchase order, invoice, or contact.
Create a Xero desktop shortcut
- Go to the Xero login page, drag the Xero icon in the URL or web address onto your desktop.
- Click the desktop icon to go directly to the Xero login page.
Search for contacts when entering transactions
Use Xero's advanced contact search when you're entering transactions.
Enter at least 3 key letters of your contact's name or search for the primary contact person for your contact's organisation.
Add account codes from transactions
- Click the account field in the transaction, then select Add a new account.
- For manual journals or spend and receive money, click Add next to the account field.
Create a repeat invoice
- Copy an invoice or bill from one you've already created
- All fields automatically populate with the original information you entered
- Edit the invoice or bill as necessary
Reconcile multiple items
During bank reconciliation, reconcile:
Publish reports
You can run reports for any date but when you publish a report, it's kept as a static copy in PDF or spreadsheet format on the Published tab.
Report against a budget
On some reports you can compare actual income and expenditure against budgeted figures.
- Enter a budget, then show the budget on reports such as the Profit and Loss report and Budget Variance report.
Advanced User Tips
Grant permissions and restrictions for users
- Click on the Settings tab, then select General Settings.
- Click the Users link, then click Add a User.
- On the next screen, you will see six different options ranging from Advisor (which is the role you want to assign to your Chartered Accountant) to None.
Click the link at the bottom of the page titled “Understand user role details” to learn more about the permissions for each role.
Correct a reconciliation mistake
- Click on the three little dots to the right of the account name on the Dashboard
- Go to Account Transactions under the Find header
- Click the transaction you want to change to open it
- On the next screen, click Options and then select Unreconcile
- Click OK on the pop-up window to unreconcile the transaction
- After you’ve completed this process, you can now re-reconcile the bank statement line
Preview your books
The Demo Company feature lets you experiment with test data so you can preview transactions, reports and features separate from your actual business data. This sandbox environment does not affect your financial data and no one else can see the data you enter or import into the demo company.
- Click the list icon to the left of your company’s name on any page, and select My Xero
- At the bottom of the next screen, you’ll see a link to Try the Demo Company
Sync reports and budgets to Google Sheets
- Go to the report or budget you’d like to export in your Xero account
- Click the menu icon (three small dots) to the right of the document
- Select Google Sheets as your export method
- Once you’ve exported your document into Google Sheets, you can edit, save, or share it.
Once you have mastered your Xero account the next step is to make sure the rest of your eCommerce, logistics and other B2B solutions are integrated with Xero.