Set up online banking for QuickBooks Desktop for Mac
by Intuit• Updated 1 year ago
Learn how to connect your bank and set up online banking for QuickBooks Desktop for Mac.
Online banking is a feature that lets you connect your bank to QuickBooks. Then, you can download transactions and use online banking services within QuickBooks. There are two ways you can connect to online banking: Web Connect and Direct Connect.
If your bank offers both services, you might be wondering which suits you best. Here’s a comparison:
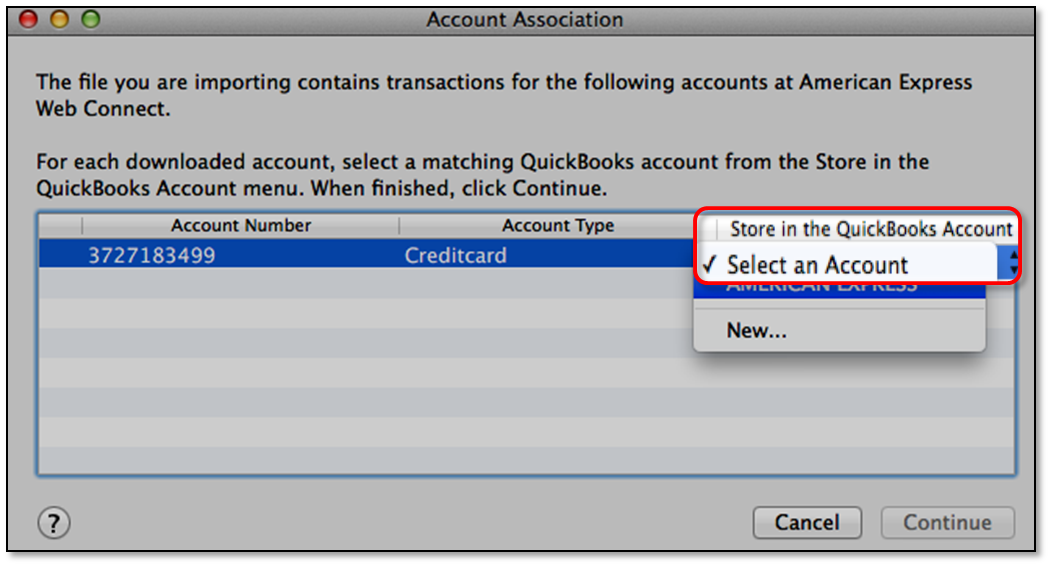
Web ConnectQuickBooks opens a browser window to your bank’s website. From there, you can sign in to download your transactions in a .qbo file, then import it to QuickBooks. | Direct Connect
|
We’ll show you how to set up both Web Connect and Direct Connect.
Step 1: Prepare the requirements
Before you begin, make sure that:
- QuickBooks is connected to the Internet.
- Your bank provides online banking services to QuickBooks.
- You have an online banking account set up with your bank.
- (Direct Connect) You have your customer ID and password/PIN ready. You can get your credentials from your bank.
Step 2: Set up Web Connect or Direct Connect
Note:
|
You can download transactions from these account types:
| Bank account type | Account type in QuickBooks |
| Checking | Bank |
| Savings | Bank |
| Money market | Bank |
| Line of Credit | Bank, Other current liability |
| Credit card | Credit card |
Get started with online banking
Check out these articles to get you started with QuickBooks online banking.
Sign in now for personalized help
See articles customized for your product and join our large community of QuickBooks users.
More like this
- Connect bank and credit card accounts to QuickBooks Onlineby QuickBooks•8014•Updated 3 weeks ago
- Record and make bank deposits in QuickBooks Onlineby QuickBooks•4538•Updated 3 weeks ago
- Set up a loan in QuickBooks Onlineby QuickBooks•2293•Updated 1 month ago
- Set up bank rules to categorize online banking transactions in QuickBooks Onlineby QuickBooks•5819•Updated 3 weeks ago
- Enter and manage expenses in QuickBooks Onlineby QuickBooks•6205•Updated May 17, 2024