We’ll guide you through the process of getting setup and provide links to helpful articles so you make the most out of QuickBooks Self-Employed.
In this article, you’ll learn how to:
- Set up your company profile
- Connect your bank account and credit cards
- Review and categorise transactions
- Set up bank rules
- Manage bank connections
- Create and manage invoices
- Capture physical receipts
- Track your business mileage
- Run business reports
- Prepare for tax time
Important: Your credentials can be used to sign in to both QuickBooks Online and QuickBooks Self-Employed. To avoid login issues in the future, make sure you sign in to QuickBooks Self-Employed specifically.
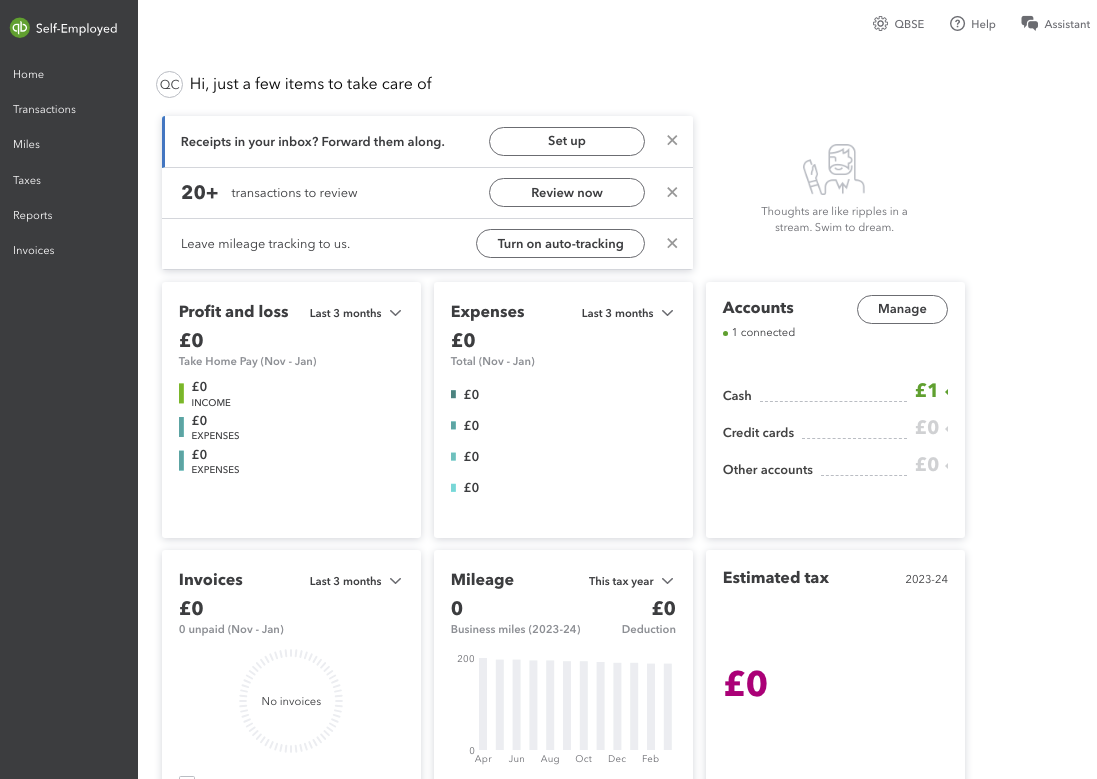
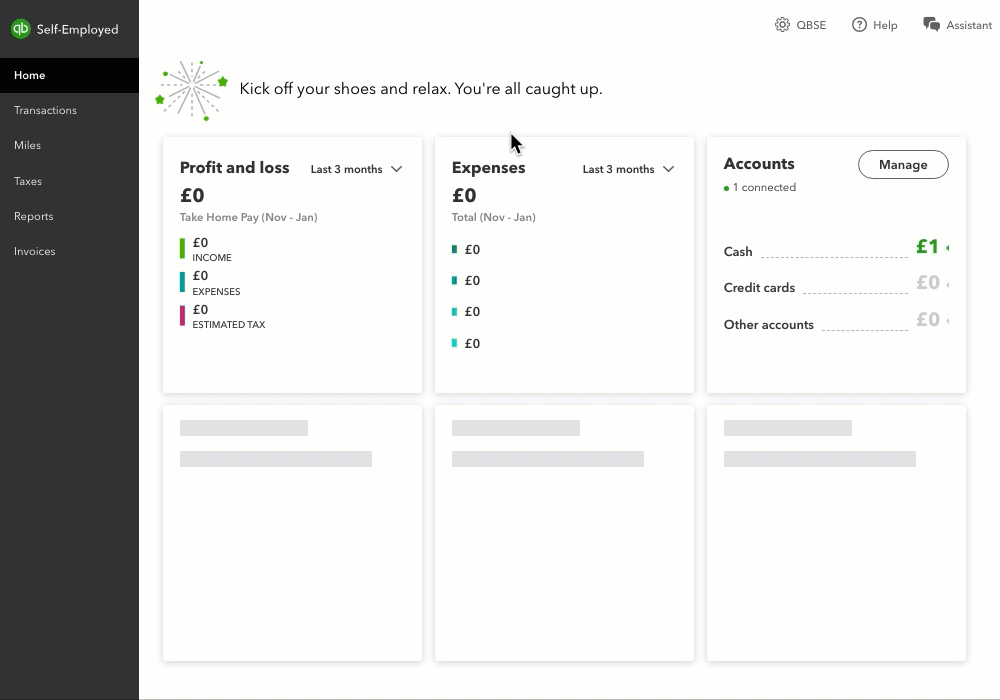
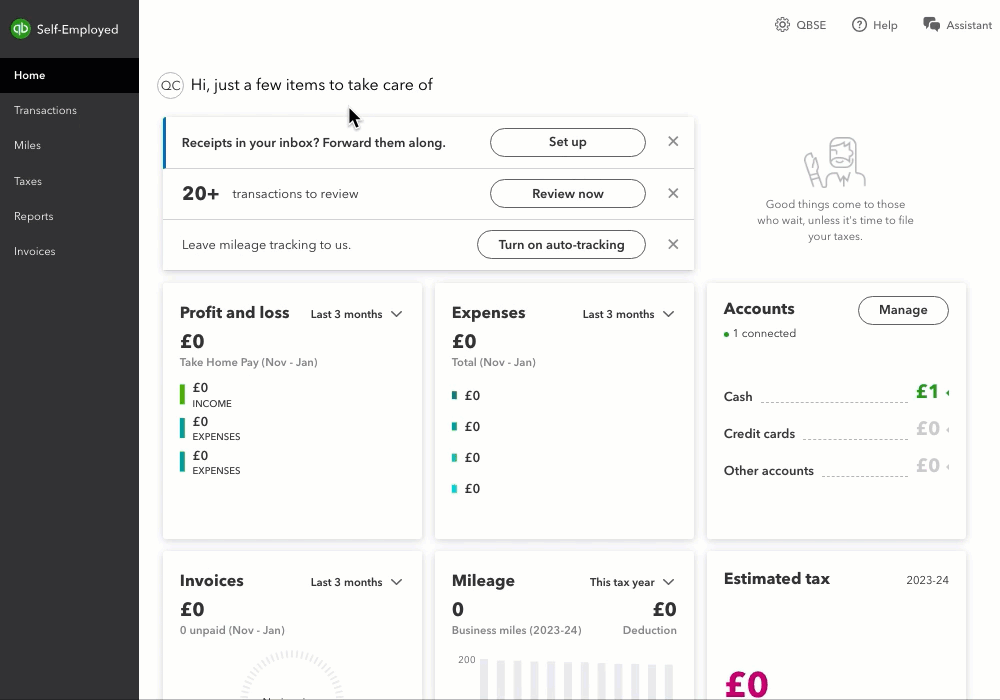
Your QuickBooks Self-Employed dashboard should look similar to this:
1. Set up your company profile
Setting up your company and tax profile right from the start is crucial. This will help you keep track of your finances, calculate taxes accurately and simplify tax preparation when it’s time to submit your Self-Assessment tax returns.
When you open QuickBooks Self-Employed, simply follow the onscreen instructions to enter your business name, address, contact information, tax details and so on.
2. Connect your bank account and credit card
Next, it’s time to connect your bank account or credit card so you can download your most recent bank transactions.
Tip: There are two ways you can do this, but we suggest sticking to just one method. Using both methods can lead to duplicate transactions, so it's better to follow one approach to keep your books tidy.
Method 1: Link your bank account
When you link your bank account to QuickBooks Self-Employed, it lets you automatically import transactions. This saves you time and effort that would otherwise be spent on manually entering each transaction.
See which banks support Open Banking connections and when you’re ready, connect a bank account or credit card.
If you need to connect multiple bank accounts, you can do so by following these steps:
- Go to Transactions.
- Next to Add transactions, select the ▼ arrow.
- Select Add bank account.
- Follow the steps to link a bank account.
If you don’t see your bank, don’t worry, you can manually bring in bank transactions which we’ll show you how to do next.
Method 2: Manually upload bank transactions
If your bank cannot connect to QuickBooks or you need to bring in older transactions, here are some step-by-step instructions to guide you:
Things to know:
- If your bank provides bank statements in PDF format, you'll need to convert them from PDF format to CSV format before you bring them into QuickBooks.
- QuickBooks will only download the last 90 days worth of transactions, but you can add older bank transactions manually if you need to.
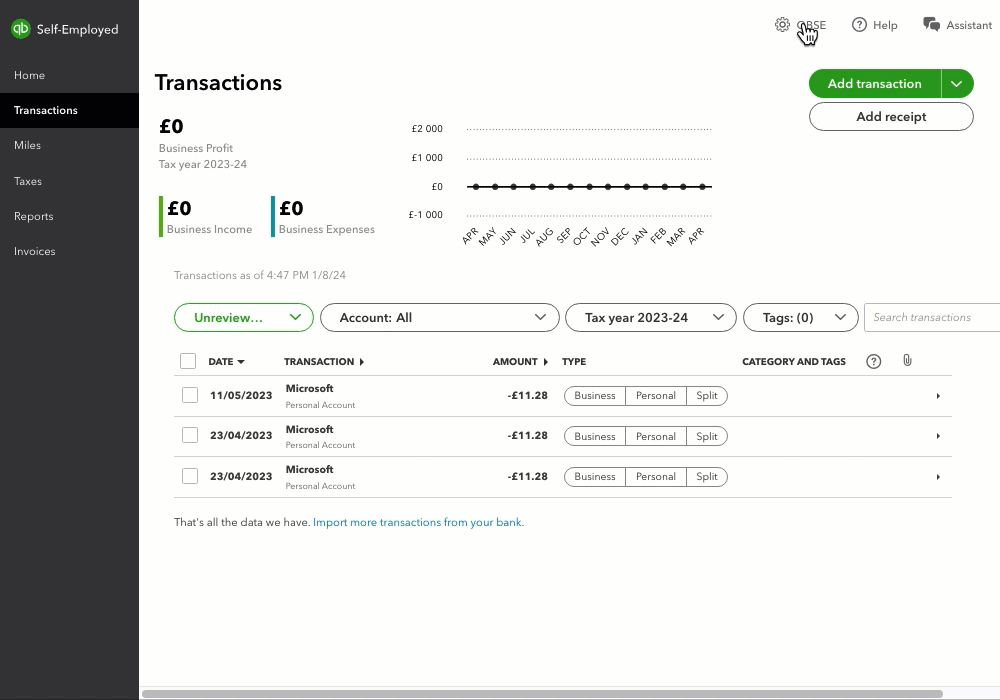
3. Review and categorise bank transactions
Now that your transactions are in QuickBooks, all you have to do is review the transactions and approve the way QuickBooks categorises them.
- Go to Transactions.
- From the Type dropdown menu, select Unreviewed and uncategorised. You can also check transactions in either Unreviewed or Unreviewed income.
- Follow the steps to review and categorise bank transactions.
Exclude transactions
If you ever need to remove a transaction in QuickBooks, like a duplicate or a mistake, you can exclude downloaded transitions and delete manually added ones.
Excluding is helpful for duplicates or transactions that shouldn't be recorded. However, it's best to consult with an accounting professional before excluding or deleting transactions in QuickBooks.
4. Set up bank rules
Do you regularly do business with the same customers or suppliers? Are the transactions usually the same? Then create bank rules so QuickBooks automatically categorises these types of transactions for you.
- Select the ⚙️ gear icon.
- Select Create rules.
- Select Create rule.
- Enter the details and Save.
Now, all you have to do is review the work.
5. Manage bank connections
After linking your bank to QuickBooks, it's important to accept the consent of the connection. If you don't, the bank will temporarily disconnect the bank feed, and automatic transaction downloads will stop.
Here’s how you can manage and refresh your bank consents and connections.
Important: If you need to refresh the connection between your bank and QuickBooks, simply refresh the connection. Avoid disconnecting the account completely, as this will delete all your transactions from QuickBooks.
6. Create and manage invoices
Excited to create and send your first invoice to your customer in QuickBooks Self-Employed? Awesome! Just follow these steps to get everything set up. And don’t worry, we’ll also show you how to create an invoice on different devices.
To see all of your open and completed invoices:
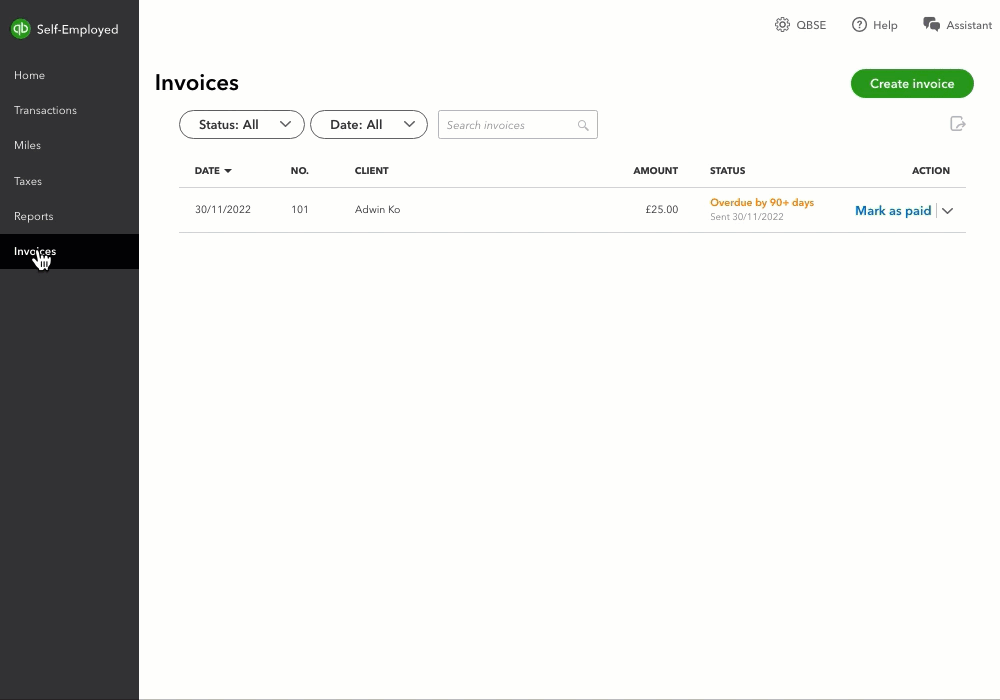
- Go to Invoices.
- Find and select an invoice you want to work.
- In the Actions column, select the ▼ arrow.
- You’ll have the following options:
- View
- Edit
- Duplicate
- Export to PDF
- Send reminders for overdue payments
- Delete
7. Capture physical receipts
If you have a physical receipt for a purchase, you can take a photo of the receipt and upload it into QuickBooks without having to manually enter it into the system.
You can also attach receipts to existing transactions or create new transactions directly from receipts.
8. Track your business mileage
If you travel for work and plan to write-off your trips, use the QuickBooks Self-Employed app to track your mileage. Just turn on the app and let QuickBooks take care of the rest.
- Go to Miles.
- Select Add trip.
Don’t worry if you forgot your device on a trip or didn't turn it on, you can always enter the mileage yourself.
9. Run business reports
Run reports as often as you need to get valuable insights into your finances.
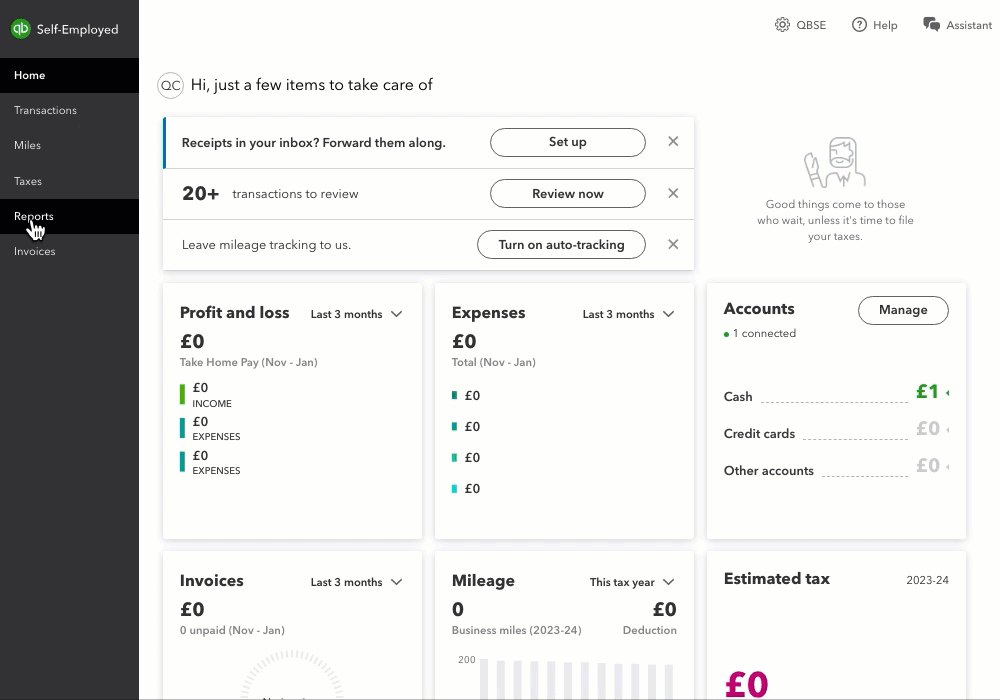
- Go to Reports.
- You have the option to run or download the following reports:
- Mileage log: Shows details about your business trips.
- Profit and Loss: Summarises your income and expenses.
- Receipts: Shows receipts collected for your business.
- Tax summary: Shows your taxable business profit.
- Tax details: Similar to tax summary but adds detailed transaction info by category.
Here’s a step-by-step on how you can run reports and export transactions.
10. Prepare for tax time
From important dates to helpful guides, we’ve put together this step-by-step checklist that will help you in sorting everything out for tax year end and Self Assessment.