Restore an inactive balance sheet account in QuickBooks
by Intuit•475• Updated 2 days ago
When you delete a balance sheet account in your chart of accounts, it's made inactive instead, which is more like archiving. This allows QuickBooksto keep all the transactions on the account so you can restore the inactive account in the future. (This doesn’t apply to income and expense accounts.)
We'll show you how to restore a deleted or inactive account.
Note: If you're looking to make an account inactive rather than restore an account, here's how to make an account inactive in your chart of accounts.
Restore an inactive account
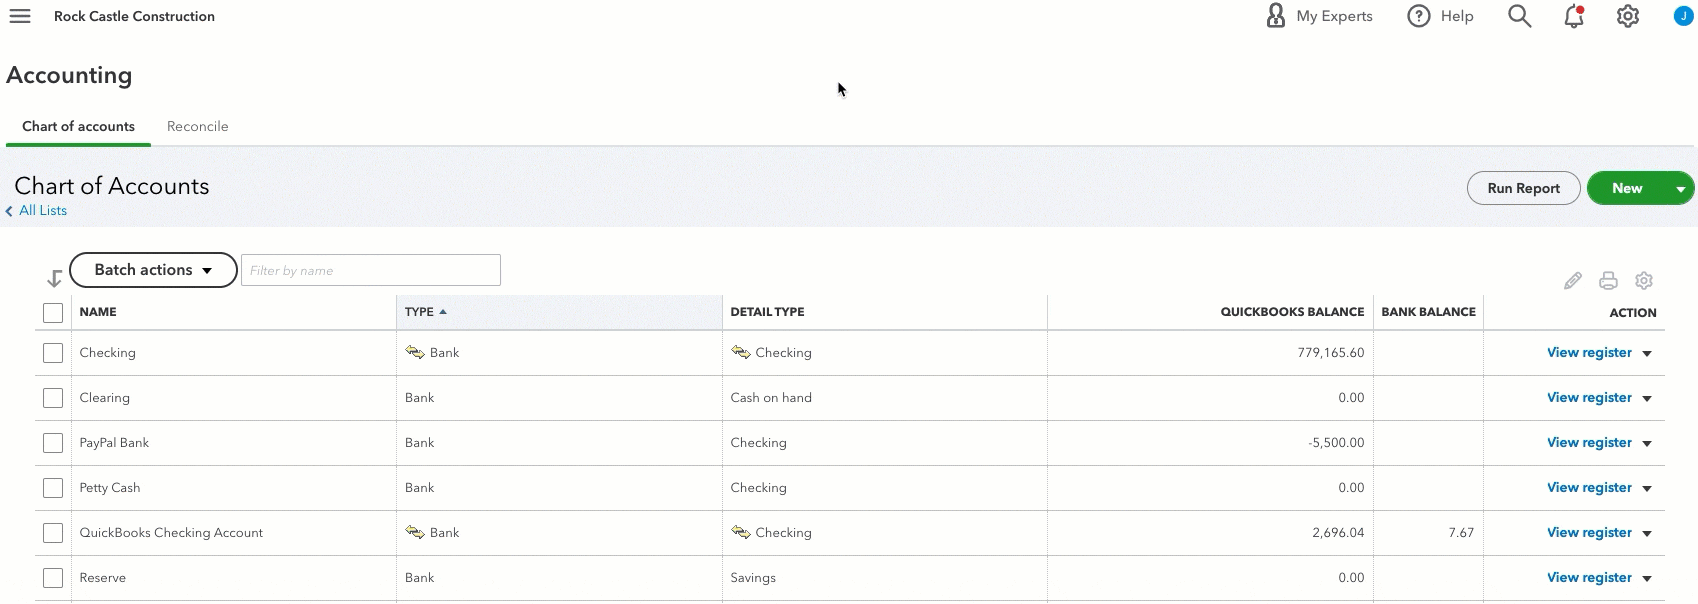
- Go to All apps
 , then Accounting, then Chart of accounts (Take me there).
- Next to the printer icon, select the Settings ⚙ icon, then check Include inactive.
- Find the inactive account you want to restore. It will be marked with (deleted).
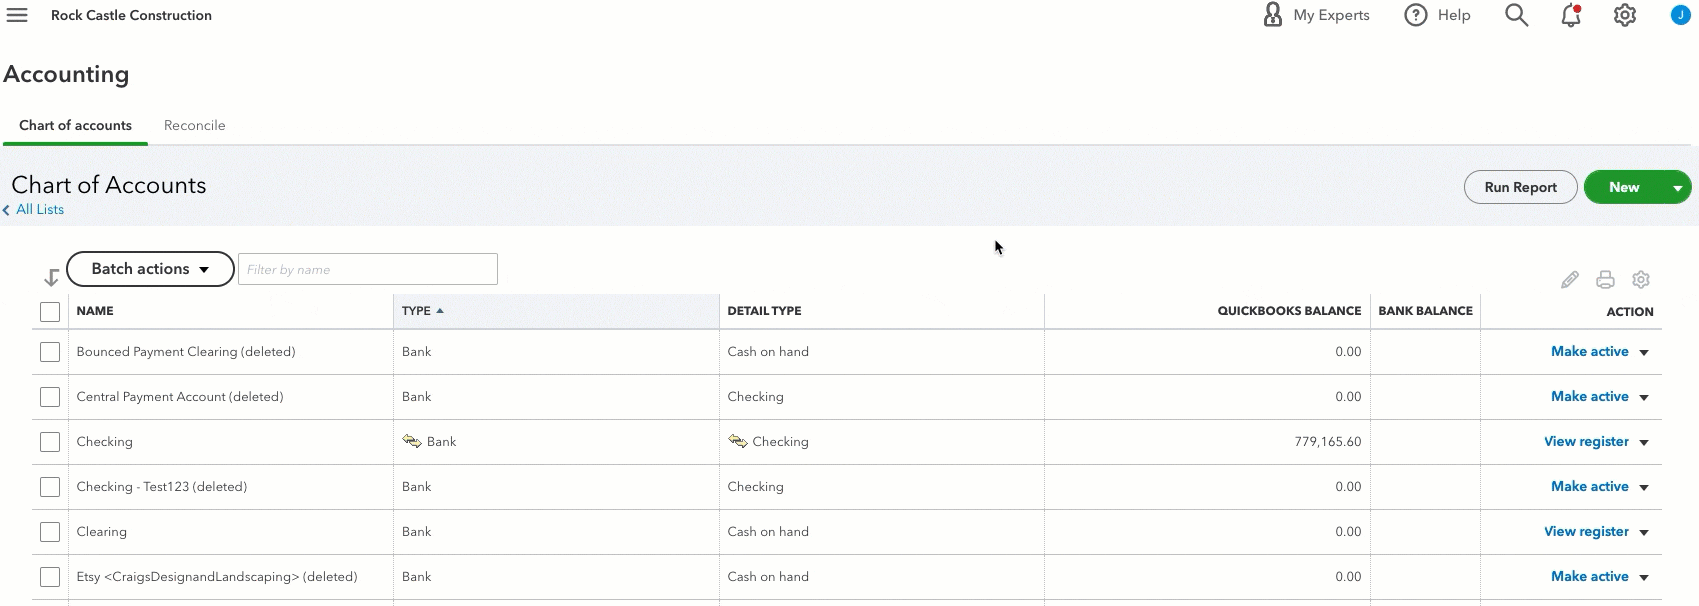
- In the Action column, select Make active.
Correct a restored balance sheet account's balance
If you restored a deleted account with a non-zero balance, make sure to delete the automatic adjustment entry created by QuickBooks. This corrects the account balance to what it was before deletion.
- Go to All apps , then Accounting, then Chart of accounts (Take me there).
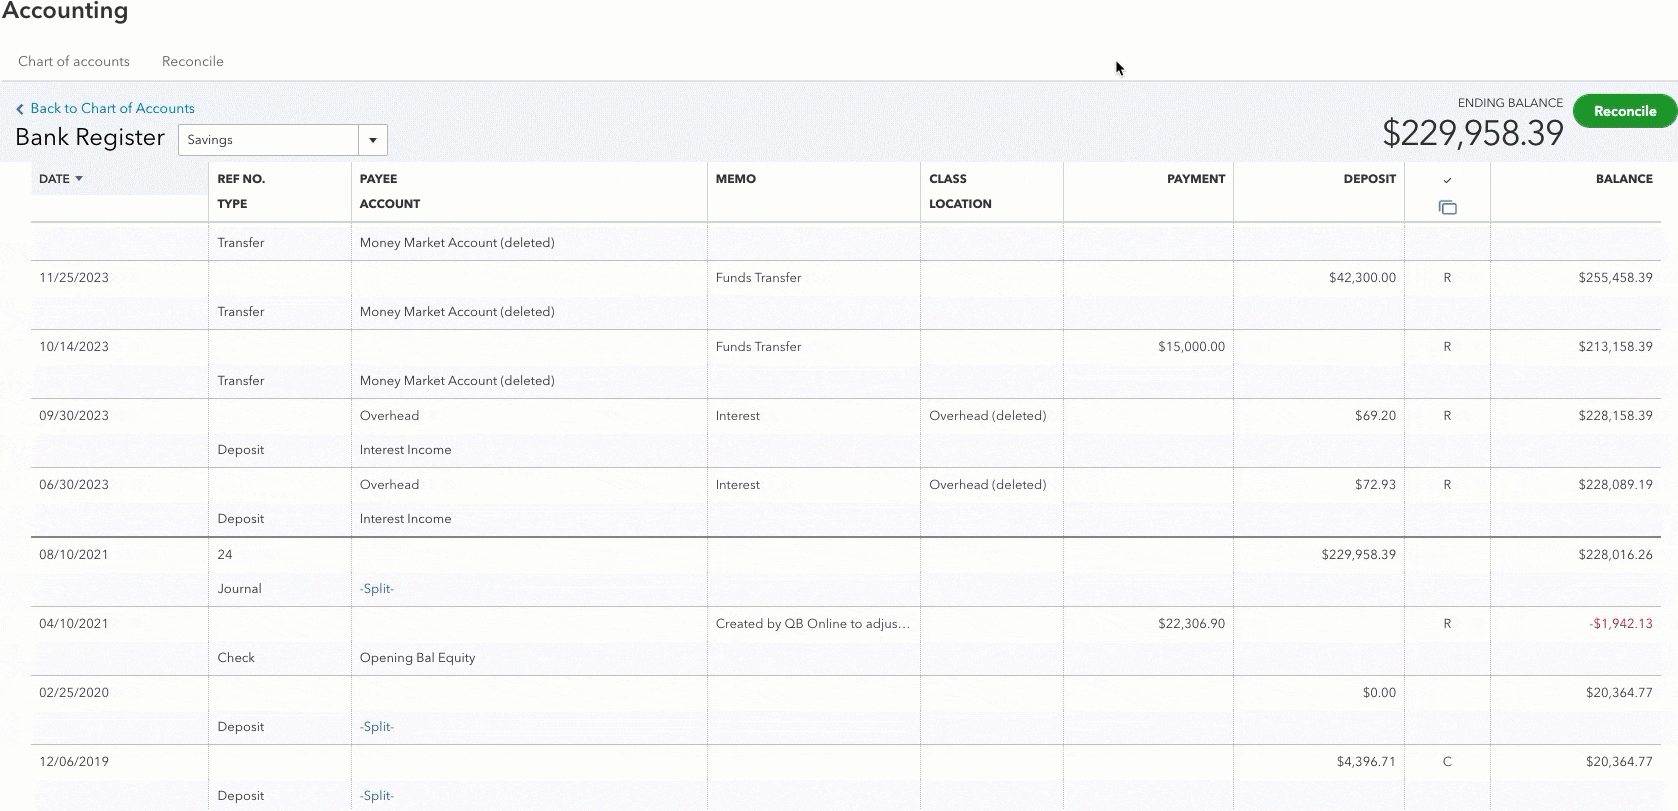
- Find the restored account, then in the Action column, select View Register.

- Find the transaction with the memo Created by QB Online to adjust balance for deletion. It should be the last entry in the register.
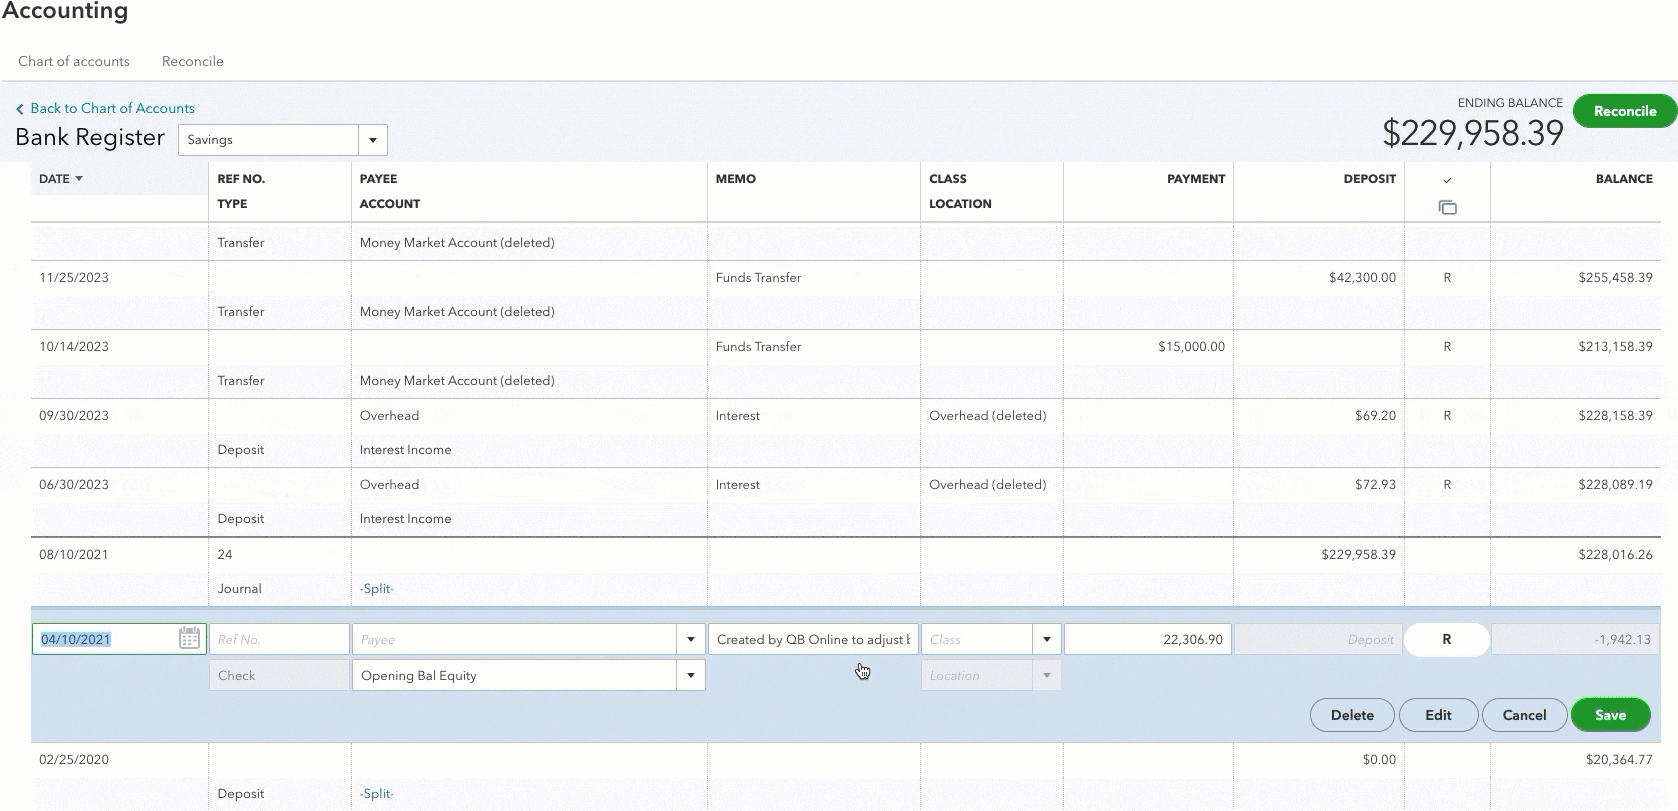
- Select the entry, then Delete.
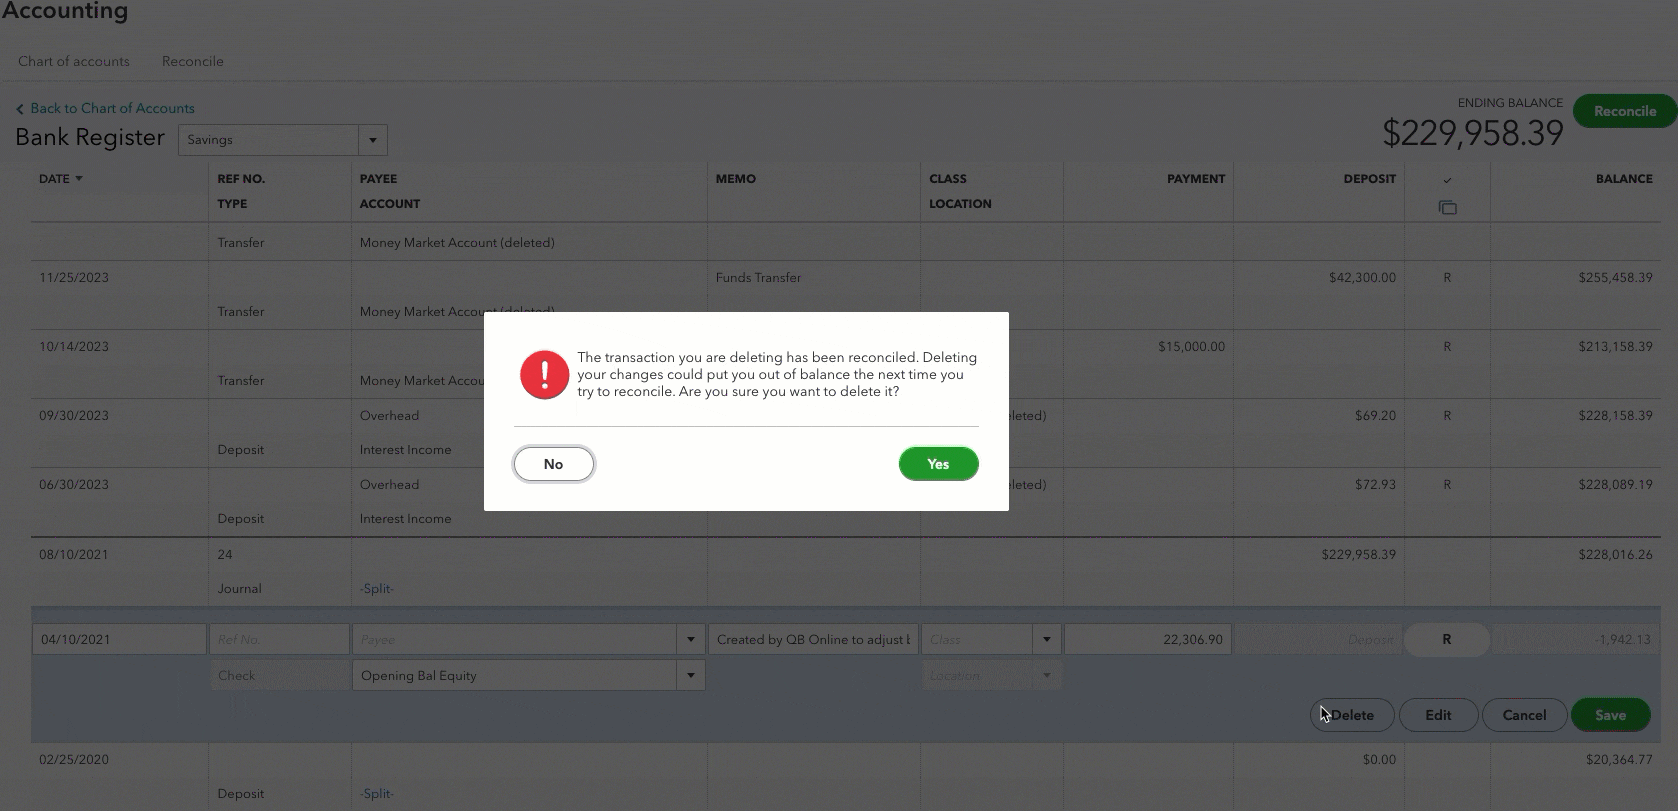
- Once asked to confirm deletion, select Yes.
More like this
- Balance Sheet and Inventory/Stock Valuation reports show different amounts for Inventory Asset accountby QuickBooks
- Error: This transaction will cause a deleted account named (name of account) (deleted) to have non-zero balanceby QuickBooks
- Make an account inactive on your chart of accounts in QuickBooks Onlineby QuickBooks
- Make a copy of your QuickBooks Online Advanced companyby QuickBooks