Customize a Snapshot tab
by Intuit• Updated 4 years ago
Snapshot provides real-time and consolidated information and lets you perform tasks from a single place.
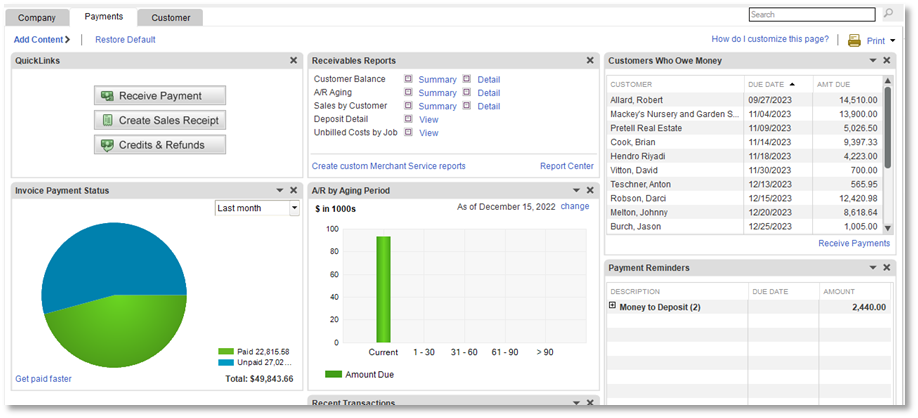
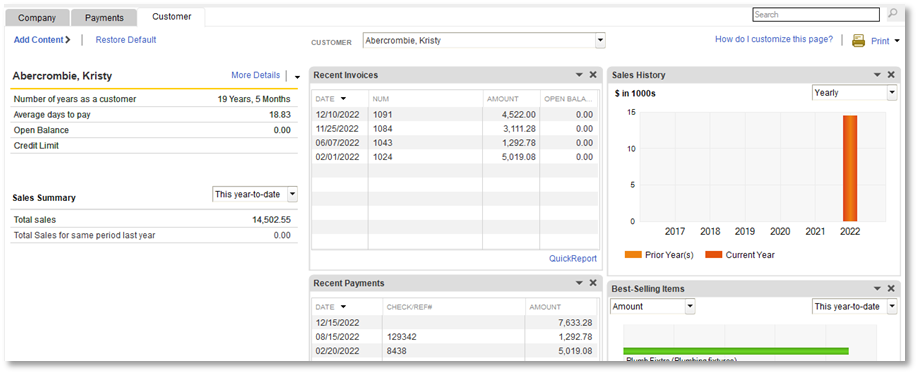
There are three Snapshot tabs available in QuickBooks:
You can easily customize any of these tabs to show the content you want to see by adding, moving, and removing content. If needed, you can restore the page to its original default settings.
Note that when you customize a tab, only you will see your changes. No one else can view your personalized snapshot.
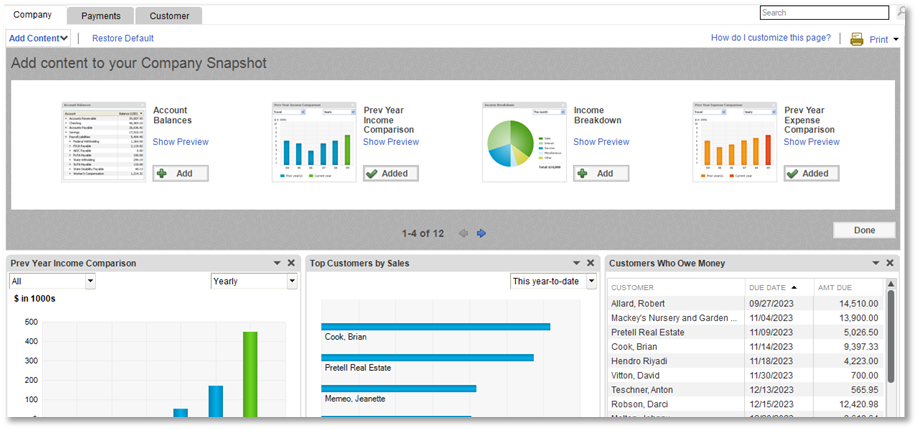
Add content
- Select the Add Content button to open the content gallery.
- Select Show Preview to preview charts, graphs, and other available content.
- To include the content to your snapshot, select Add then Done.
Remove content
Select X in the upper right corner of a content panel to remove it from your snapshot. The content goes back into the content gallery. You can add it back in later if you change your mind.
Move content
Drag a content panel by its header to a different location and release it.
Restore defaults
Select the Restore Defaults button at the top of the page to restore the snapshot to its original settings. Any content panels you added are moved back into the gallery, the remaining panels return to their original position, and date ranges you chose return to their original settings.

