- Mark as New
- Bookmark
- Subscribe
- Permalink
- Report Inappropriate Content
Banking
Hello there, Cindy. Yes, manually uploading it to QuickBooks is the other way to upload it for a specific time frame. Let me provide you with the steps below.
To add a transaction that is older than those initially downloaded by QuickBooks, you need to follow a two-step process. First, export the transactions from your bank, and then import them into QuickBooks using a laptop or desktop.
Let's start with getting the date range, in which, before you get the transactions from your bank, check which ones are already in QuickBooks to avoid duplicates.
Here's how:
- Go to Transactions.
- From the Account: All drop-down menu, select the account you plan to upload transactions into.
- From the Date drop-down menu, click All.
- Choose the Date column header to sort the list by date.
- Take note of the oldest transaction date in the account.
Next, we need to export the transactions from your bank by following the steps:
- Sign in to your bank's website.
- Follow your bank's steps to download your transactions as a CSV file.
- Set the date range for at least one day before the oldest transaction in the account in QuickBooks.
- Please follow any on-screen instructions to finish the download.
Finally, import the transactions by following these steps:
- Go to Gear Icon/Settings.
- Click Import transactions.
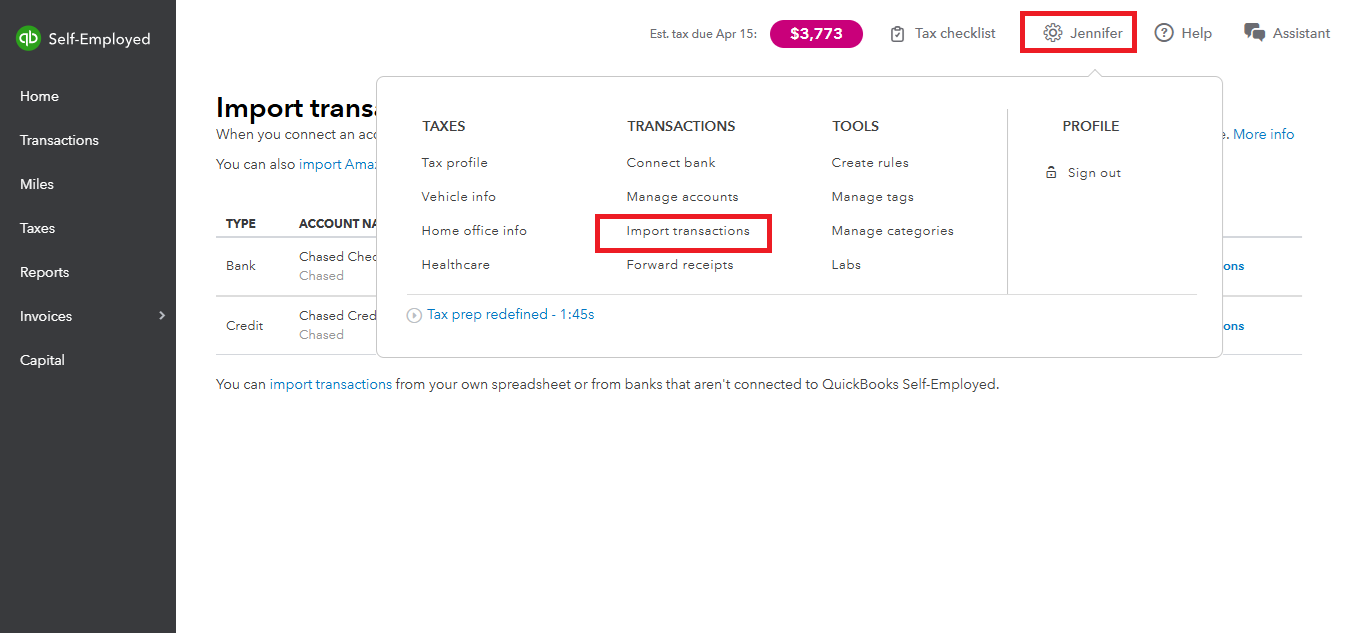
- Select Import older transactions for an account you want to add transactions to.
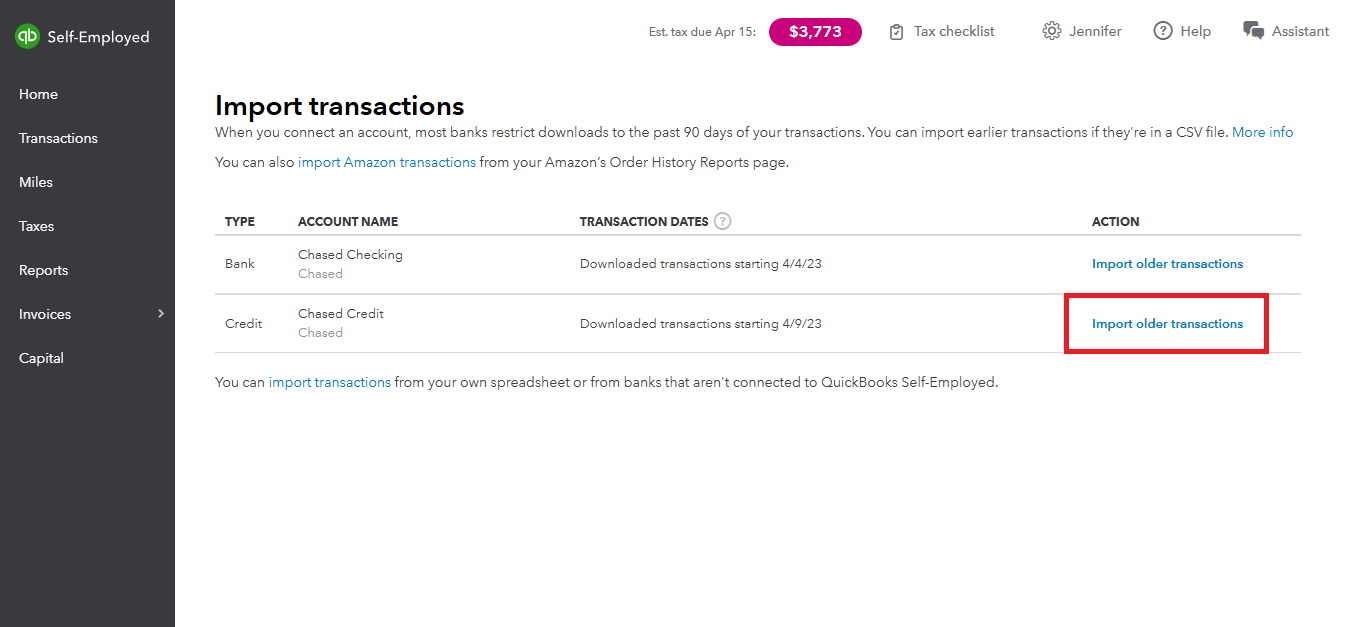
- Click Browse and search the file you downloaded from your bank.

- Choose the file and click Open to start the import.
- Review the column headers and data. Make sure the Date, Description, and Amount columns on CSV match the columns and order in QuickBooks. The other column headers can be in any order.
- Click Continue to complete the import.
For more information, you can refer to this article: Add older transactions in QuickBooks Self-Employed.
If you are using QuickBooks Online you can follow the steps in manually uploading transactions by clicking the link provided.
After completing the upload, you can categorize the imported transactions by following the instructions in these articles: Categorize Transactions in QuickBooks Self-Employed.
If you have further queries about manually uploading the transactions from your bank don't hesitate to use the Reply button below. We're here to help.
