As you may have seen on our page, Financial Institutions that support QuickBooks Online, we’ve received confirmation from Westpac Group that they’re no longer supporting the standard feed connection to QuickBooks Online from certain subsidiaries.
Therefore, if your business banking account is with the St. George Bank, you'll experience an error on your standard feed.
| You will need to disconnect your impacted account, and either upgrade to a direct feed or use manual uploads (depending on your account type) to get your transactions into QuickBooks Online. Follow the guides below to move forward with your banking. |
Before you start, note that this doesn’t impact any Westpac customers or subsidiary customers with personal bank accounts.
Move forward with your business banking
Select this heading if you have a Savings or Checking Account
If your impacted account was a business savings or checking account, you can upgrade to a direct feed connection.
1. Disconnect your account
We recommend you accept any transactions that are still in the For Review tab to avoid losing any transactions. Once completed, you can disconnect the account.
- In Business view, go to Bookkeeping, select Transactions, then select Banking (Take me there) or in the Accountant view, go to Banking and select the Banking tab.
- Select the tile for the bank account.
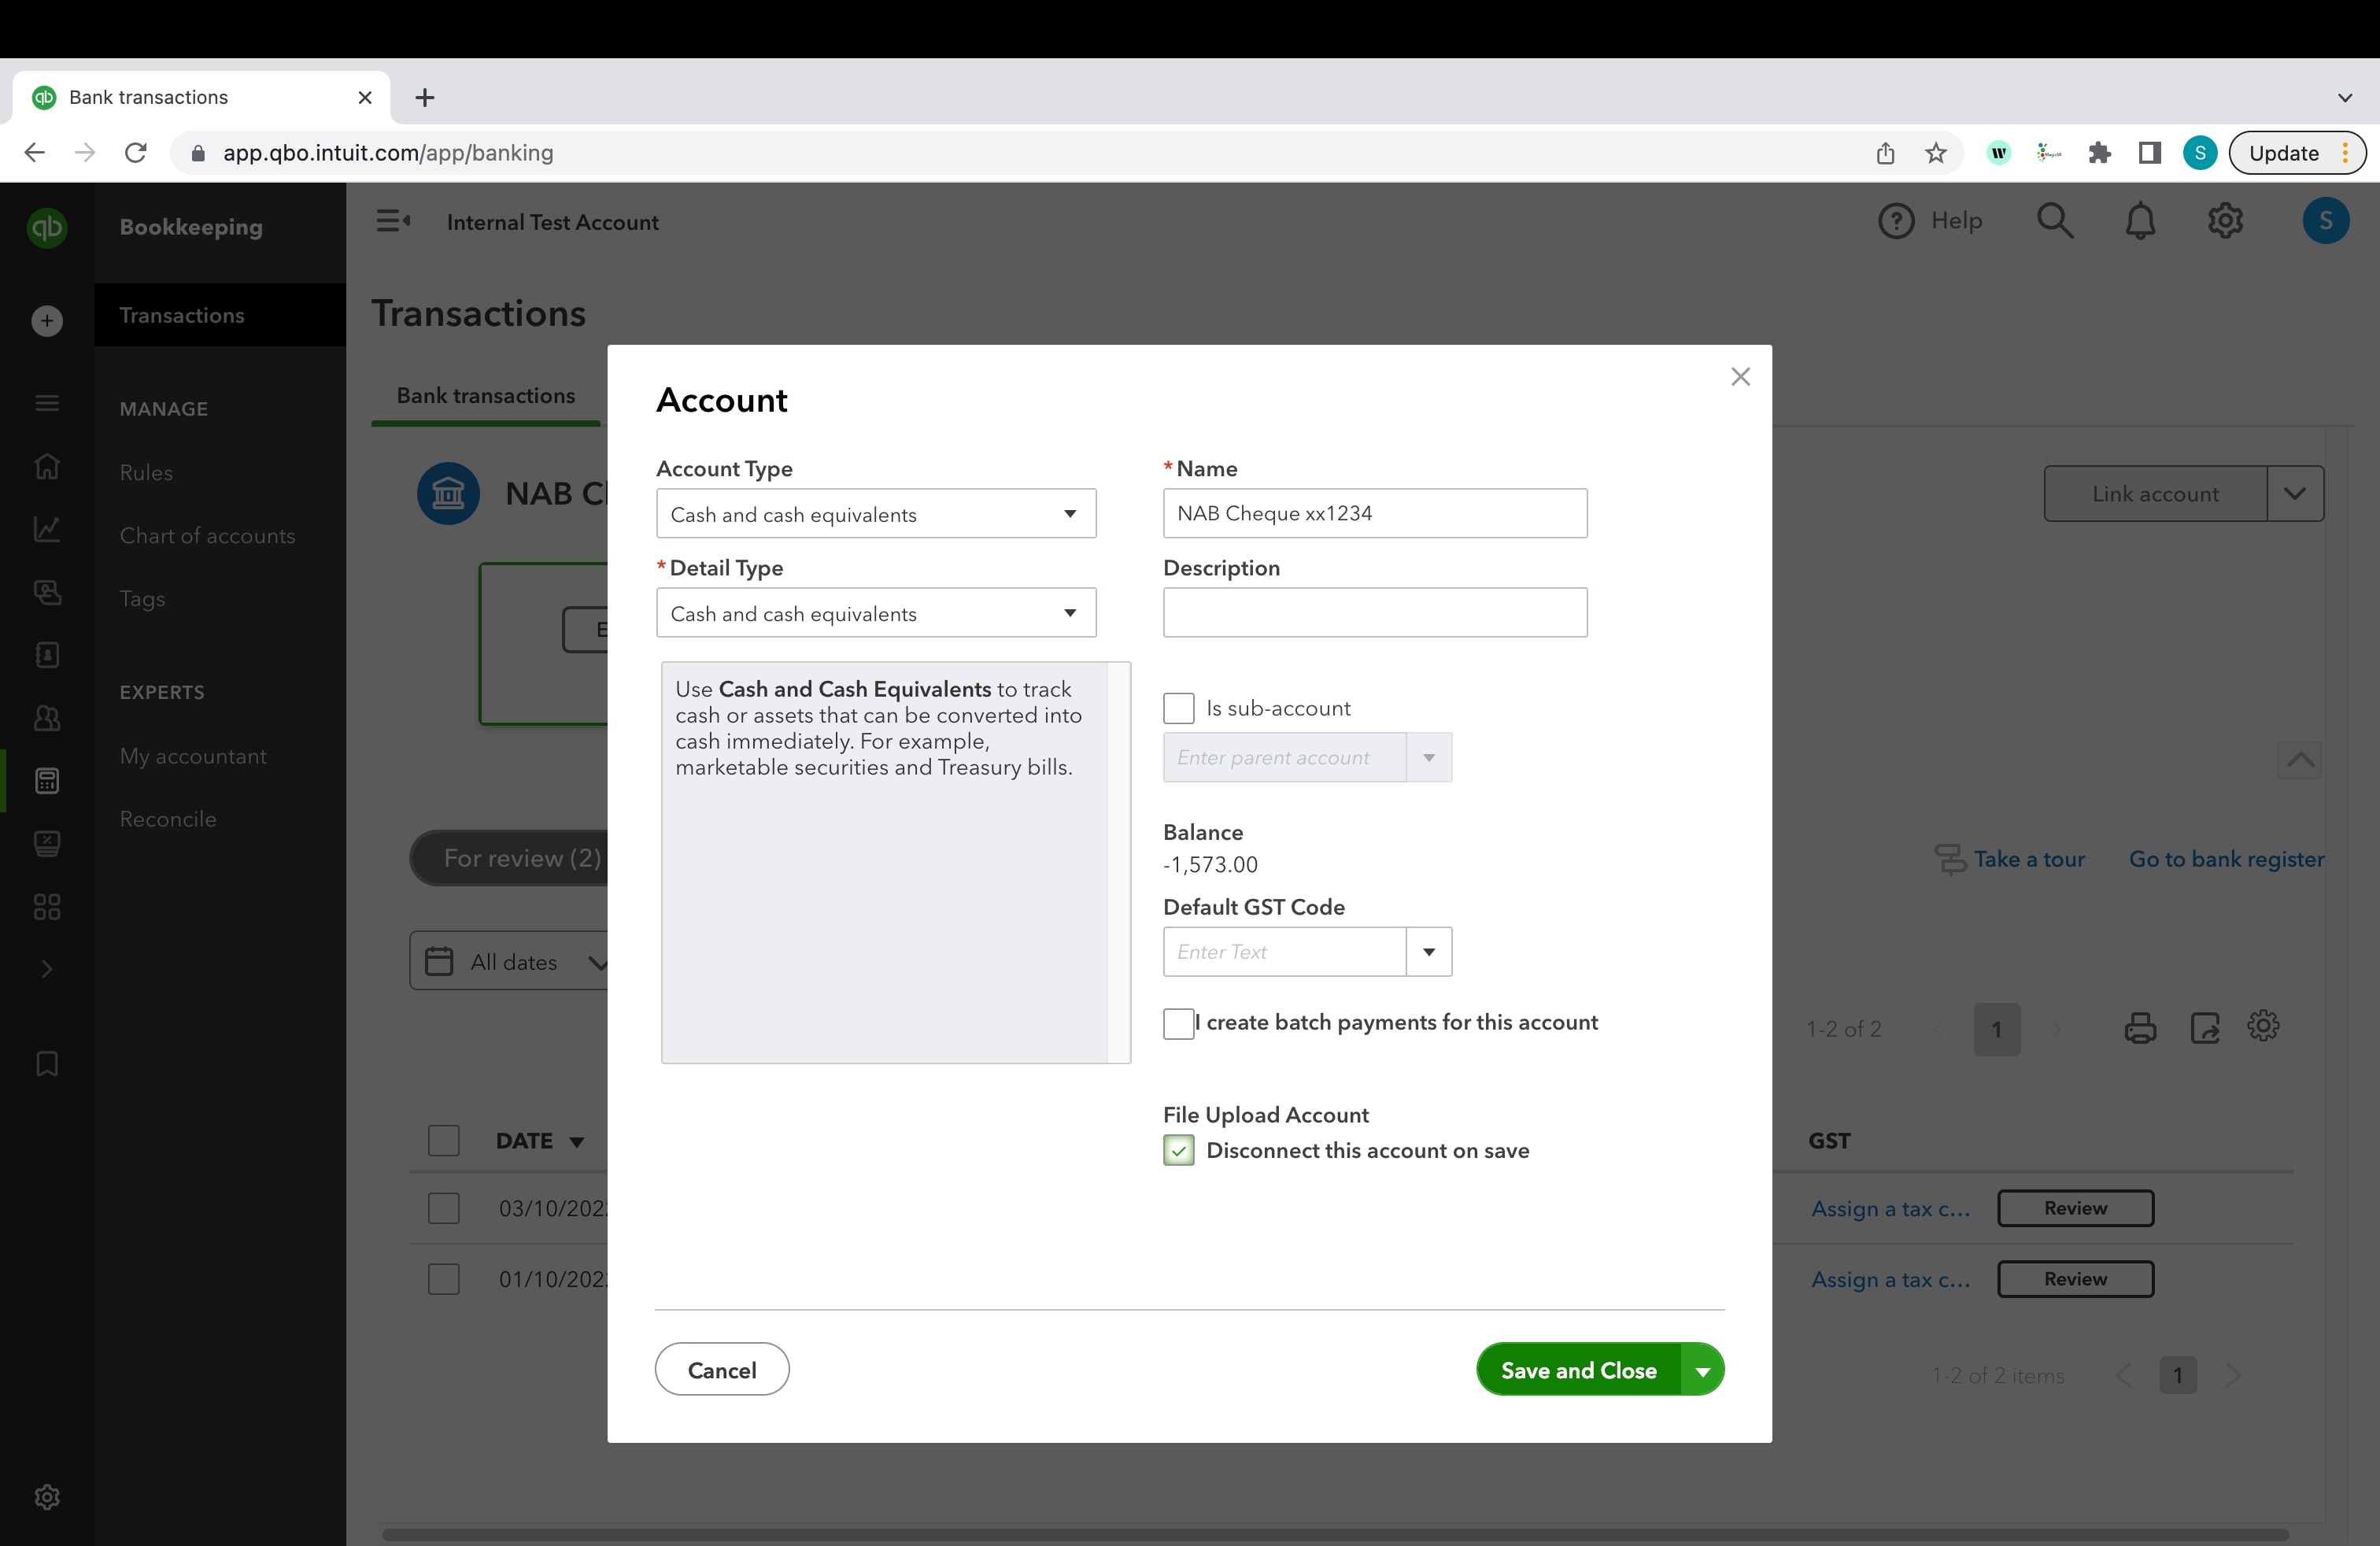
- Select the pencil ✎ icon, then select Edit account info.
- Tick the Disconnect this account on save box. Note: If QuickBooks is downloading new transactions, you won't see this option. Wait a few minutes for the update to finish and try again.
- Select Save and Close.
- The bank account will disappear from your banking screen.
Select this heading if you have a Credit Card or Loan Account
Direct feeds aren't currently available for credit card or loan accounts. We are working with the Westpac Group to resolve this issue, but for now, you'll need to be manually uploaded via a csv. file and imported into QuickBooks Online.
1. Disconnect your account
We recommend you accept any transactions that are still in the For Review tab to avoid losing any transactions. Once completed, you can disconnect the account.
- In Business view, go to Bookkeeping, select Transactions, then select Banking (Take me there) or in the Accountant view, go to Banking and select the Banking tab.
- Select the tile for the bank account.
- Select the pencil ✎ icon, then select Edit account info.
- Tick the Disconnect this account on save box. Note: If QuickBooks is downloading new transactions, you won't see this option. Wait a few minutes for the update to finish and try again.
- Select Save and Close.
- The bank account will disappear from your banking screen.
We're here to help
If you need additional help or have questions, or you require assistance at any point in this process, our Customer Success team is happy to help.
Sign in to QuickBooks and start a discussion in our QuickBooks Community or join one of our Facebook Groups to connect with other like-minded QuickBooks customers.