Use the Workpapers lock feature
by Intuit•1• Updated 1 week ago
One of the main benefits of working in the cloud is the ability to collaborate with clients and colleagues within a firm.
During the year-end workflow, accounting professionals like to have even more line-of-sight into the transactions that are being added to QuickBooks Online.
If you're an accountant or bookkeeper who does year-end work, it will bring you some comfort that we are introducing our new feature User Lock. This feature allows you to lock the year-end Workpapers as you review and adjust the financial statements.
In this article, you'll learn how to:
Lock Workpapers
- Sign in to QuickBooks Online Accountant.
- Open the client file to be archived.
- Select the Accountant tools briefcase icon in the top-left corner of the screen and select Workpapers, or you can access Workpapers under the Books to Tax section of the left navigation menu.
- Select Workpapers.
- Select the Locked padlock icon.
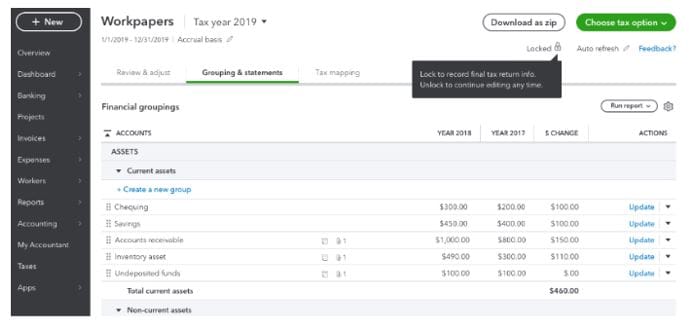
The Lock/close your books window displays.
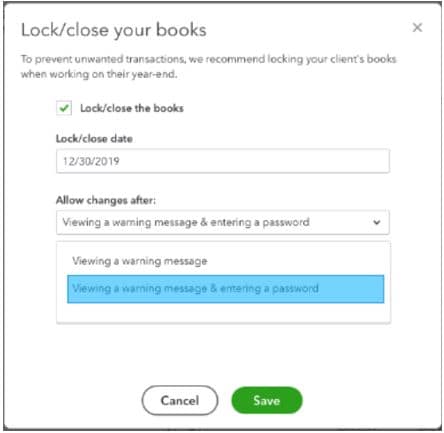
- Select the Lock/close your books checkbox.
- Enter a date in the Lock/close a date field.
- Select a setting in the Allow changes after field.
- Enter and confirm a password. This password may be kept to yourself or shared with your firm’s users if they need to make an additional entry.
Note: Lost or forgotten passwords cannot be recovered in Workpapers. - Select Save.
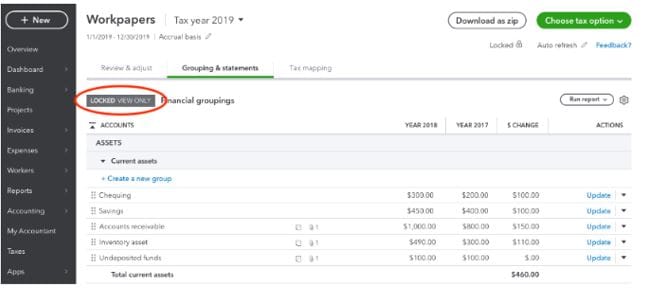
The file is locked and a LOCKED VIEW ONLY designation displays on the file going forward.
Unlock Workpapers
If you missed entering a transaction or a supporting document, you can quickly unlock files to make new edits.
- Select the LOCKED VIEW ONLY designation in the locked file.
The Unlock/open your books window displays.
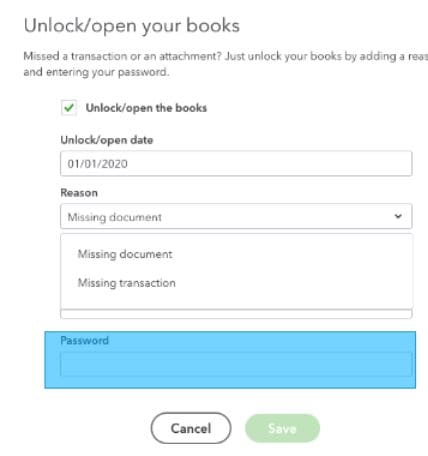
- Select the Unlock/open the books checkbox.
- Enter a date in the Unlock/open date field.
- Select a setting in the Reason field.
- Enter the password in the Password field.
- Select Save.
More like this
- Year-end tasks for QuickBooks Online Accountant Workpapersby QuickBooks
- Introducing Workpapersby QuickBooks
- Closing your books with the Workpapers tabby QuickBooks
- We've updated your view of Workpapersby QuickBooks