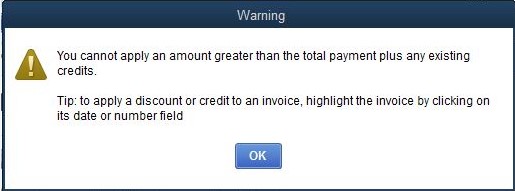
Warning: You cannot apply an amount greater than the total payments plus any existing credits
by Intuit•1• Updated 2 months ago
When selecting invoices to be paid on the Receive Payments screen and the total of all invoices exceeds the figure in the Payment amount field, you will get the following message:
Warning: You cannot apply an amount greater than the total payments plus any existing credits when creating a payment in QuickBooks

Intuit recommends more than one solution for this problem. The first solution may solve your problem, or you may need to try all of them to resolve the issue. For best results, perform the solutions in the order shown.
Solution 1: Apply a discount or credit to one or more invoices
- Select the invoice line without checking it (highlight the invoice by clicking the date or number field).
- Click the Discount and Credits button.
- To apply a discount:
- Click the Discount tab.
- (Optional) Change the amount of the discount.
Note: QuickBooks calculates a suggested discount amount based on your payment terms with the customer and the payment date. You can enter any discount amount you choose; you don't have to use the suggested amount. However, the amount of the discount can't be higher than the original invoice. - Enter the name of the expense account you use to track discounts. (Example: Discount Expense).
- Click Done to record the discount.
- To apply a credit:
- Click the Credits tab.
- Put a checkmark on the credit you want to apply.
- If you do not want to use the entire credit or if the credit amount is more than the customer balance, change the amount under the Amt to Use column.
- Click Done to record the credit.
- Click Save & Close.
Solution 2: Change which invoices are selected to be paid
- Manually select the invoices by checking each invoice until the total add up to the figure in the Payment Amount field.
- Set your preference so the invoices will be automatically selected.
- From the Edit menu, click Preferences.
- On the left pane, select Payments then click Company Preferences.
- Put a checkmark on the box Automatically apply payments.
- Click OK.
Solution 3: Change the figure in the Payment amount field
- Enter a different payment amount.
- Set your preference so the payment will be automatically calculated.
- From the Edit menu, click Preferences.
- On the left pane, select Payments then click Company Preferences.
- Put a checkmark on the box Automatically calculate payments.
- Click OK.