Edit Your Page URL, SEO, and Social Share Settings
by Intuit•4• Updated 1 year ago
Edit your page settings to include search engine optimization (SEO) techniques that can help control how pages on your Mailchimp website display in browsers, search engine results, and social posts. Clear and informative content, as well as compelling visuals, can improve findability and drive traffic to your website.
In this article, you’ll learn how to access and edit your page’s name, URL path, SEO, and social share settings. You’ll also learn how to generate SEO descriptions.
Before you start
- To complete the tasks in this article, you’ll first need to publish a website in Mailchimp.
- At this time, generated SEO descriptions are available in English.
Edit page name and URL path
The page name will display in your Mailchimp account, as well as your site’s navigation bar. The URL path will display as part of the web address.
To edit a page name and URL path, follow these steps.
- Click the Website icon.
- Click Edit Site.

- In the Manage Site menu, click Pages.
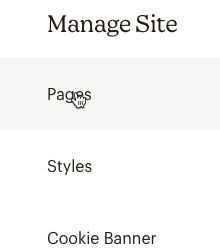
- Hover over the page you want to edit and click Settings.

- Type the Name and URL path in the appropriate fields.
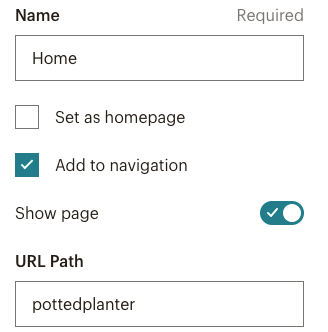
Add to navigation is checked by default. You can uncheck this if you want to exclude this page from your site’s navigation bar. - Click Set as homepage to select the current page as your homepage.
- If you want your homepage to remain hidden until you’re ready, toggle the Show page button off.
- When you’re done, click Save.

Generate SEO descriptions
SEO is the practice of increasing the quantity and quality of traffic to your website through search results. Mailchimp’s generated SEO descriptions feature generates unique metadata based on your Home page content. You can use this content to update your web page descriptions.
To generate an SEO description, follow these steps.
- Click the Website icon.
- Click Edit Site.

- In the Manage Site menu, click Pages.

- Hover over the page you want to edit and click Settings.

- Click the Search Results Preview.

- Click Generate.
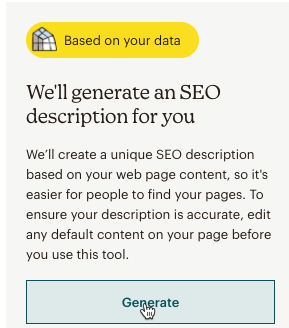
- Click Add To Page Description to add the description to your webpage now or click Maybe Later to add at a later time.
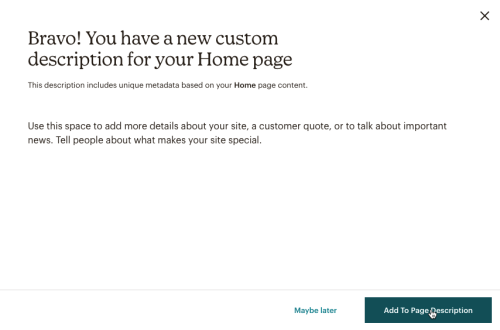
The description will be saved to the SEO Description field.
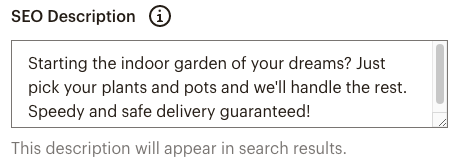
The Preview window displays your content to show you what it may look like in Search results. - Enter your SEO Title.
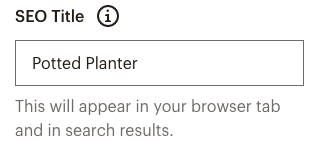
- When you’re done, click Save.

You may want to enter your own page descriptions or edit descriptions you’ve already created. In this next section, we’ll go over how to edit SEO titles and descriptions.
Edit SEO title and description
To edit a page’s SEO title and description, follow these steps.
- Click the Website icon.
- Click Edit Site.

- In the Manage Site menu, click Pages.

- Hover over the page you want to edit and click Settings.

- Click the Search Results Preview.

- Enter your SEO Title and SEO Description.
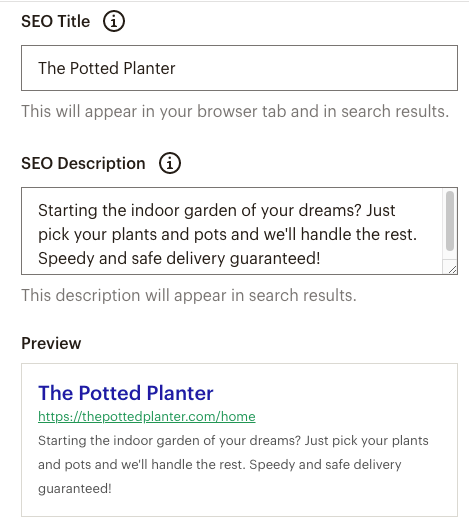
The preview updates in real time to show you what your content may look like in search results. - When you're done, click Save.

If you make changes to your SEO title or description, and the updates do not appear in search results, you may need to ask Google to re-index your page.
Edit social share settings
Edit the title, description, and image that potential customers see when your page is shared on social media channels.
To edit your social share settings, follow these steps.
- Click the Website icon.
- Click Edit Site.

- In the Manage Site menu, click Pages.

- Hover over the page you want to edit and click Settings.

- Click the Social Share Preview.

- In the Social Share Title and Social Share Description fields, enter the text you want to appear in your social post previews.
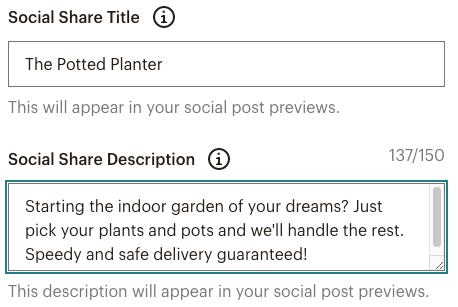
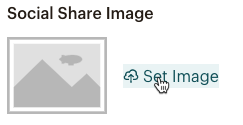
The preview updates in real time to show you what your content may look like when your URL is shared on social media. If you've generated an SEO description or manually entered the SEO title and description, the social share will populate the same information by default. - Click Set Image to choose a logo or image from the content studio.
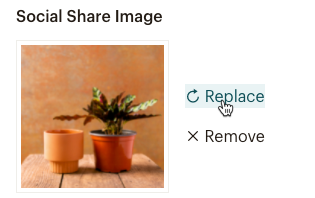
If an image is already present, click Replace to change it or click Remove to delete it from your social post preview.
The minimum allowed image dimension is 200-by-200 pixels. For the best display on high-resolution devices, choose an image that’s at least 1200-by-630 pixels. Your file size may not exceed 8 MB. - When you're done, click Save.

Next steps
To learn more about search engine optimization and how to increase your site’s reach, check out:
To learn more about ways to work with your existing website, check out Manage Your Website in Mailchimp.
More like this
- Manage Your Website in Mailchimpby QuickBooks
- Create Your Website in Mailchimpby QuickBooks
- Share a Sent Email Campaign with Social Shareby QuickBooks
- Create a Landing Pageby QuickBooks


