Convert from QuickBooks Desktop to Quicken
by Intuit• Updated 3 years ago
Follow the steps below to manually convert your data from QuickBooks Desktop to Quicken using Excel.
Step 1: Export your Chart of Accounts (COA) and Vendor List
Export to IIF
- Go to the File menu, then select Utilities > Export > Lists to IIF Files.
- Mark Chart of Accounts and Vendor List, then select OK.
- On the Export window:
- From the Save in drop-down, choose the location where you want to save the IIF file (often, this will be your Desktop).
- In the File name field, delete the asterisk (*), then enter a file name.
- Select Save, then OK.
Sample exported Chart of Accounts data

Sample exported Vendors list data

Export to Excel
- Go to the Vendors menu, then select Vendor Center.
- From the Excel drop-down, choose Export Vendor List.
- On the Export window, select Create new worksheet: in a new workbook, then choose Export.
- Save the Excel sheet.Sample Vendor List exported using Excel

Step 2: Export your information from Quicken into a .QIF format.
- Copy and paste your QuickBooks Desktop information into your Quicken (.QIF) file.
- Open the .IIF file (right-click the file, then select Open with > Choose Program > Microsoft Office Excel).
Note: The QIF import is not available for checking, savings, credit cards, 401(k), and other brokerage accounts. This was replaced within a .QFX import file. - From the File menu, select Export.
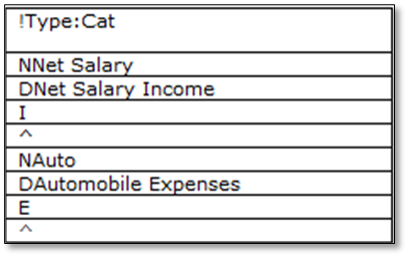
- Select .QIF File (for accounts) and Address (for names).Sample exported Account List


Step 3: If you are using Quicken Home & Business, you can export/import the address book from Quicken in the .QIF format
- Copy and paste your QuickBooks Desktop information into your Quicken address file.
- Export your address.
Note: It is required to enter at least one address in order to export in Quicken.- From the Tools menu, select Address Book
- Highlight a payee.
- From the File menu, select Export.
- Select Addresses, then select Tab.
- Enter the file name, then Next.
- Select a Quicken field, then Add.
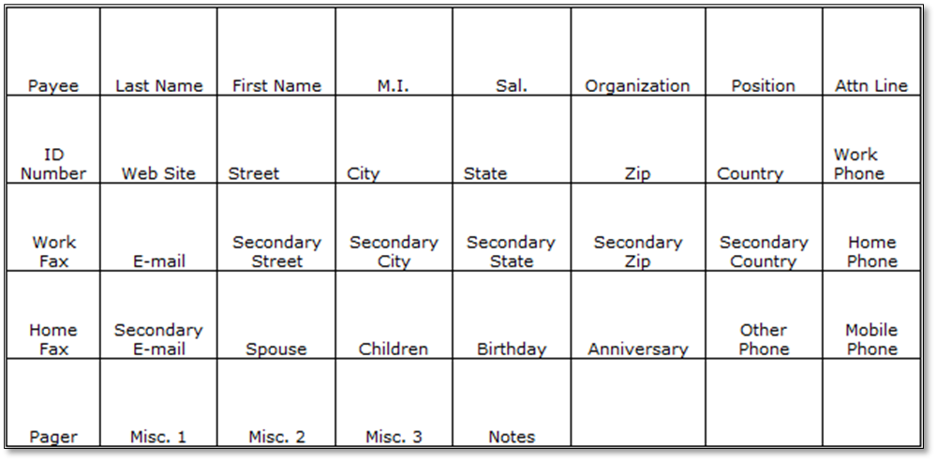
- Repeat steps e and f until all the fields that you want to import are selected, then select Done.Sample exported Information List

Import your addresses
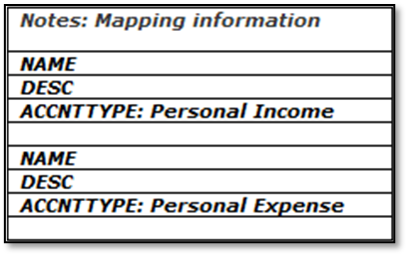
After exporting the list, you have to map the field by matching Quicken Fields to QuickBooks Desktop Fields.
- From the File menu, choose Import.
- Select Addresses, then select Tab.
- If the file name did not automatically populate, select Browse then locate your file. Select Next.
- Select a Quicken Field, then Add.
- Repeat step 4 until you have selected all the fields you want to import, then select Done.
More like this
- Convert Quicken data to QuickBooks Desktopby QuickBooks
- Convert or upgrade your desktop and Quicken company filesby QuickBooks
- Convert from Sage 50 to QuickBooks Desktopby QuickBooks
- QuickBooks Data Services FAQby QuickBooks