(Optional) Step 1: Login to your new QuickBooks Money account
If you are already using QuickBooks Self-Employed as a contractor, whether to fill out W9 details or to receive direct deposits, you will need to begin using your new QuickBooks Money account. This will allow you to continue to use QuickBooks Money as a contractor within the QuickBooks ecosystem.
Don't worry! We’ll make things easy for you by sending an email communication with the steps that need to be completed.
Transition has begun
Contractor users are those who have used a free or paid subscription of QuickBooks Self-Employed which allows them to manage their W9 info, Direct Deposit bank details, and receive 1099 forms.
Contractor users will soon receive an email explaining the change and directions on how to login to their new QuickBooks Money account. That’s it!
After logging in using your existing account credentials, you will be ready to start using your new QuickBooks Money account.

Docs are moved (access to both)
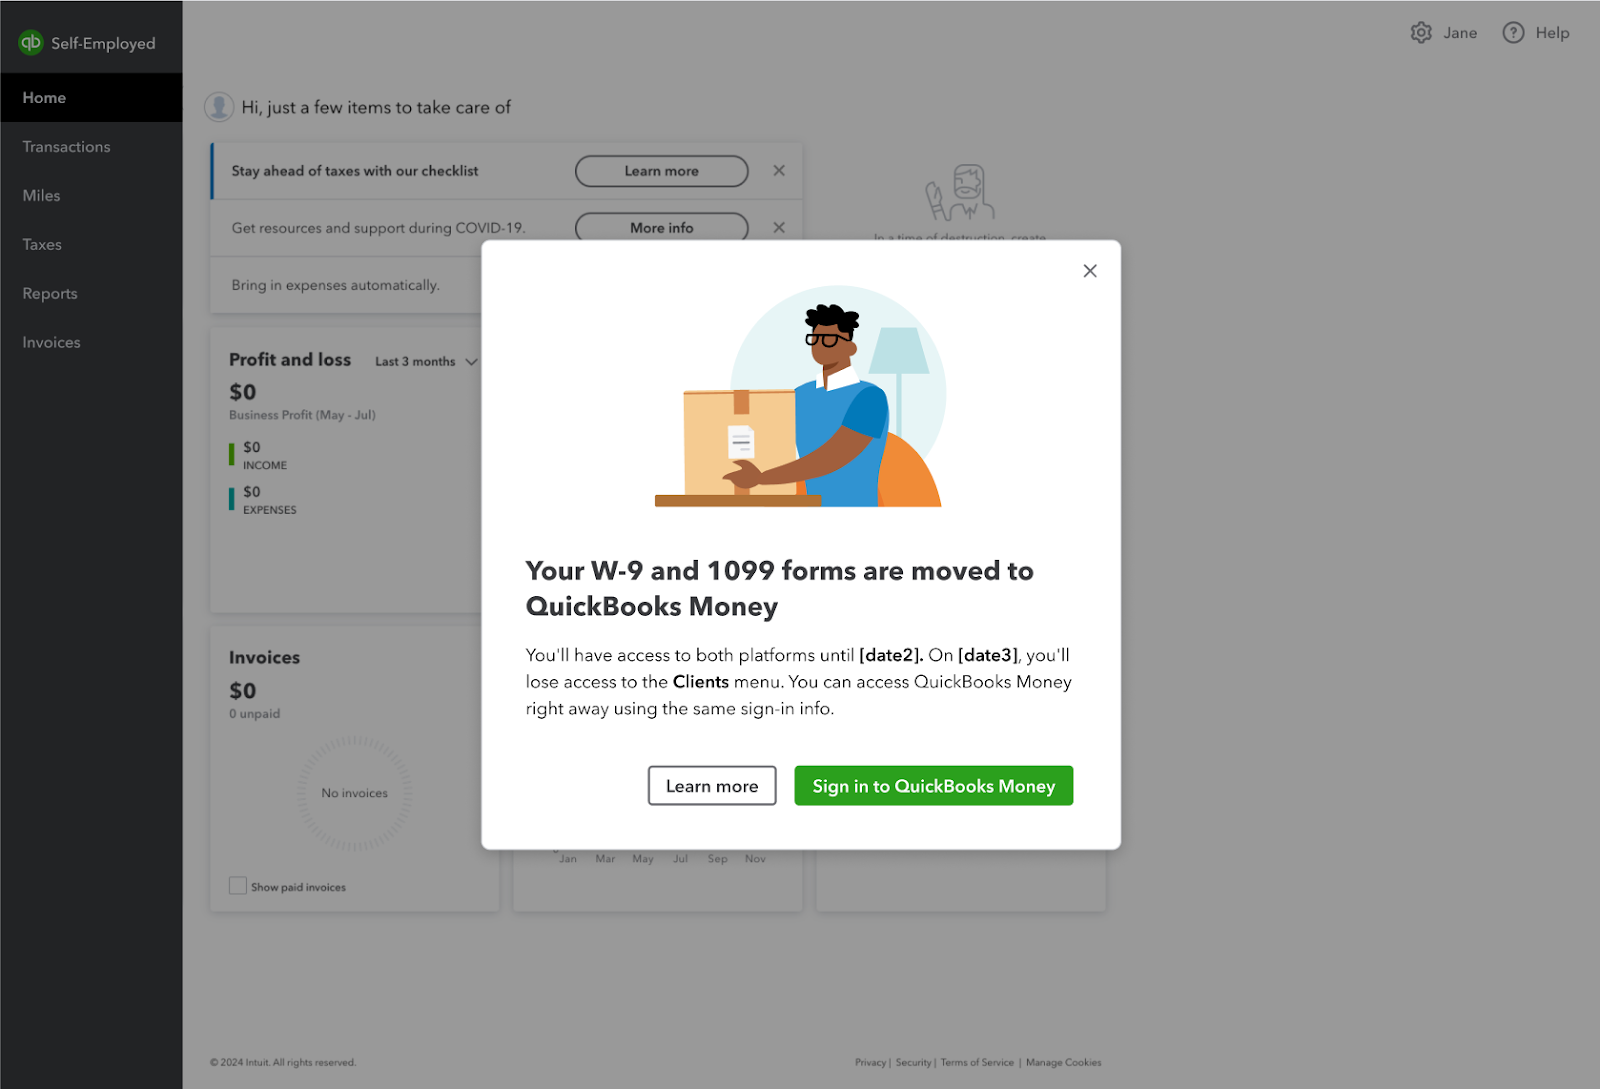
After the migration has begun, upon signing in to QuickBooks Self-Employed, contractor users will be prompted to sign in, using existing credentials, to their new QuickBooks Money account where their tax docs will be moved.
After signing in to QuickBooks Money, depending on their subscription status, contractors may not be able to further access their QuickBooks Self-Employed account:
- Paid subscribers will be able to access both accounts after signing into QuickBooks Money, but the Clients tab within QuickBooks Self-Employed will no longer be editable and will eventually become inaccessible.
- Trial/free subscribers will be able to access both accounts for a limited time after signing into QuickBooks Money, but the Clients tab will no longer be editable. Starting in December 2024, their QuickBooks Self-Employed account will eventually become inaccessible, so it's very important to save all tax records and documents.

QuickBooks Self-Employed account closure
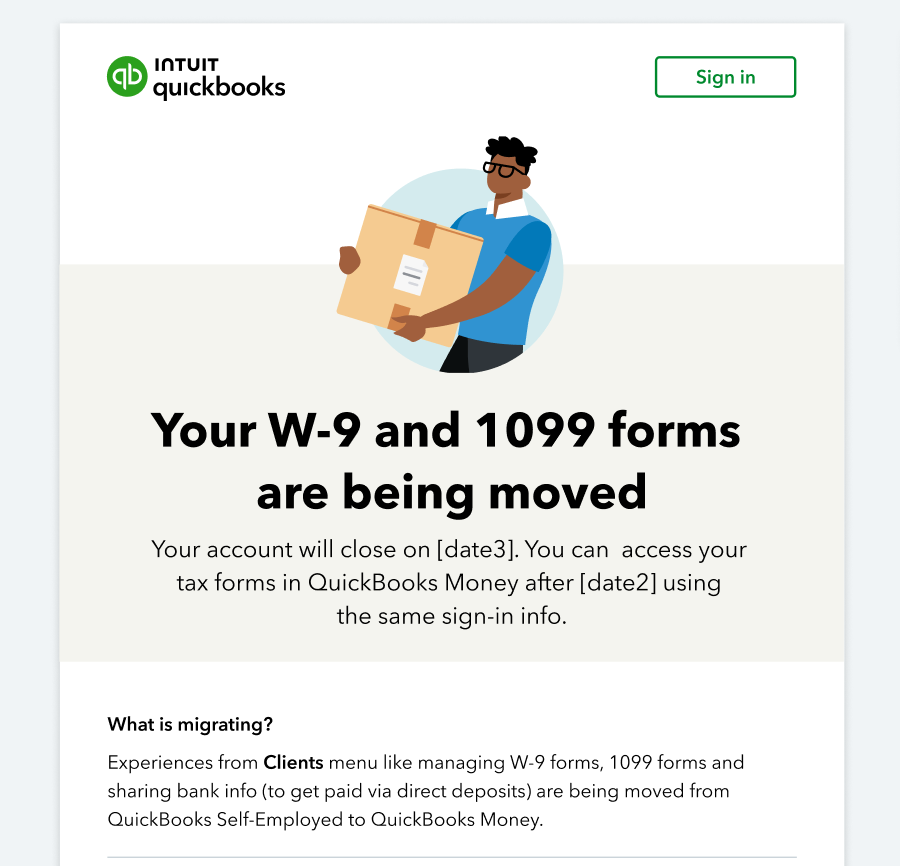
After the migration has been completed and you’ve moved to QuickBooks Money, QuickBooks Self-Employed users will receive an email message, as shown above, redirecting them to login to QuickBooks Money. Starting in December, trial/free subscribers will no longer have access to QBSE and they will be seamlessly migrated to QBMoney.
Subscribed customers will have access to their QuickBooks Self-Employed account until the product is completely sunset and will completely lose access to the Clients tab.
Step 2: Add your direct deposit info in QuickBooks Money
After your client adds you to direct deposit, you'll get an email invitation.
- Open the invite email and select the link.
- If you already have a QuickBooks Money account, select Sign in. Or, follow the steps to create a QuickBooks Money account.
- Follow the steps in the email to sign in to your new QuickBooks Money account.
You only need to set this up once. If other clients want to add you to direct deposit, accept their invite. QuickBooks will share your existing info. Don't worry, your client can't see all of your bank info.
Step 3: Receive a direct deposit
Now your client can send you direct deposits. Direct deposit payments go directly to the bank account you set up in Step 2. To review your direct deposit check info:
- Sign in to QuickBooks Money.
- Select the gear icon
 .
. - In accounts and settings, select the Payments tab.
- View your bank details. This is the bank where you will receive your DD payments.
This also updates the info your client has in QuickBooks Online Payroll, so they send payments to the updated account.
Note: if no client has requested bank details, you will not see any payment settings. You will see an option to add bank details, only if at least one of your clients has requested it.
 .
.