
Turn on suggestions
Auto-suggest helps you quickly narrow down your search results by suggesting possible matches as you type.
Showing results for
I'm here to guide you through the steps on how to show the classes in the report, ojffinancekonsul.
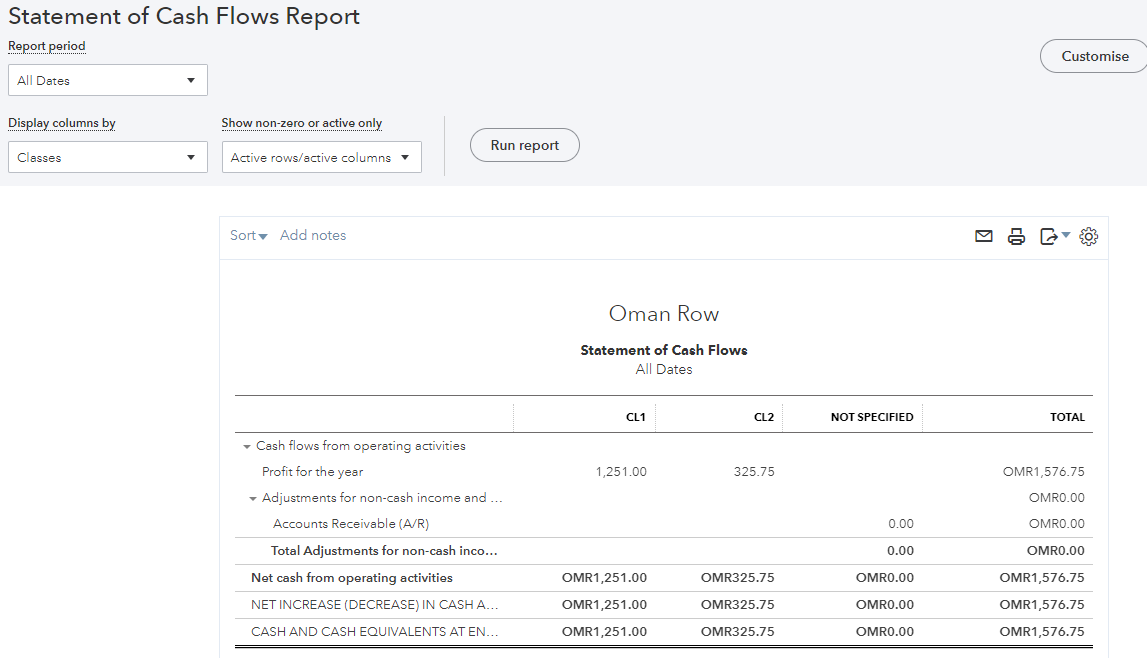
The function to allocate classes to payments received is currently unavailable. Instead, you'll have to assign them to the invoices so they appear on the Statement of Cash Flows.
If you haven't turned on the feature yet, let's head to the Categories section to accomplish this task. Here's how:
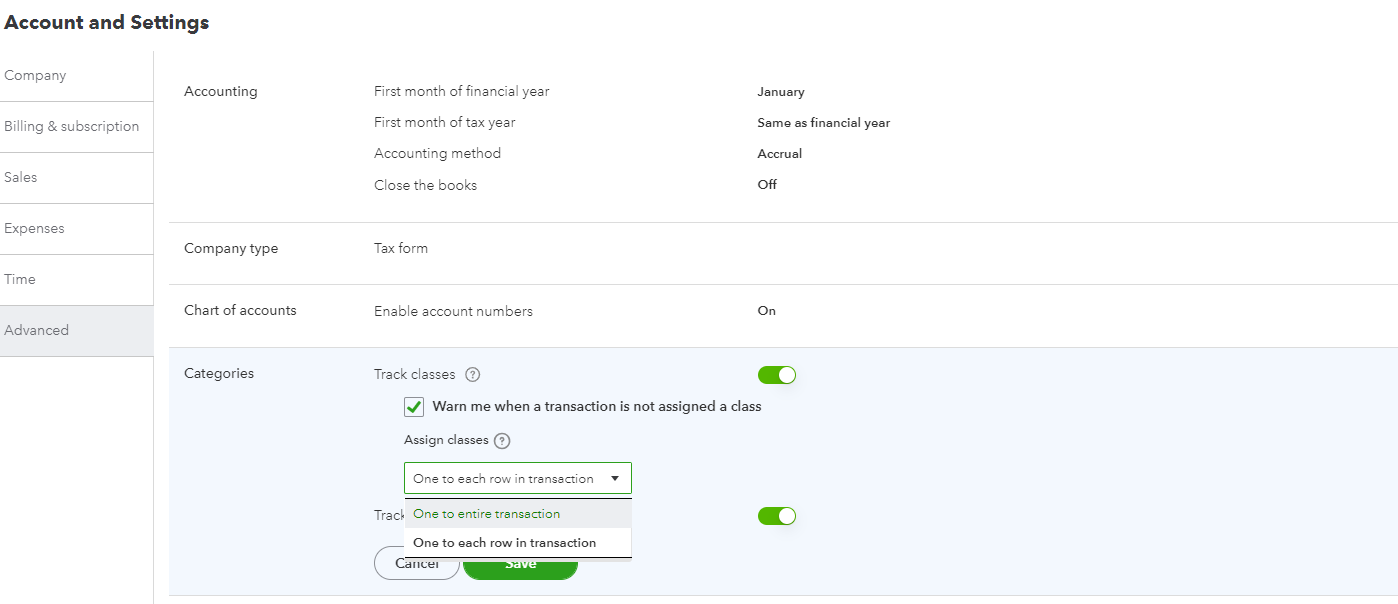
This reference provides in-depth information about the process, including how the Assign classes function works: Turn on class tracking.
Next, add your classes in QuickBooks Online (QBO) and assign them to transactions. Then, open the report and customize it to see the list of segments used on the sales entries.
Here's how:
I've included some links below that will guide users through the process of personalizing the statement information, creating reports, and adding a budget to each segment:
For tips and resources about managing your company's income and other sales-related activities, see the following links:
Don't hesitate to visit the Community space again if you have clarifications about the class tracking feature. I'll get back to make sure you're taken care of.
You have clicked a link to a site outside of the QuickBooks or ProFile Communities. By clicking "Continue", you will leave the community and be taken to that site instead.
For more information visit our Security Center or to report suspicious websites you can contact us here