
is the fastest way to accurately record your company's financial transactions
Benefits include

Connecting a bank account
It's easy to capture one-time
expenses that are not captured in your bank feed.

Getting real-time insights
with cash flow
Step-by-step guide
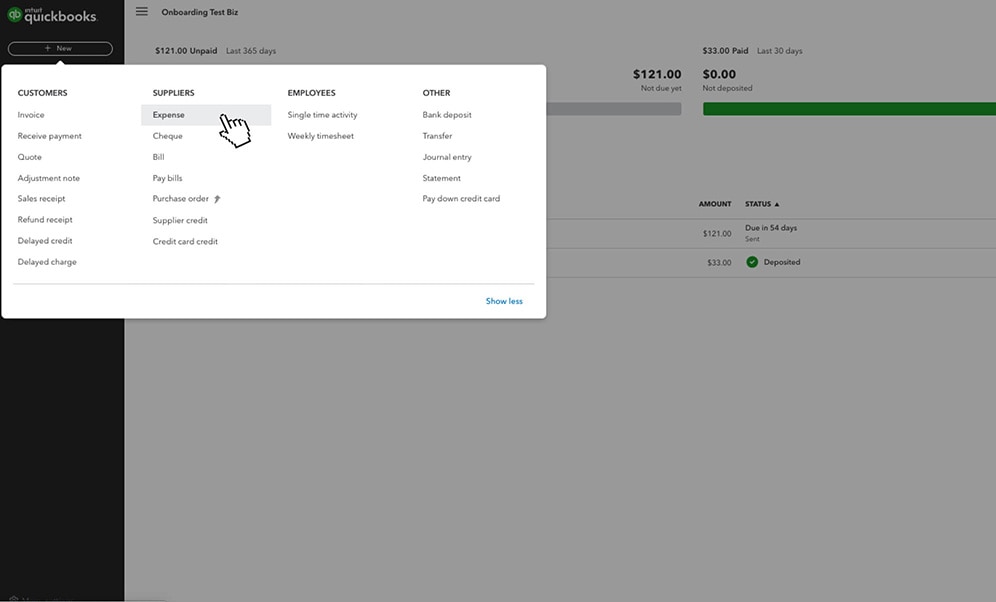
Step 1
- Select + New then select Expense.
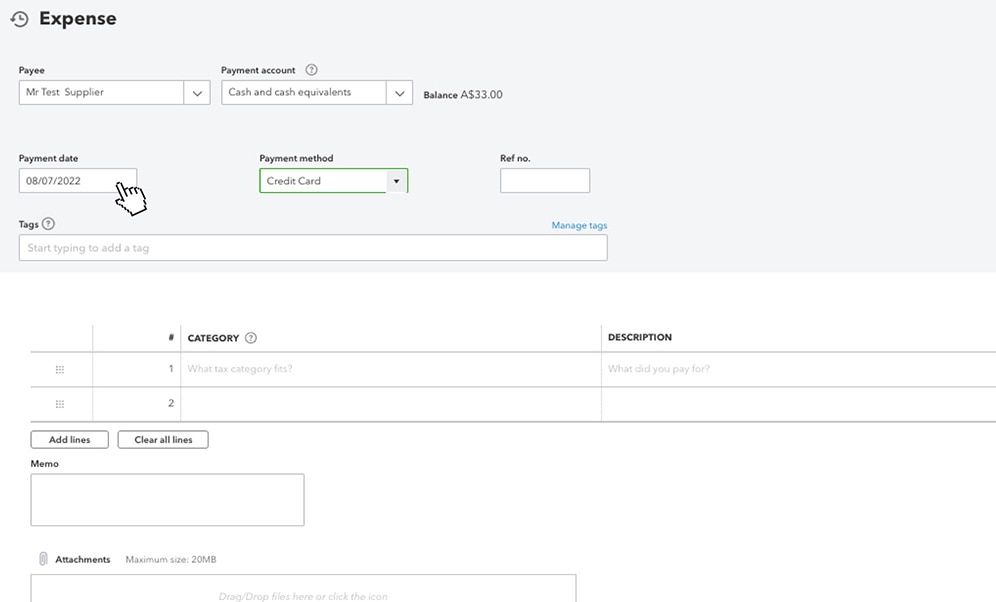
Step 2
- In the Payee field, select the supplier.
- Tip: If the transaction covers multiple petty cash expenses, leave this field empty.
- In the Payment account field, select the account you used to pay for the expense.

Step 3
- In the Payment date field, enter the date for the expense.
- In the Payment method field, select how you paid for the expense.
- If you want detailed tracking, enter a Reference no (this is optional).
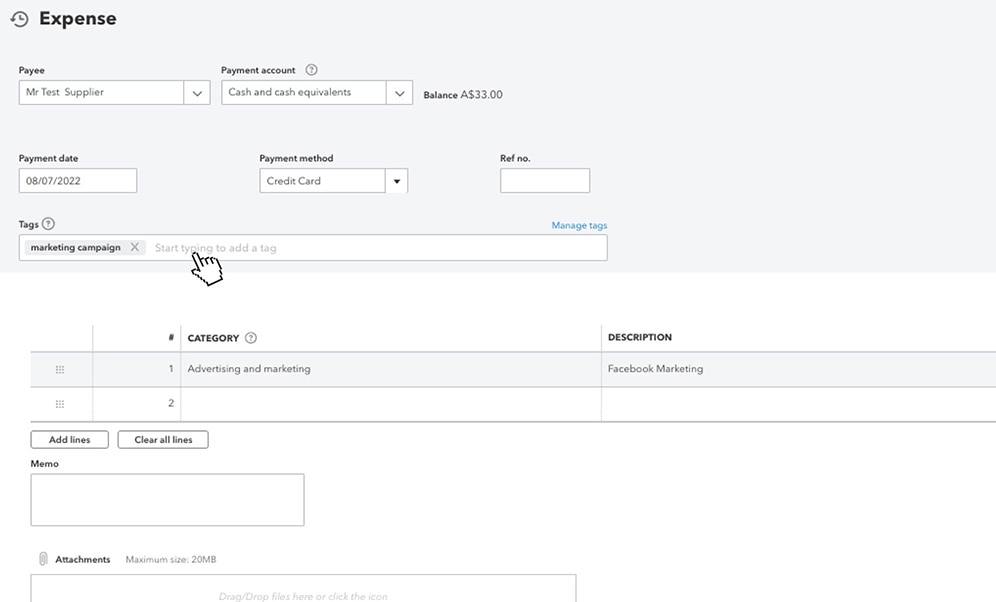
Step 4
- In the Tags field, enter the preferred label to categorise your money. Tags are customisable labels that let you track your money however you want, learn more here.
- In the Category dropdown, select the expense account you use to track expense transactions and enter a description.
- Enter the Amount and GST.
- When you're done, select Save and close.
Related Resources


Need more help?

Keep growing with Intuit Intelligence
Get started today and automate your path to growth with confidence.


Intuit helps put more money in consumers’ and small businesses’ pockets, saving them time by eliminating work, and ensuring they have confidence in every financial decision they make.
Award Winning Accounting Software
