Complete a bank reconciliation | Get started tutorial
Complete a bank reconciliation in QuickBooks Online

Step 1: Open the Reconcile Tab
- Select Accounting from the left-hand navigation menu
- Select the Reconcile tab.
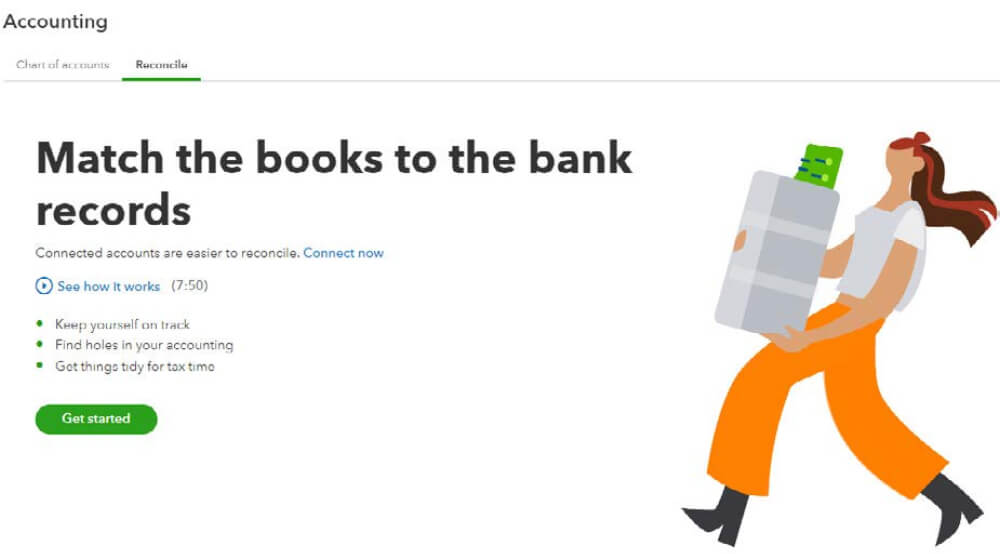
The first time in, there is an option to watch a video on how it works. Click Get Started. The next time you are in the Reconcile tab, the Reconcile window will come up straight away.
Step 2: Select your bank account
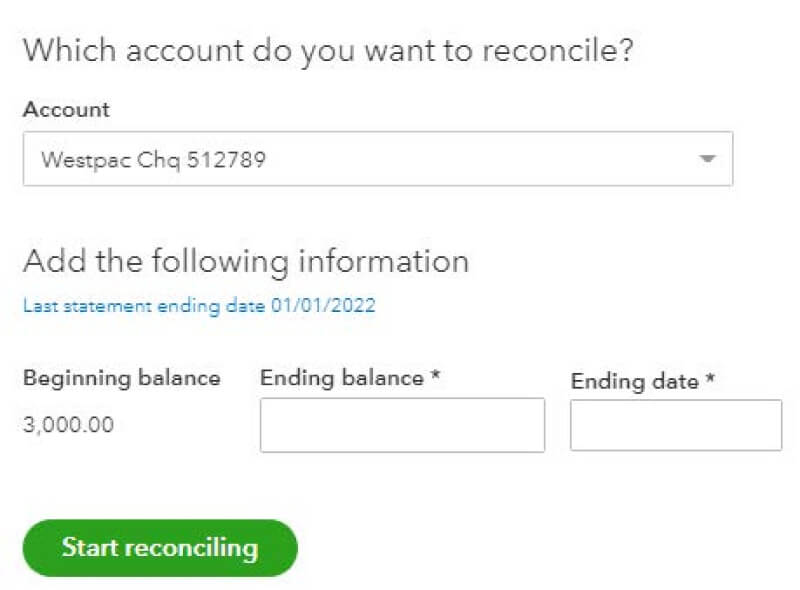
- In the Reconcile window, choose the bank account you are reconciling from the drop-down box.
For example: The last statement ending date 01/01/2022 and Beginning balance was the last time this bank account was reconciled and the balance at this date.
Step 3a: Resolving a Reconciliation Discrepancy
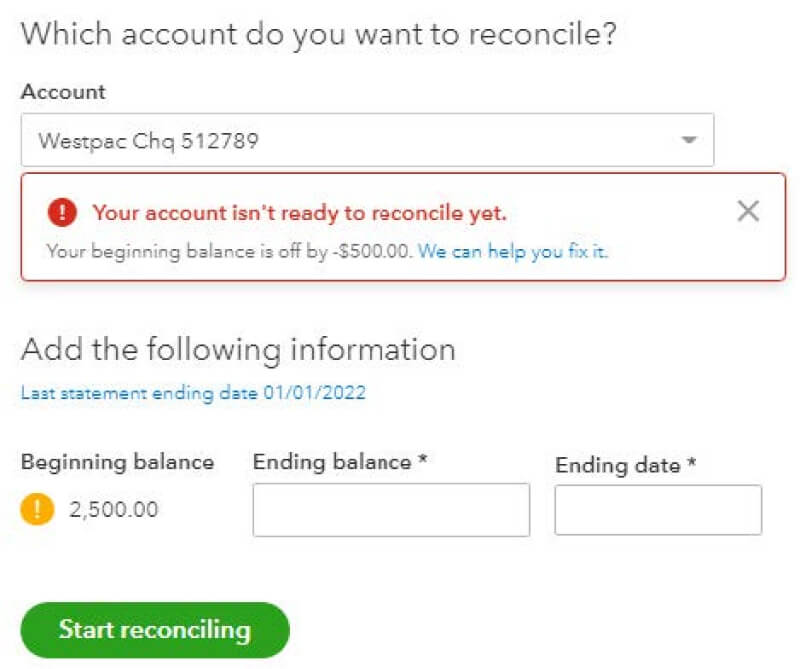
- Important: If after the bank statement was reconciled and a transaction was changed or deleted, an error message will appear to warn you that your beginning balance is off and needs to be fixed.
- Select We can help you fix it.
Step 3b
A Reconciliation Discrepancy Report (shown opposite) will populate. This will help you find the transactions that were changed after the last reconciliation.
- Select View under the History column and fix the errored transaction to once again reconcile your bank.

Step 4a: Finalise
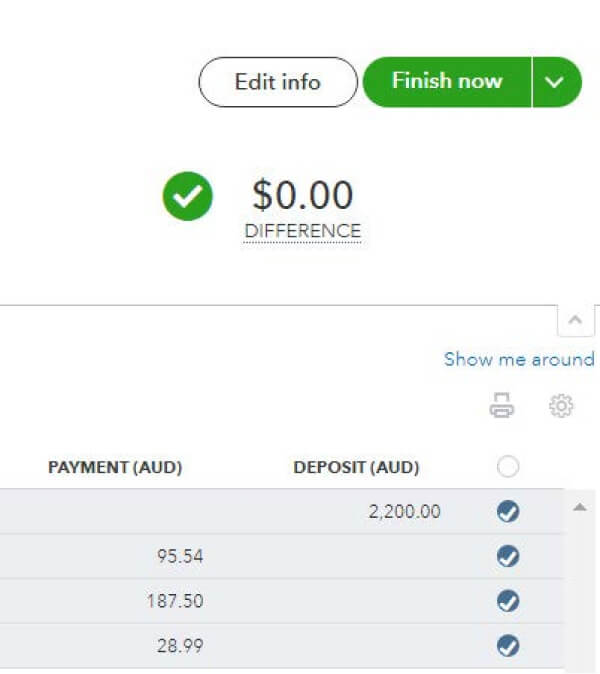
The image opposite shows all transactions processed via the bank feeds. If all transactions match the bank statement, then the reconciliation will show Difference 0.00. If a transaction is not ticked as below, you will need to investigate where this transaction has come from and remove it from this reconciliation. All transactions from the bank feeds will have a green icon and be ticked automatically.
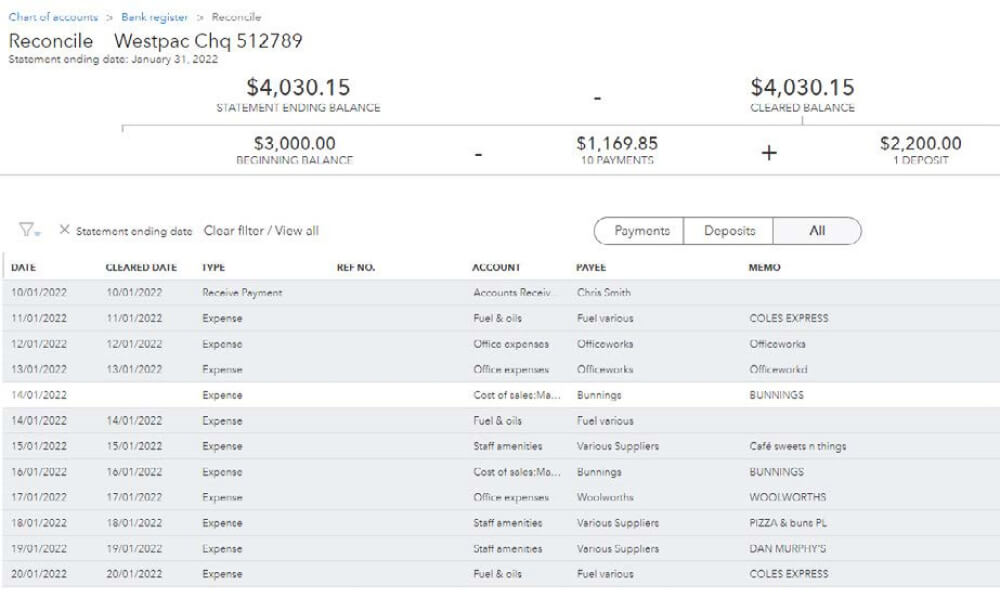
Step 4b
- Select Finish Now. You also have the option to select Save for later or Close without saving.
- This takes you back into the Reconcile window, which will summarise the bank account’s last reconciled date and ending balance just completed.
