How to send or record an invoice
Learn how to remove the stress out of invoicing. Get paid quicker, track payments and customise invoices.
Before you start:
Consider adding a customer before invoicing, or set up your products and services. You can make your brand stand out by creating customised invoices. If you are registered for GST, ensure you have set up your GST in QuickBooks so you can add GST to eligible sales.

Benefits include

Creating and sending invoices
and tracking them automatically

See when your customer
views their bill
Step-by-step guide
Step 1
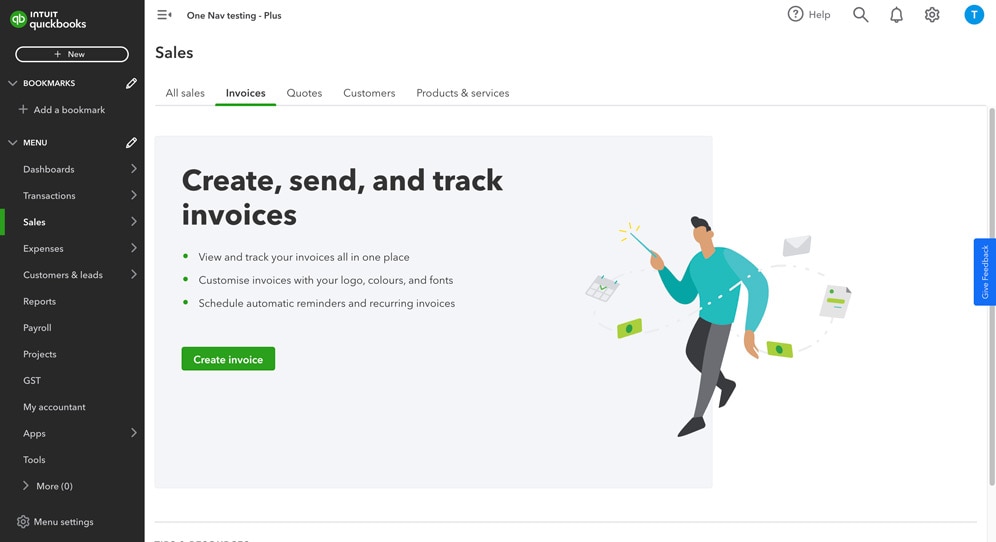
- Select Sales from the left hand navigation bar, then select Invoices.
- Select Create invoice.
Alternatively, select + New from the top left hand corner, then select Invoice from there.
Step 2
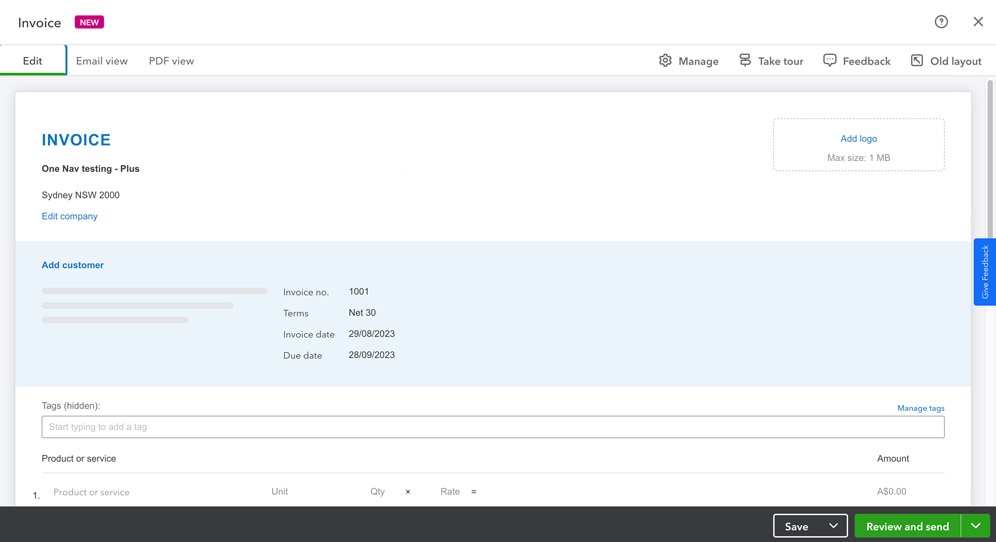
- Enter the customer you want to send the invoice to. If you haven't added any customers yet, you will be prompted to add one.
- Then fill out the below:
- Date and details of the invoice
- Terms (the number of days a customer has to pay)
- Invoice date (usually the date the invoice is sent)
- Date payment is due
- Add the product or service that the customer is being invoiced for
- If you haven't added any products or services, you can add one now or simply select Sales or Hours and add a description.
- If you've added them, the details will automatically be populated
- Add the quantity and the rate for the product or service
Step 3
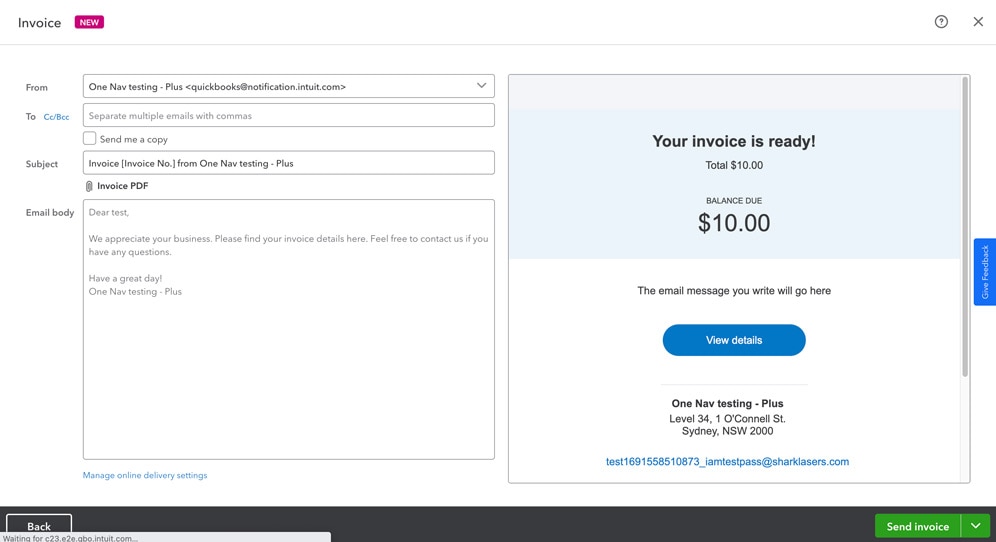
- To send the invoice select Review and send.
- You will be shown a preview of the email and invoice that will be sent to the customer.
- When you are ready, select Send invoice to send the invoice.
Related Resources


Need more help?


Intuit helps put more money in consumers’ and small businesses’ pockets, saving them time by eliminating work, and ensuring they have confidence in every financial decision they make.
Award Winning Accounting Software
