Greetings, @minlee2001.
Welcome to the Community. I’m here to help create a transaction and apply it against the customer’s credit note in QuickBooks Online.
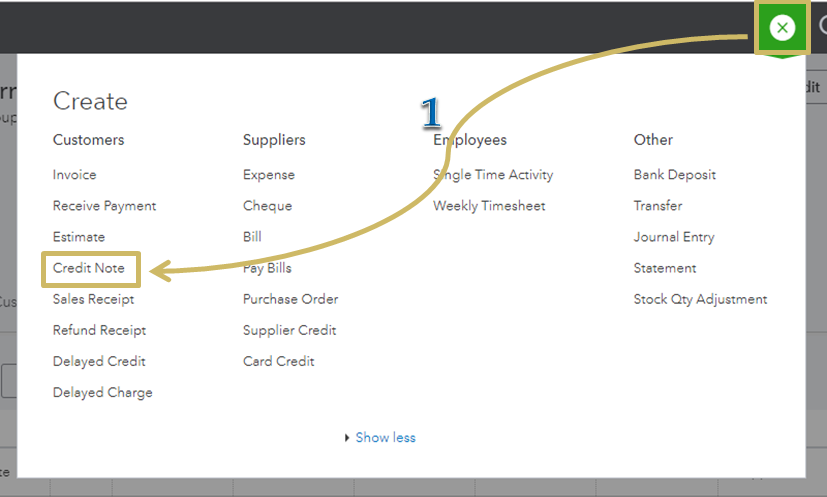
If you haven’t entered a credit note yet, follow the steps below:
- Go to the Plus icon and select Credit Note.
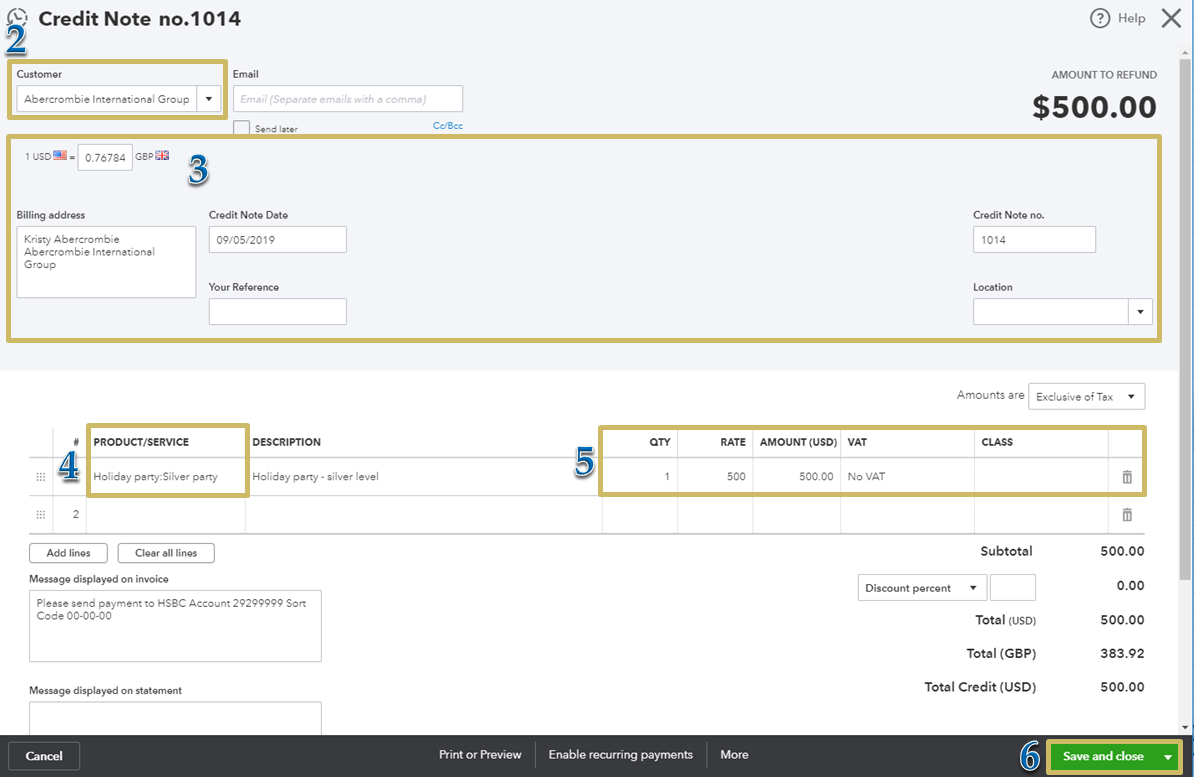
- Choose customer from the drop-down.
- Fill out other necessary fields.
- Select the item under the Product/Service column.
- Enter Qty, Rate, Amount and VAT.
- Hit Save and close.
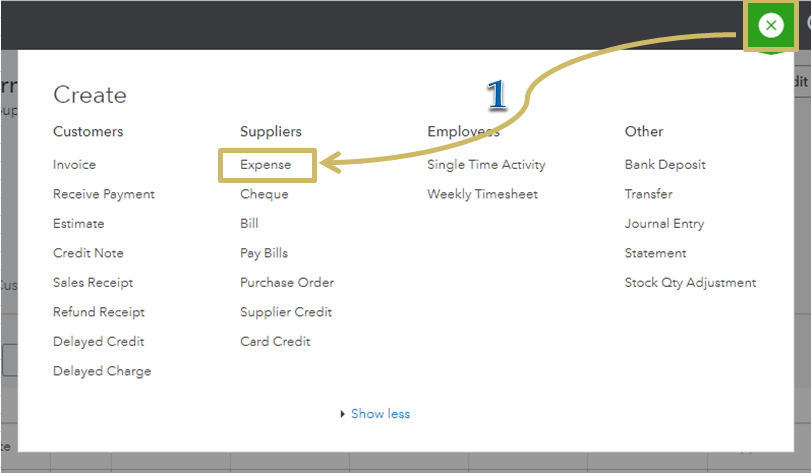
Right after, create an expense transaction. Here’s how:
- Go to the Plus icon and select Expense.
- Choose customer from the Payee drop-down.
- Under Category column, select Debtors.
- Enter amount.
- Hit Save and close.

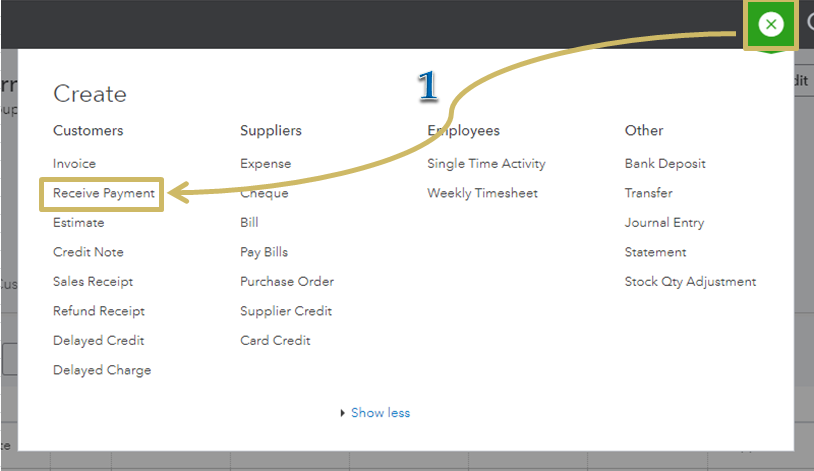
Once done, use the Receive Payment option to link the two transactions. Let me show you how:
- Click the Plus icon and select Receive Payment.
- Select customer from the drop-down.
- On the Outstanding Transactions section, select the Expense transaction.
- Place a check mark next to the Credit Note under the Credits section.
- Hit Save and close.

Check out the following articles for reference:
That should answer your concern for today.
Let me know if you have any issues after following those steps. I’m always here to help you out. Have a good one!

