Keeping track of receipts, invoices and paperwork related to your business can be a drag. The QuickBooks Online feature that allows you to add attachments makes your life a little bit easier, especially as the paperless-office trend continues to grow.
Having all your paperwork attached in QuickBooks Online can help your accountant at the end of the financial year, it makes it easy to follow up on supplier invoices and it gives you the freedom to access documents quickly while you’re on the go. It’s a faster and more streamlined process that will put your filing cabinet out of a job.
Why Would You Use Attachments?
Here are just a few ways the attachments feature can help:
- Attach your receipts on the go when at Officeworks, Bunnings or any supplier store
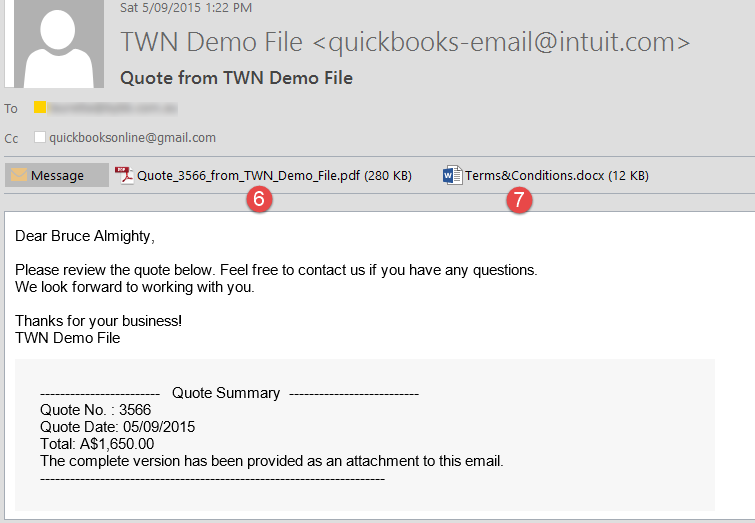
- Attach quotes to your invoices if you are quoting outside of QuickBooks Online
- Attach bills to the bills transaction or expense/cheque expense transaction
- Attach your terms and conditions document to your invoice
- Access the attachment anytime, anywhere
- Attach supplier receipts directly when processing an expense or cheque
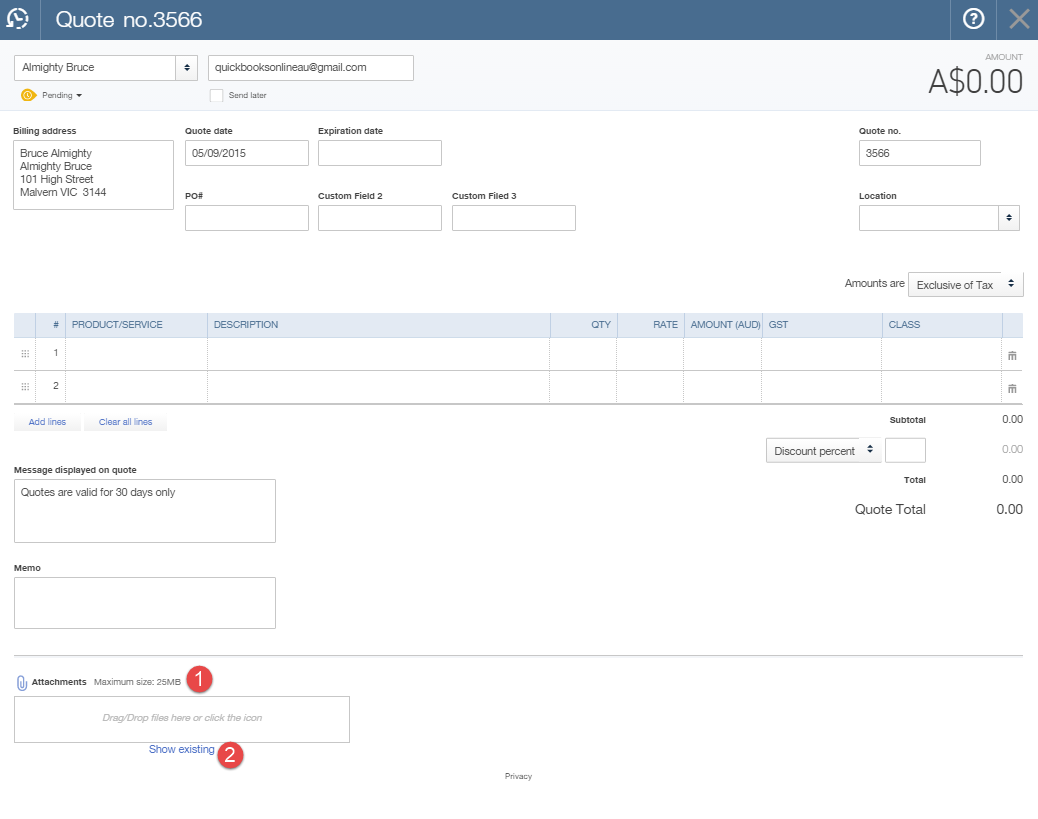
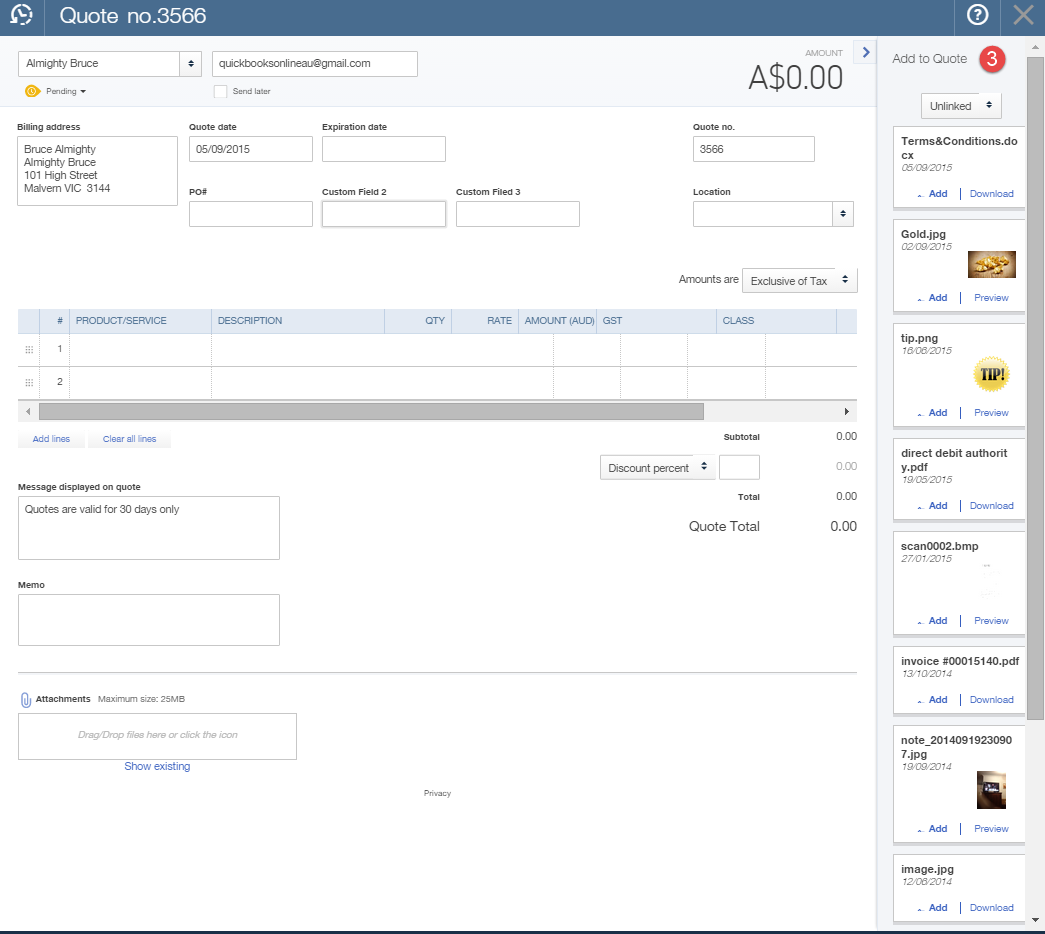
This feature gives you the flexibility to add an image or document to any transaction.
How Do We Add/Upload Attachments?
There are a few formats that you can upload into QuickBooks Online:
- A PDF downloaded from a supplier email
- An image
- A photo from your iPhone or Android device (see notes below on the QuickBooks Online app and how easy it is to upload images)
There are two places in QuickBooks Online that you can upload attachments from your desktop version of QuickBooks Online or from any of your mobile devices on the mobile app.
1. The Attachments Page
If you need to upload a batch of attachments and link them to other transactions later, for example the terms and conditions document, then follow these steps:
Cog wheel (1) > under Lists > Attachments (2)


