It's Big Awesome Savings time
75% OFF FOR 6 MONTHS*
Need help choosing a plan?
Created with Sketch. 1800 917 771 Schedule a call
Need help?
We're here for you.
Schedule call
Created with Sketch.
Image Alt Text
product update

Setting up a company in QuickBooks Online

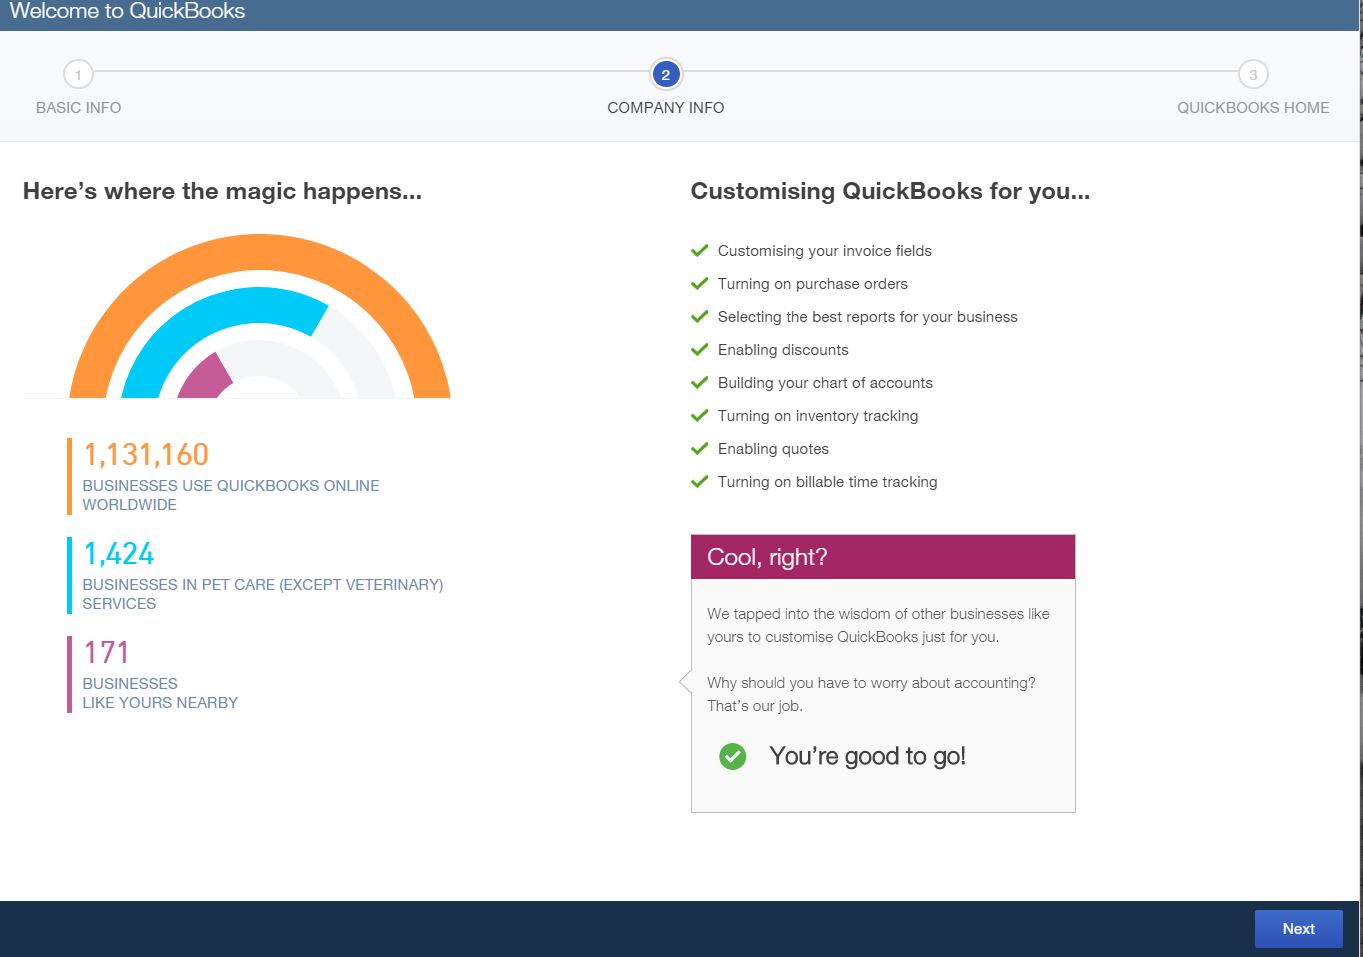
We all know how easy wizards can be in helping in the set up process of different software. Let’s take a walk through the Easy Step Interview and QuickBooks Online Setup. QuickBooks Online works magically behind the scenes and tailors your file to suit your business from the information you have entered. Please note that this is not setting up from a conversion. Read our blog about conversion set ups to learn about this process.

Features found in QuickBooks Online will be turned on, depending on the version you have purchased: Simple Start, Essentials or Plus. (link here to the QBO versions blog )

However, for complete accurate financials for your business you should complete a few more steps.
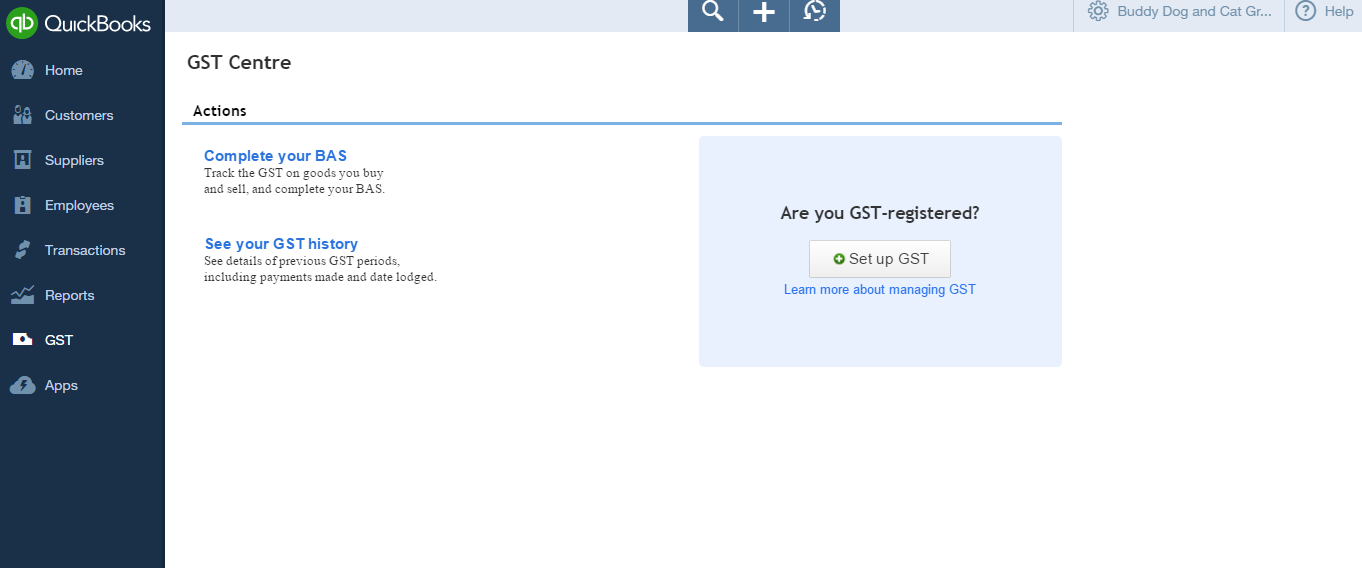
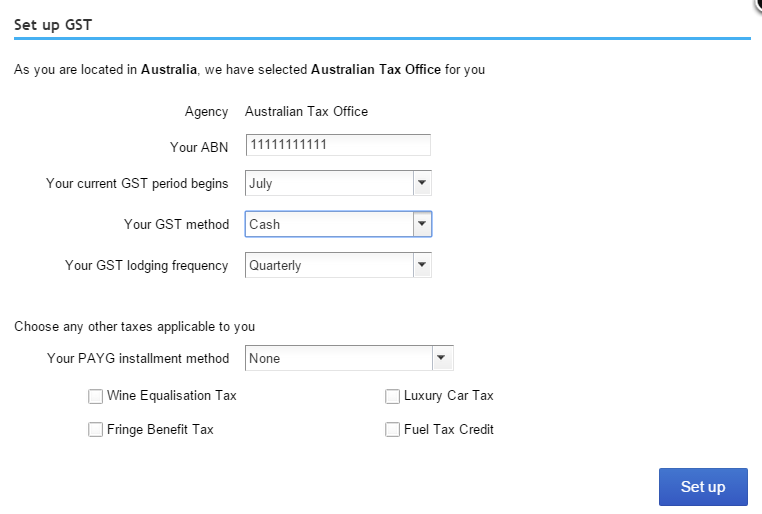
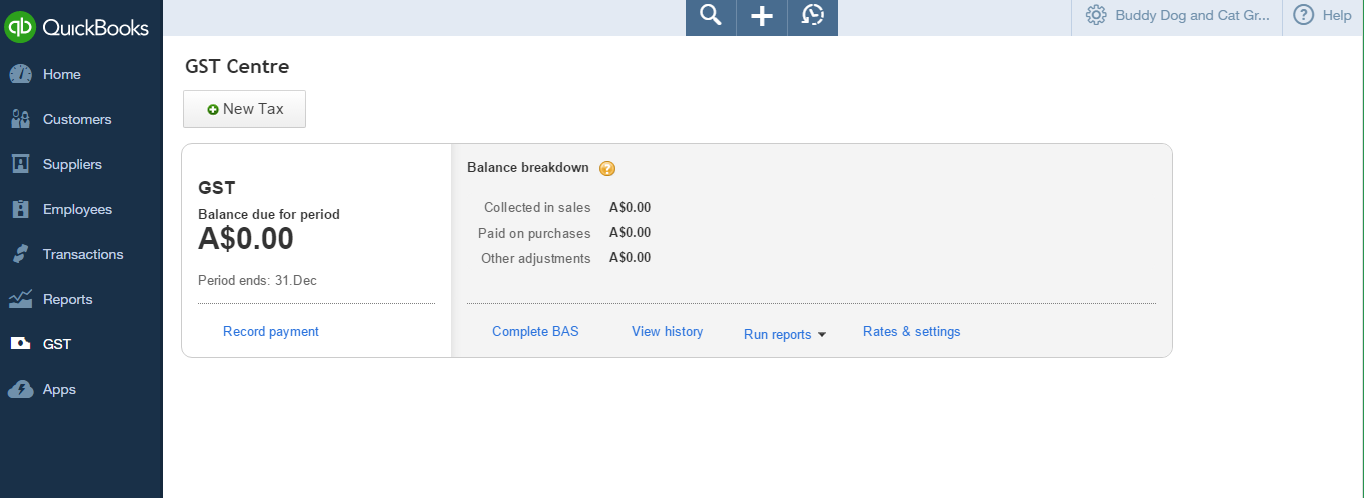
  • Setup GST
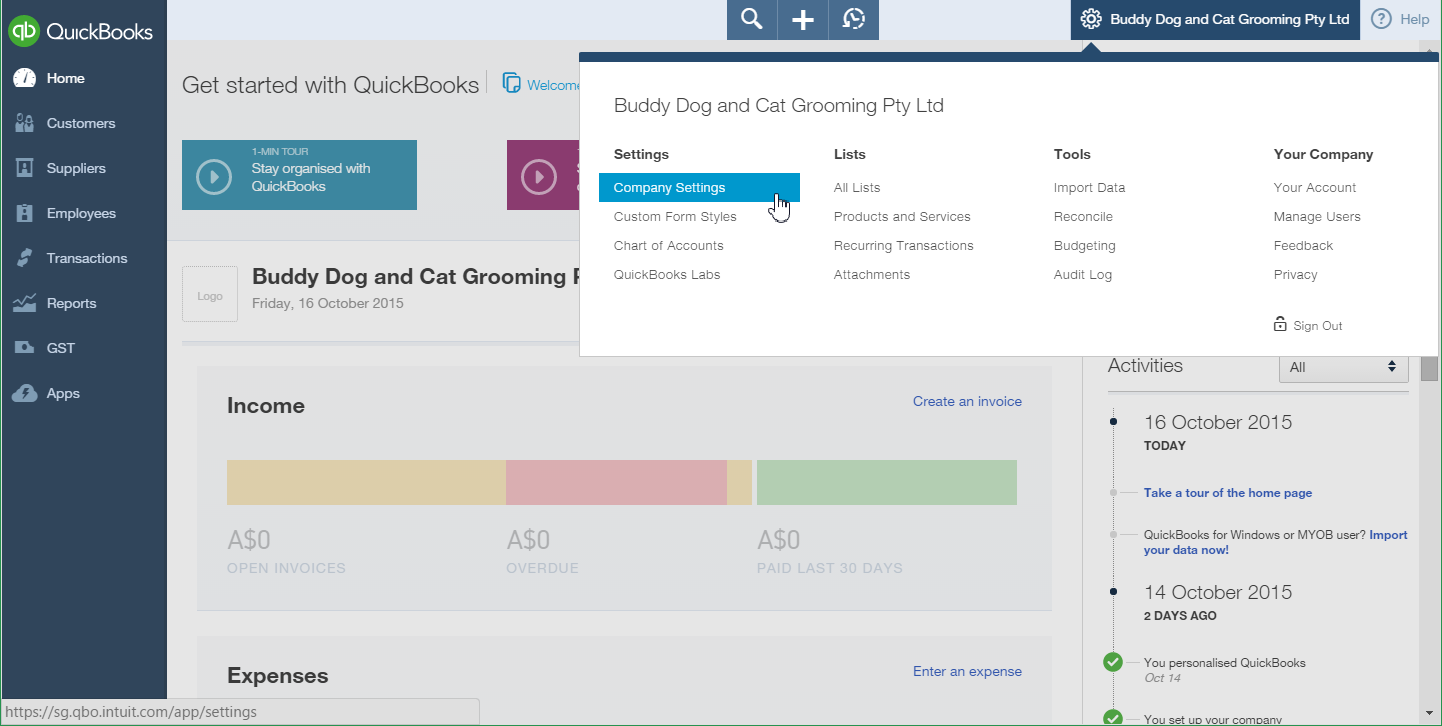
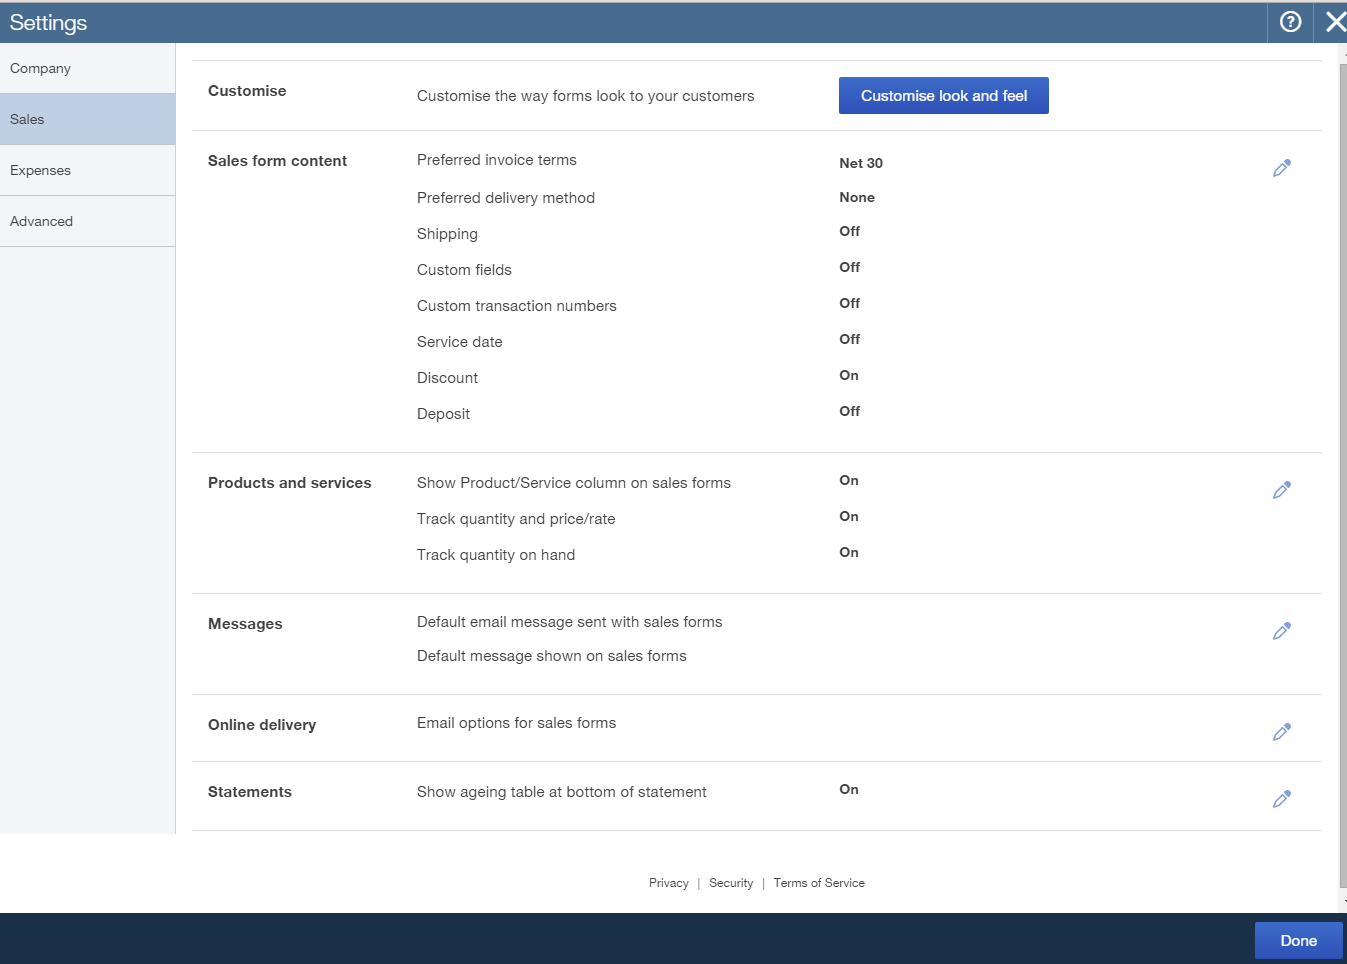
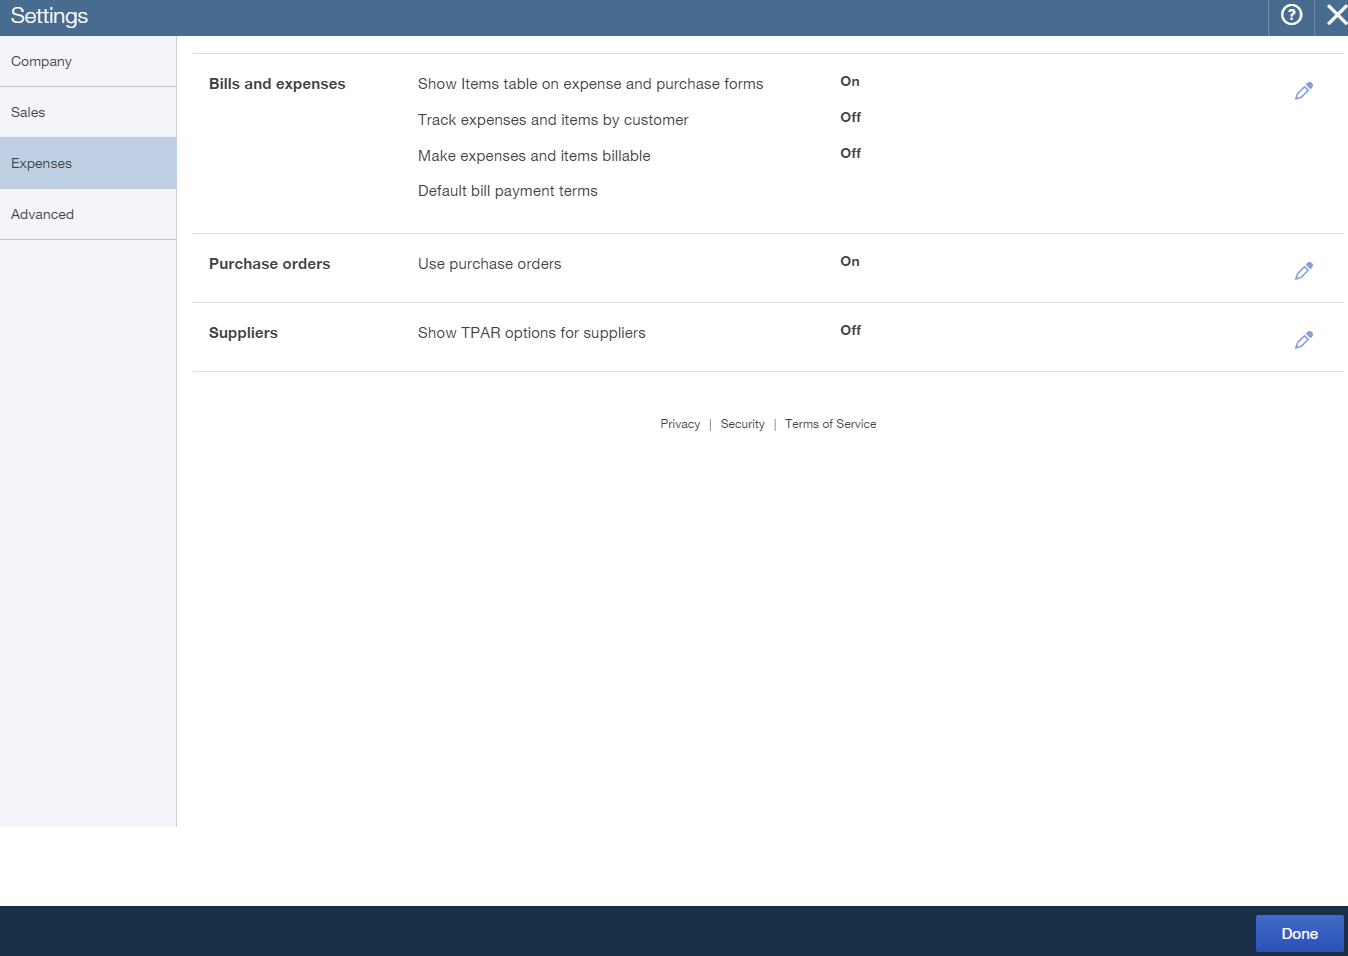
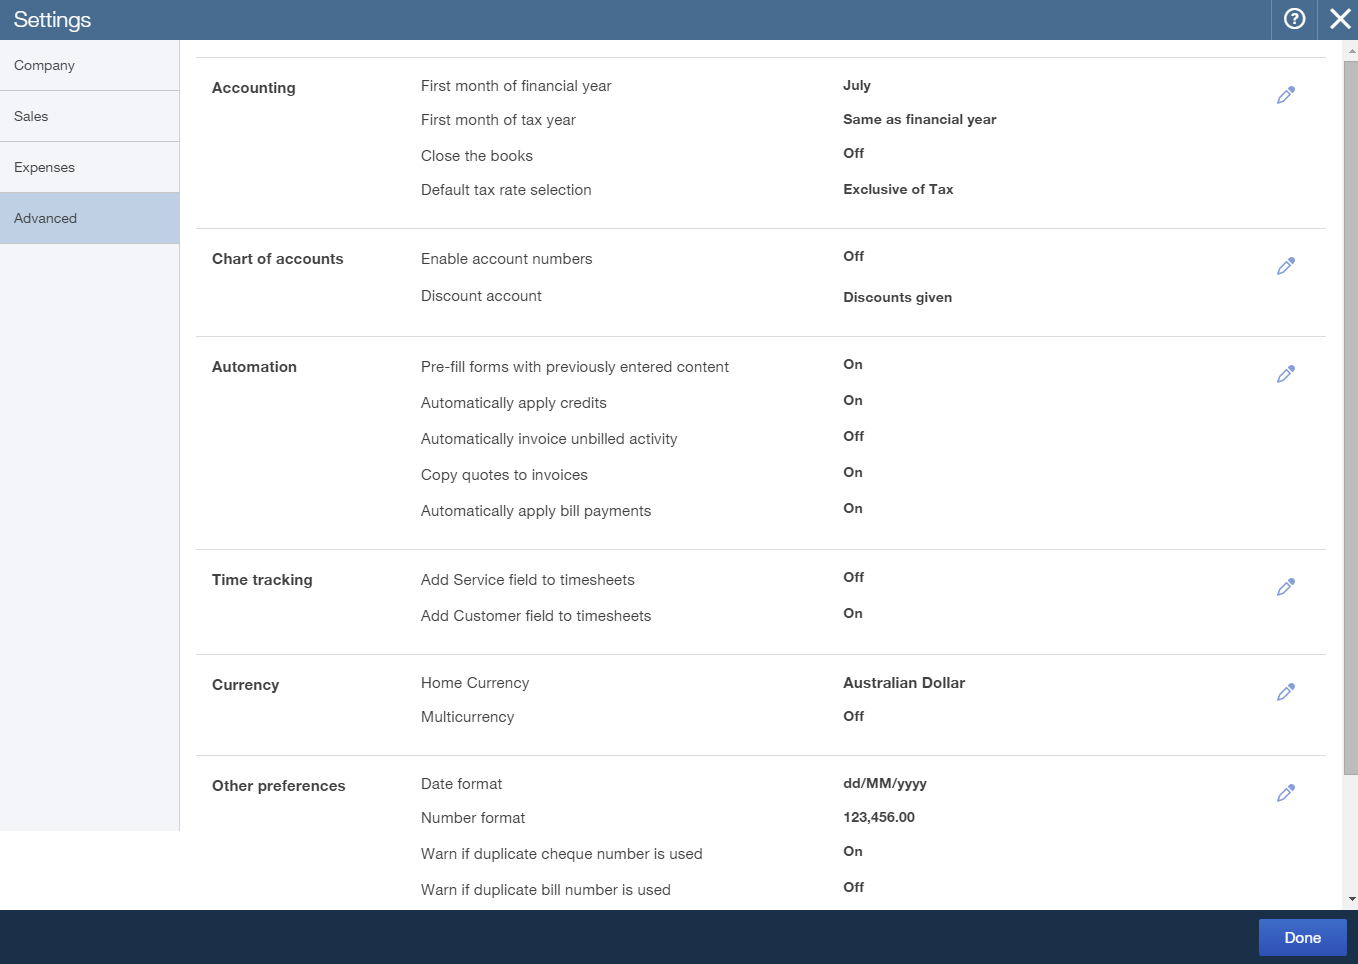
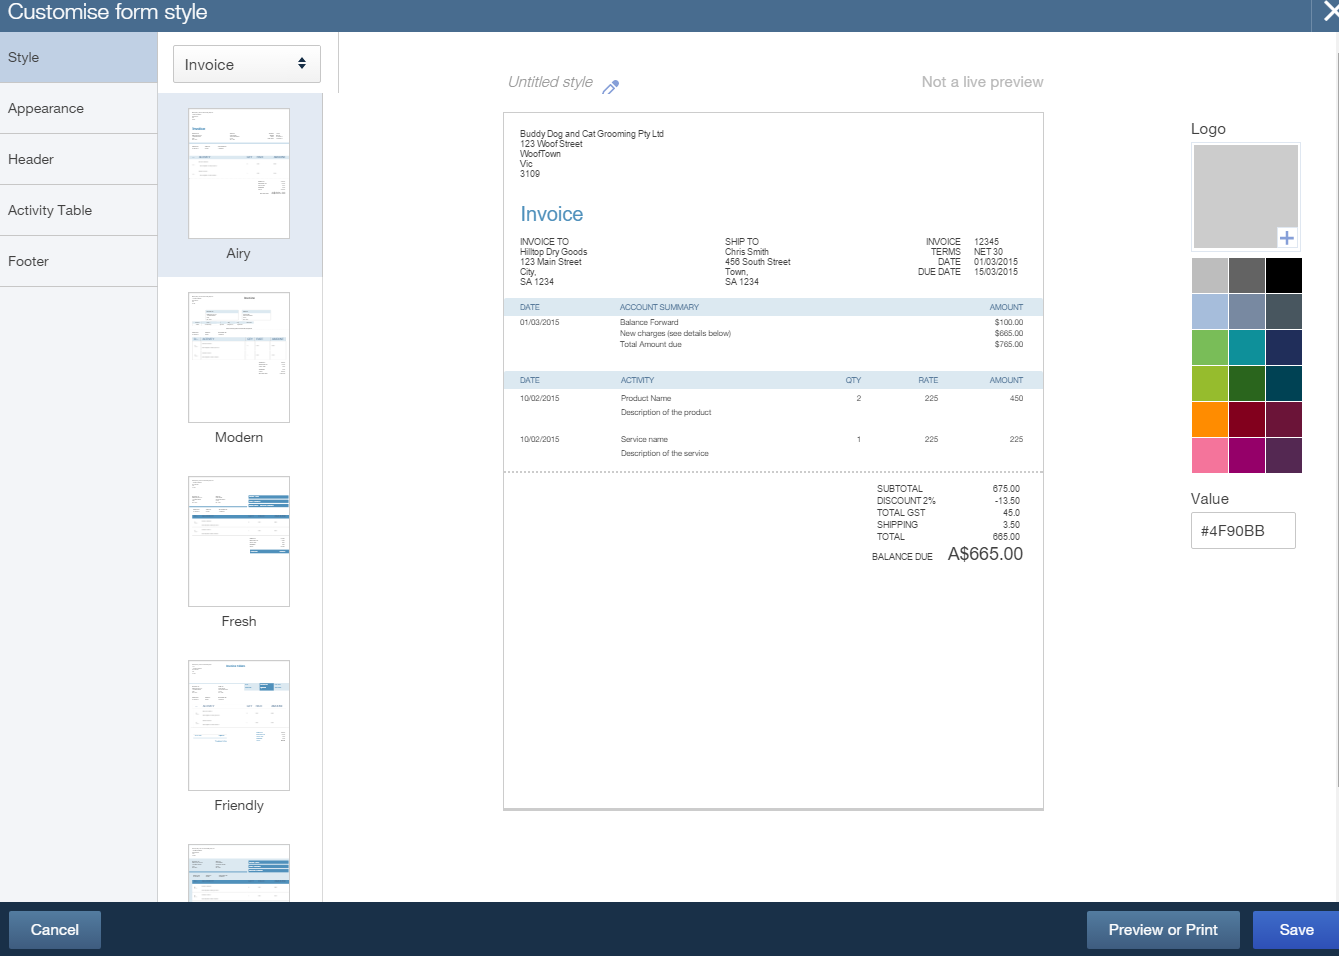
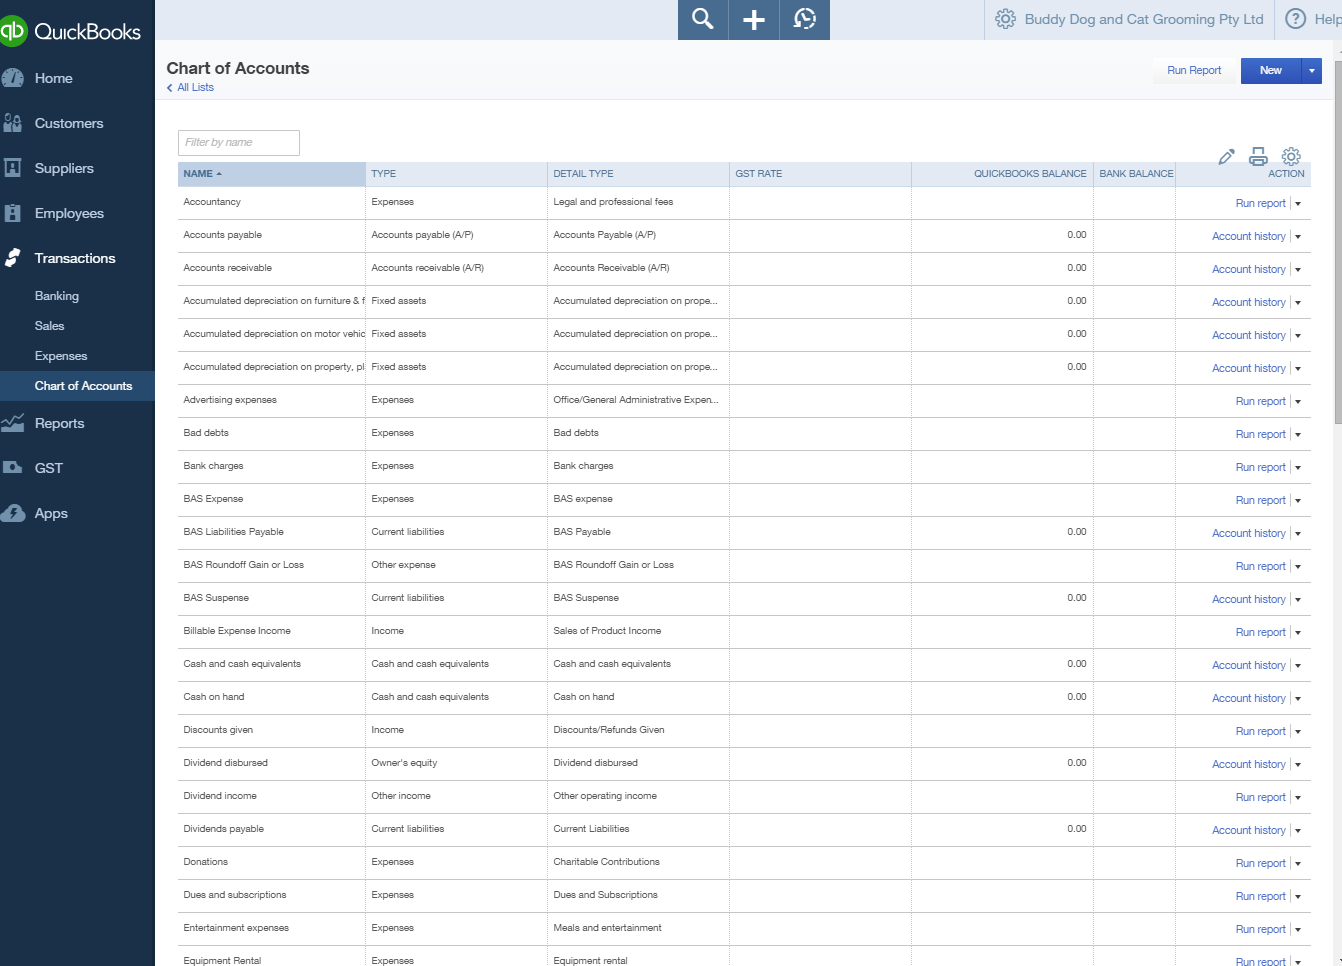
  • Customise QuickBooks Online to fit your business through the Company Preferences menu
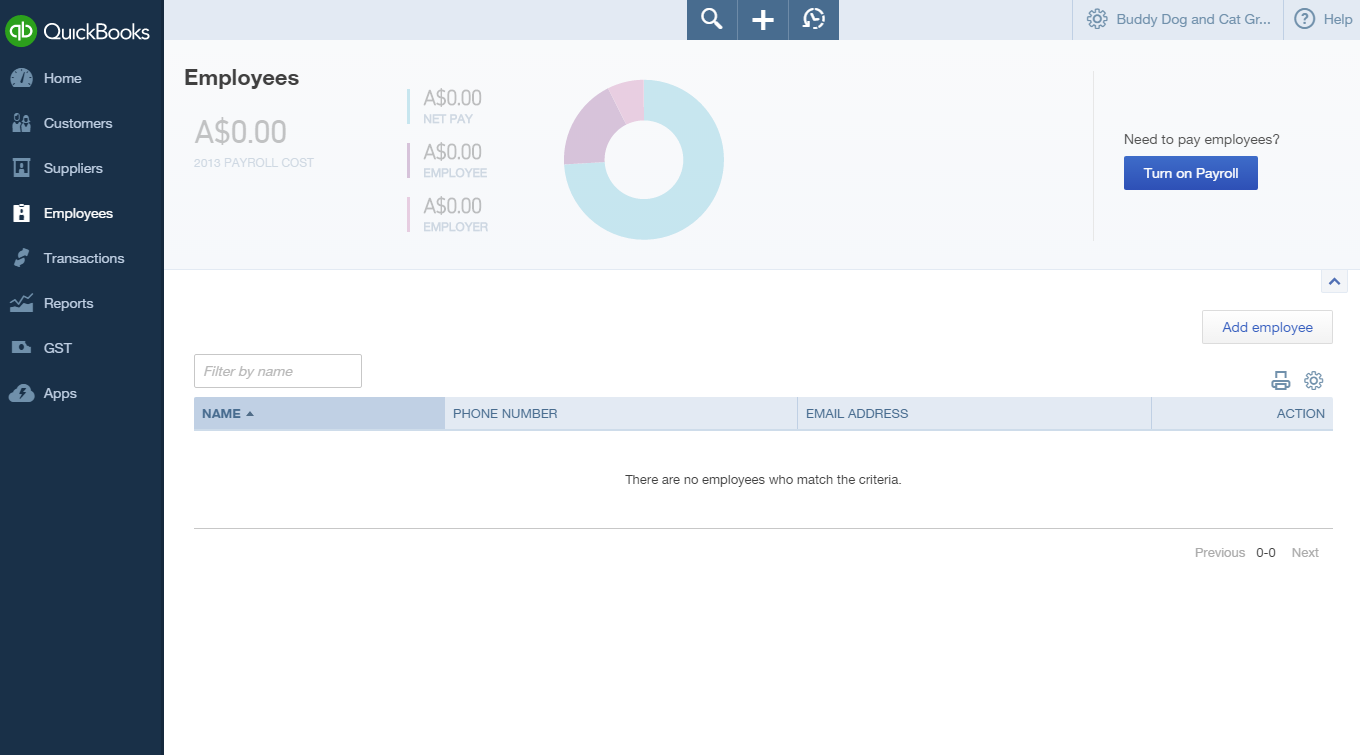
  • Turn on Payroll
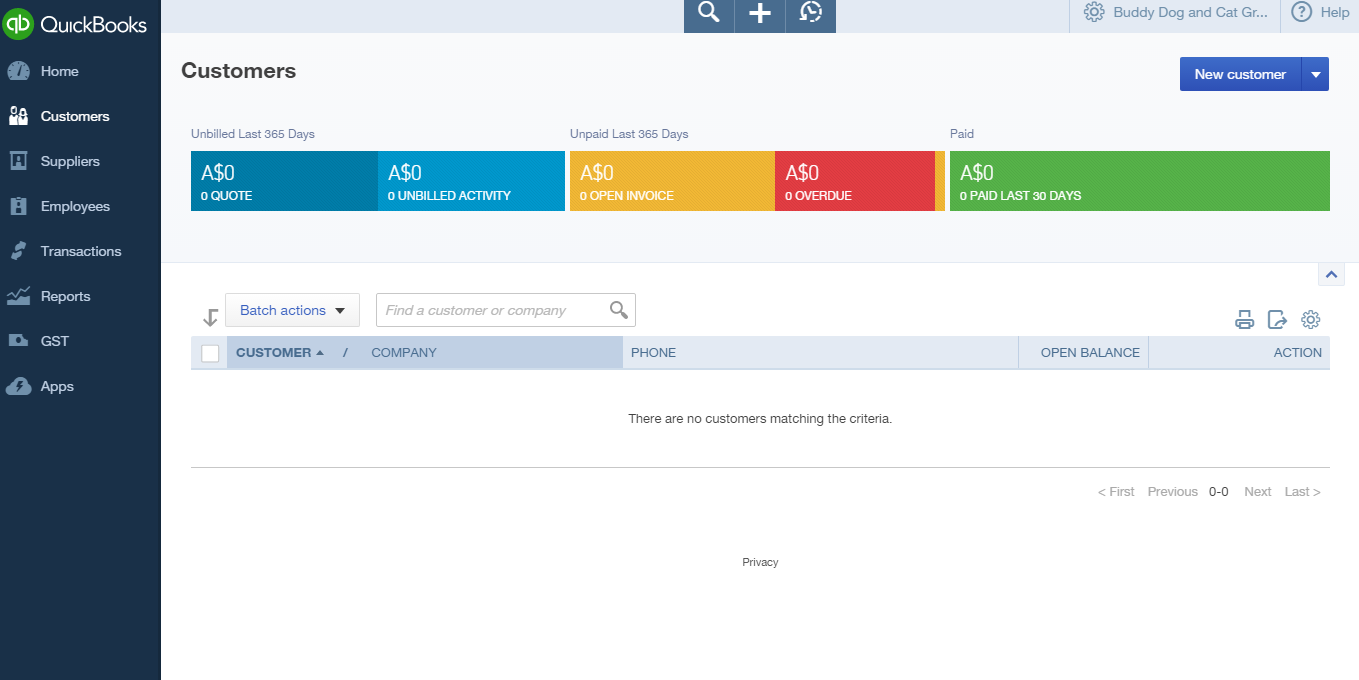
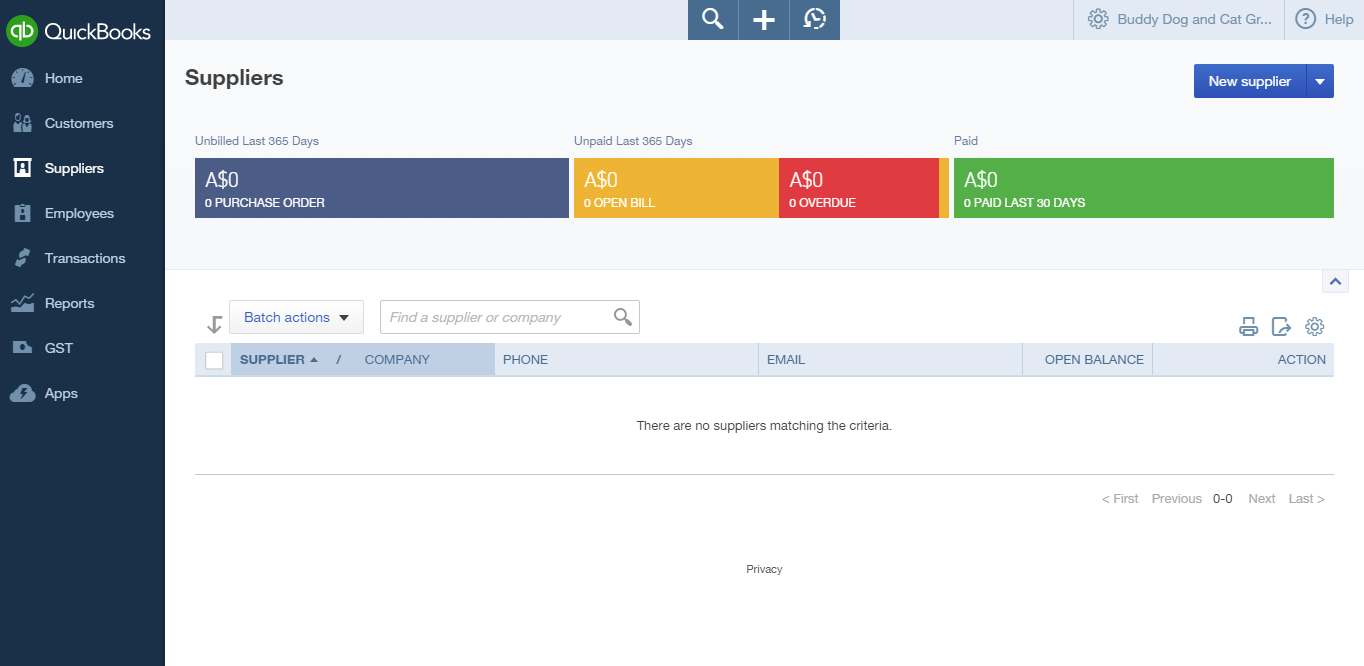
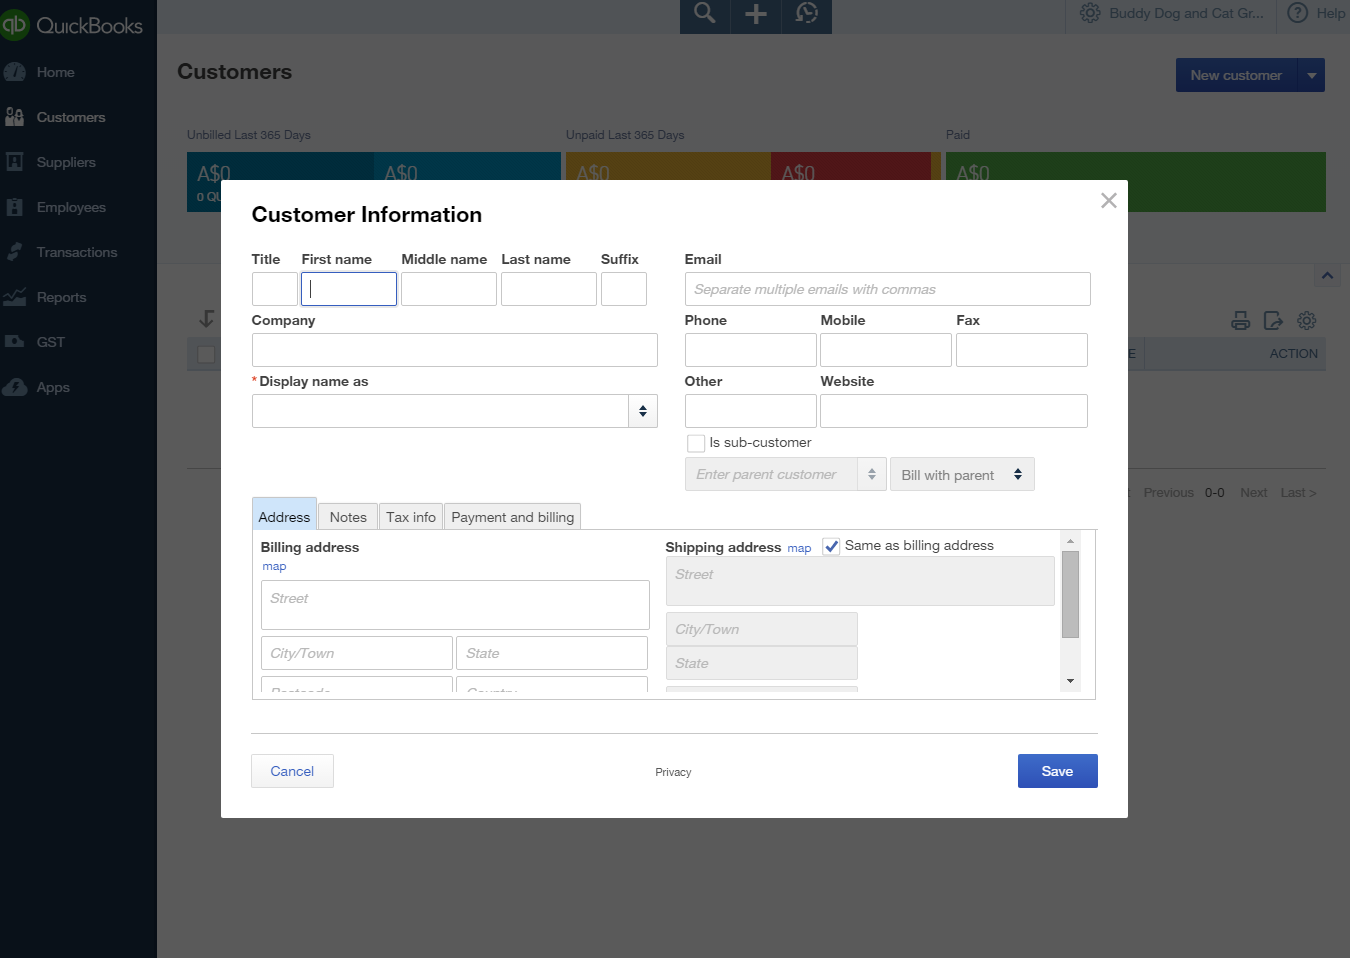
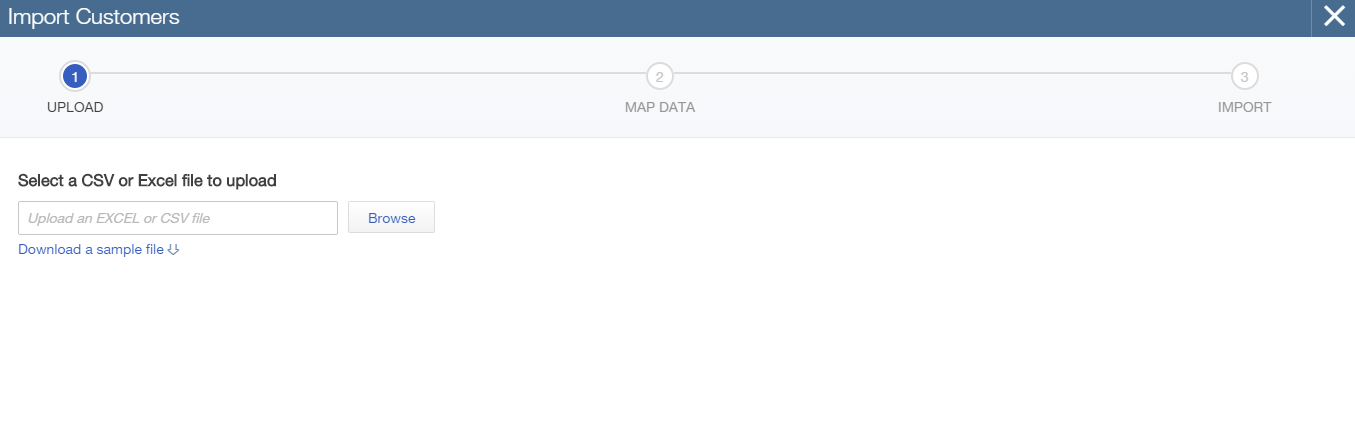
  • Customers and Suppliers: add one by one or import from your previous software
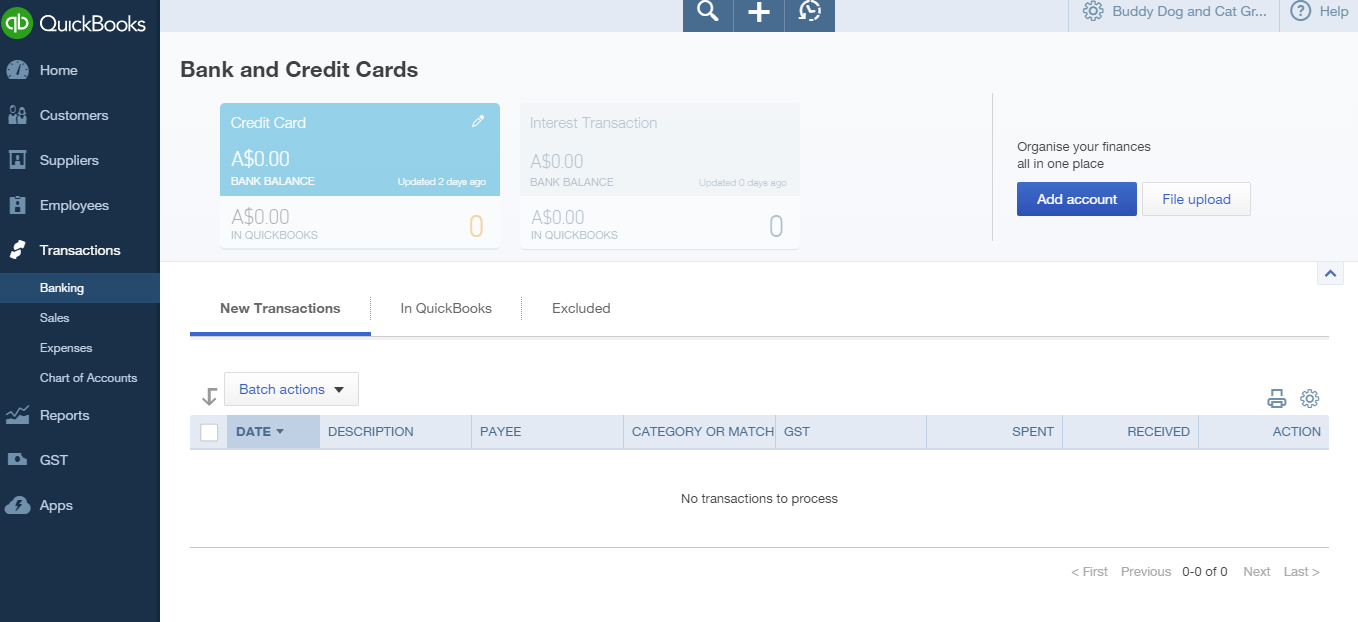
  • Enter opening balances for example bank balances

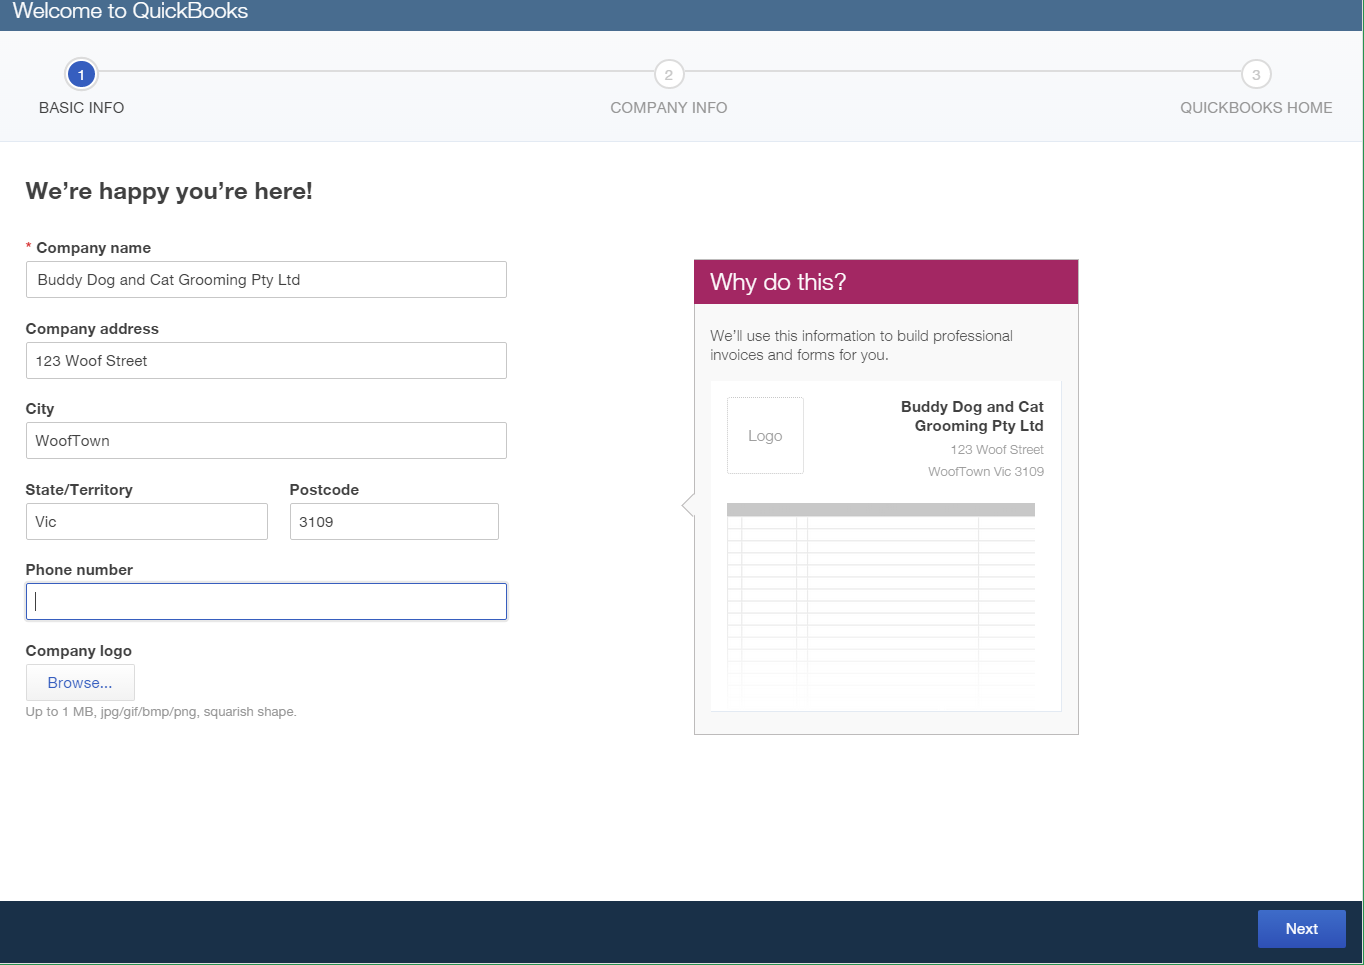
Process of running the wizard is quite simple. Let’s take a walk through the process of running the wizard, to setting up the company file and tailoring to your business requirements.

Step 1: Enter basic information required. Click Next.

Set 1

Step 2: Enter in your details.

  • Your industry: start typing in your industy and it will pop up with some industries that you can choose from
  • You sell: Choose what you sell in your business from the drop down menu: Products, Services or both
  • Company type: Choose what type of business you have, for example Sole Trader or Company. There are seven options to choose from
  • Do you have an accountant, bookkeeper or tax pro? Yes or No. If Yes enter in their email address and they can have access to your books You can enter this information later on as well
  • Do you want to import data from QuickBooks for Windows or MYOB? Yes or No. It is recommended that you choose No at this stage and we will explain further on
  • How do you like to get paid? Choose every payment method or select your preference

Click Next.


Set 2

QuickBooks Online does all the work for you based on the information you have just entered. The system commences setup, turning on different features so you don’t have to do a thing.


Set 3

Once QuickBooks Online has worked it’s magic, you will see a list of chosen features that you will use in QuickBooks Online. Don’t be too concerned if it has turned on a feature that you do not want as you can go in and turn this off at any time.

Click Next.

Set 4

This is what your QuickBooks Online file will look like.

Set 5

Setting Up GST

If you are registered for GST the process is very simple. If you are not registered please skip this step.

Left hand side navigation bar > GST > Click Setup GST.

Set 6

Enter in your GST details:

  • Your ABN number
  • Your current GST period begins in July
  • GST method: Cash or Accruals
  • Your GST lodging Frequency: Quarterly, Monthly, Half-yearly or Yearly

Click Setup.

Set 7

Now you can start entering transactions.

Set 8

Tailoring Your Company Settings

Under the Cogs company preferences menu choose Company Settings.

Set 9

In the Company Settings window you will find four tabs on the left hand side. Each of these sections needs to be tailored to your business requirements.

Company:

  • Add your logo,
  • Edit your busines name and contact details
  • Add your ABN
  • Does your business need classes and/or Locations?


Set 10

Sales: 

  • Customise your forms
  • Set-up your default sales invoice terms
  • Add shipping
  • Add custom fields
  • Add custom transaction numbers
  • Do you track Inventory?
  • Create default messages for emailing out invoices and other forms


Set 11

Expenses:

  • Track expenses and items by customers
  • Make expenses and items billable
  • Turn on Purchase Orders
  • Default bill payment terms
  • Turn on TPAR (Taxable Payment Annual Reports) if you are in the construction industry


Set 12

Advanced:

  • Choose the first month of the financial and Tax year
  • Close your Books (locking the period down)
  • Default tax selection for Sales forms
  • Enable account numbers
  • Enable discounts
  • Enable automation
  • Enable time tracking
  • Choose currency
  • Select date format
  • Select number format
  • Enable Warn if duplicate cheque number is used
  • Enable Warn if duplicate bill number is used


Set 13

Click the Cog company preferences > Custom Form Styles > Select New Style or Edit . You can choose which template you prefer. Work down the list of Style, Appearance, Header, Activity Table and Footer to tailor your preferences.

Set 14

Click the Cog company preferences > Chart of Accounts. This is the accounts set up for your industry. Edit and add as you like.

Set 15

Click the Cog company preferences > Products and Services. Add your services or inventory. Make sure you choose the correct income account for that product or service.

Set 16

Click the Cog company preferences > Manage Users. Add your accountant or bookkeeper, and even your staff.

Set 17

Click Transactions > Banking. Add bank accounts and credit cards to your file for online banking feeds. Setup bank rules.

Set 18

Click Employees > Turn on payroll if required.

Set 19

Add Customers.

Set 20

Add Suppliers.

Set 21

Customer Card Information screen

Set 22

Importing Data

You can import your Customers, SuppliersChart Of Accounts and Products and Services if you have a different software that you are moving from.

Click the Cog company preferences Tools > Import Data.

Set 23
Set 23

Setting up QuickBooks Online correctly from the beginning is essential as it will save you time, money, and importantly, allows QuickBooks Online to do work for you. The right setup will help you to have accurate financials, allowing you make important business decisions


Related Articles

Looking for something else?

Get QuickBooks

Smart features made for your business. We've got you covered.

Help Me Choose

Use our product selector to find the best accounting software for you.

QuickBooks Support

Get help with QuickBooks. Find articles, video tutorials, and more.

Stay up-to-date with the latest small business insights and trends!


Sign up for our quarterly newsletter and receive educational and interesting content straight to your inbox.

Want more? Visit our tools and templates!

By signing up you are agreeing to our terms and privacy policy.

A person is smiling and holding a laptop.