QUICKBOOKS PAYROLL
Quickbooks Payroll Employee access | Get started tutorial
Set up and provide access to the Employee Portal in QuickBooks Payroll.
Configure Employee Portal access.

Step 1
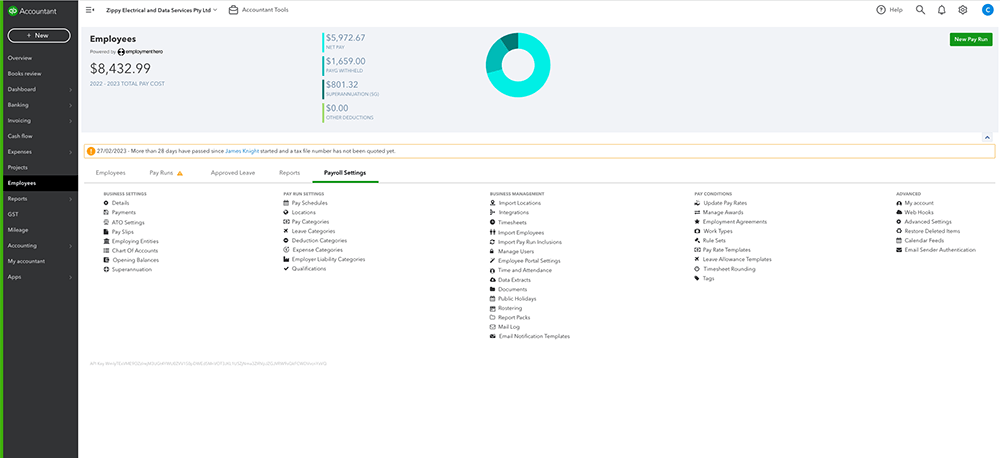
Select Employees from the left hand menu.

Step 2
Select the Payroll Settings tab, then select Employee Portal Settings (located under Business Management).
Step 3
Choose which permissions can be provided to your employee in each checkbox.
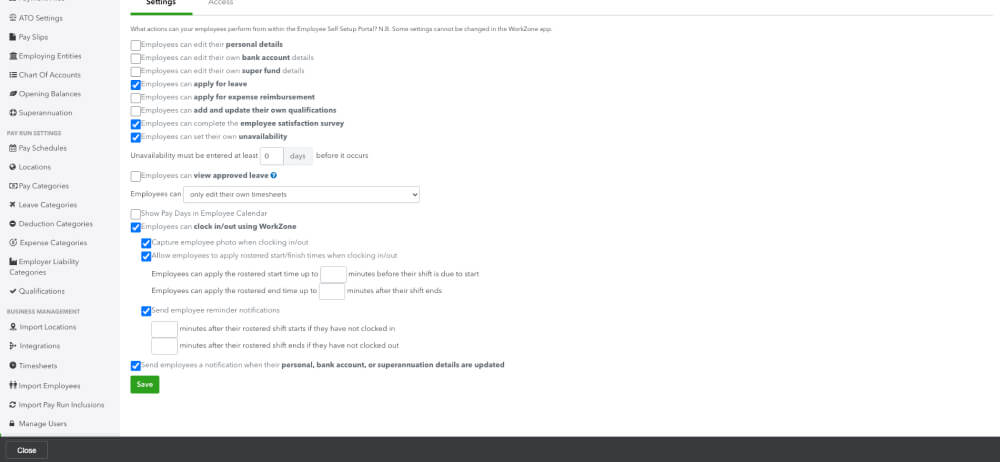
Step 4: Select Save
Once you’ve saved your settings you can now provide employees access to the Employee Portal. Learn more about Timesheet options and Clock Me In options here.

Provide employees access to the Employee Portal
Step 5
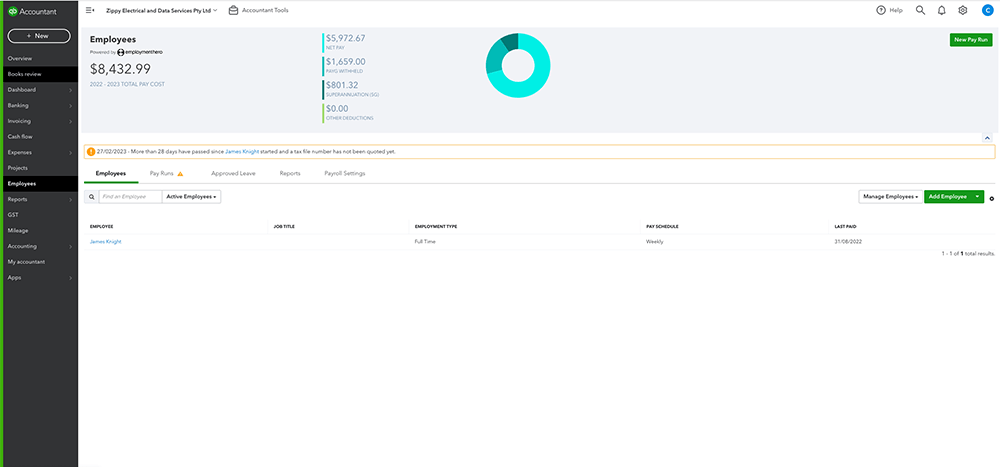
Select Employees from the left hand menu.
Step 6
Select the Payroll Settings tab, then select Employee Portal Settings (Located under Business Management).

Step 7
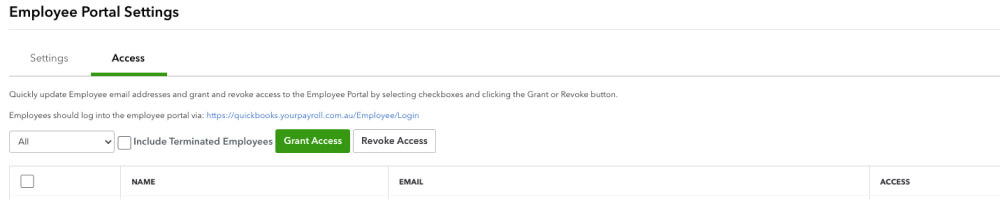
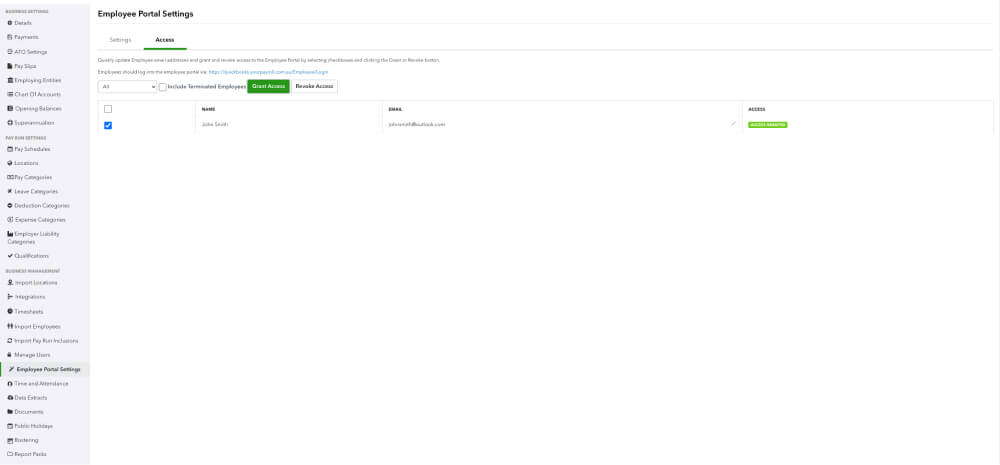
Select the Access tab.
Step 8
By default, a list of all your active employees will be displayed. Using the tick boxes next to the employee’s name, you can individually grant the employee access to the employee portal. To bulk grant access, click on the checkbox to the left of Name at the top of the table.
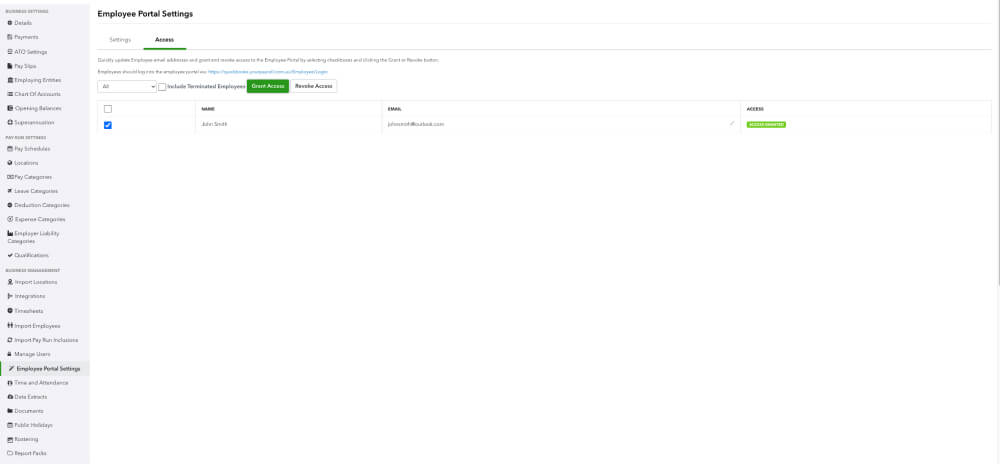
Step 9
Select Grant Access. You can also revoke access, either individually or in bulk, from this screen by ticking the employee/s name and then selecting Revoke Access.
Related Resources/Articles

How to
Set up and provide access to Employee Portal
Provide user access to the Employee portal.

How to
How to access the Employee Self Service portal as an employee
Learn how to access the Employee portal.

How to
How to set up an Employee in QuickBooks Payroll
Learn how to set up an employee.
Need more help?


Intuit helps put more money in consumers’ and small businesses’ pockets, saving them time by eliminating work, and ensuring they have confidence in every financial decision they make.
Award Winning Accounting Software
