It's Big Awesome Savings time
75% OFF FOR 6 MONTHS*
Need help choosing a plan?
Created with Sketch. 1800 917 771 Schedule a call
Need help?
We're here for you.
Schedule call
Created with Sketch.
Emma Fabbro DJ
accountants and bookkeepers

QuickBooks Prep for Taxes makes year-end a breeze!

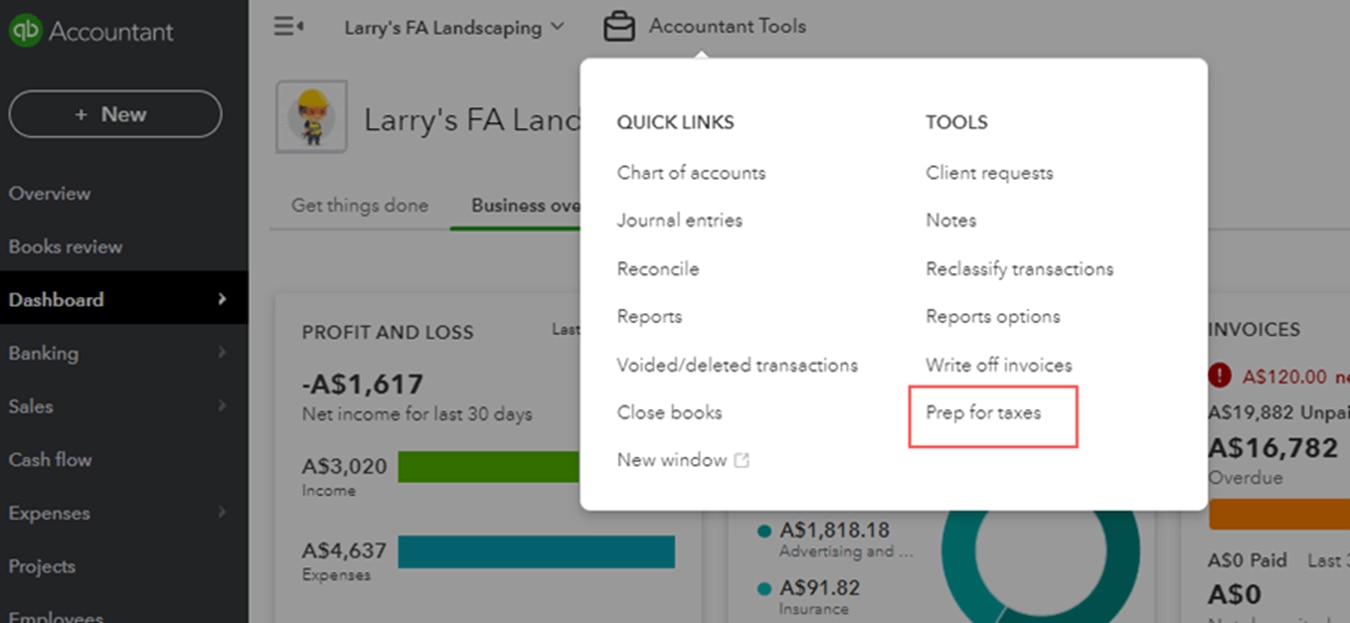
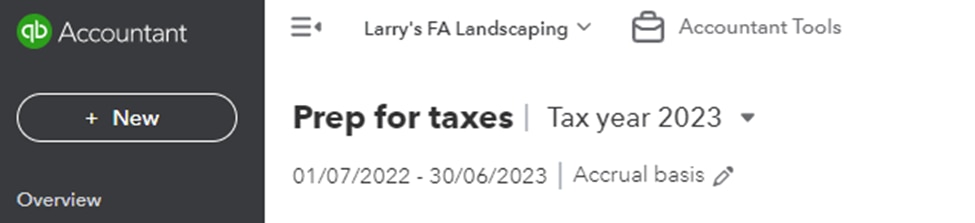
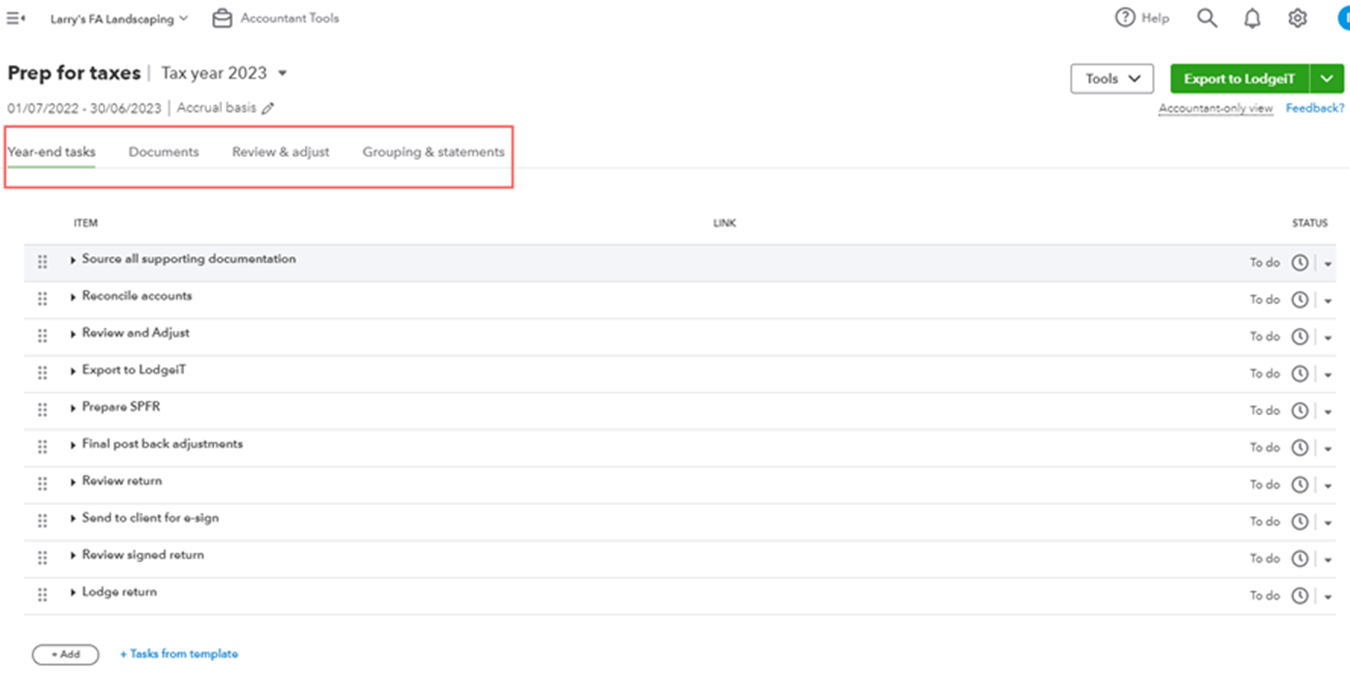
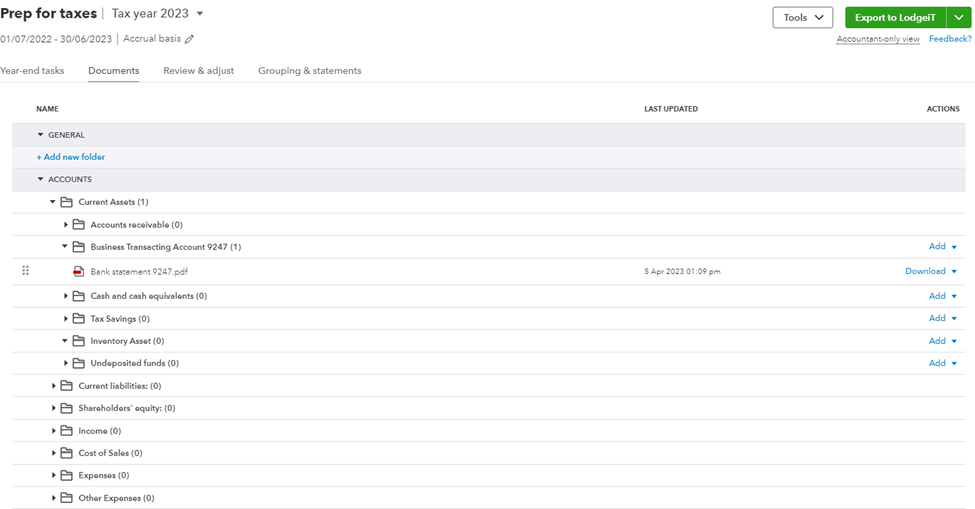
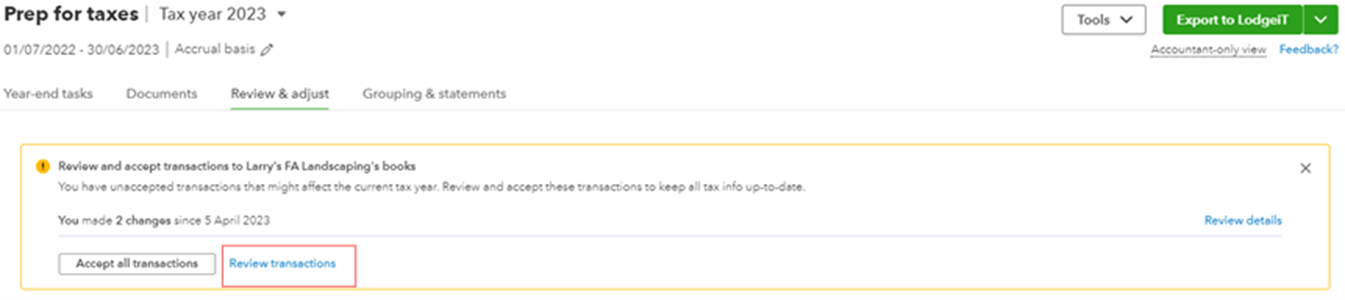
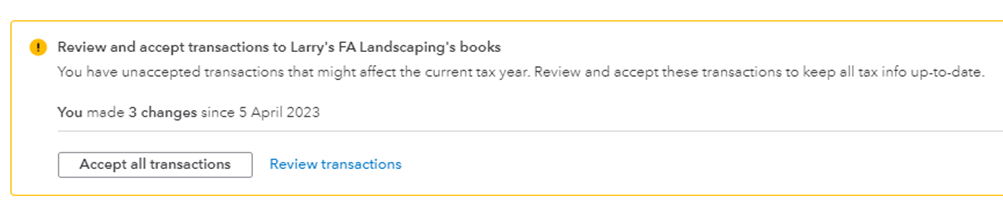
End-of-year tax can be a busy time for accountants, especially with many small businesses looking to update both their business and personal finances. Prep for Taxes in QuickBooks Online Accountant simplifies your review process by providing a single area where you can review year-end tasks and view any source documents that have been uploaded or add documents if required.

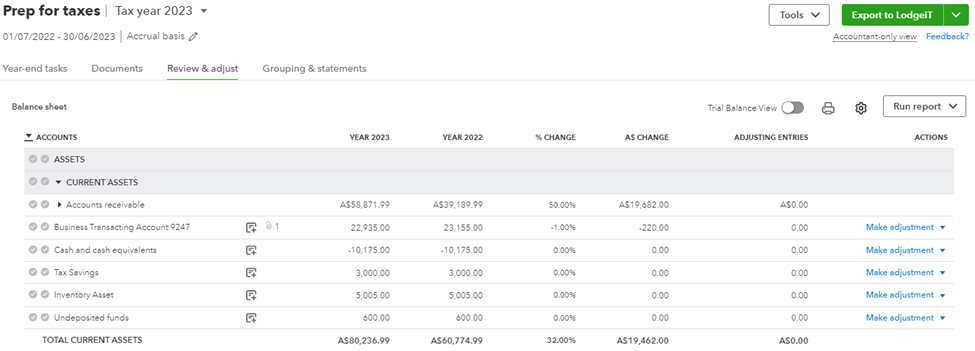
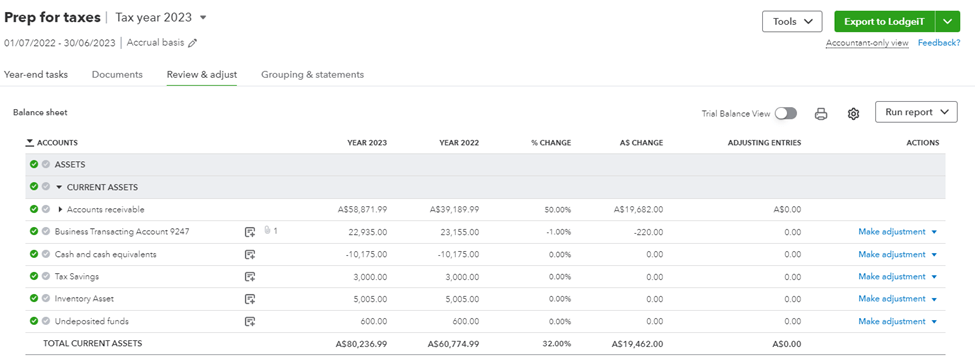
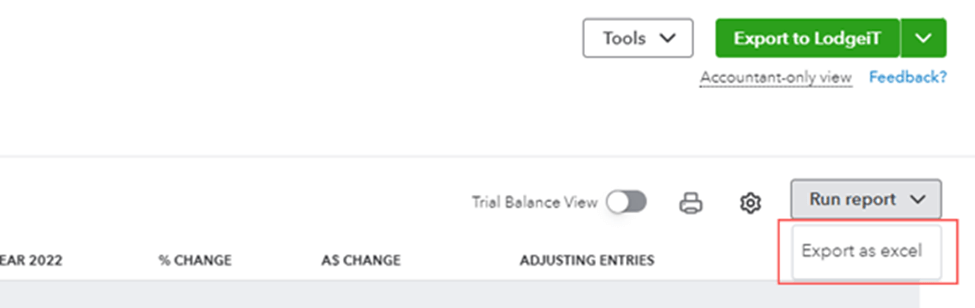
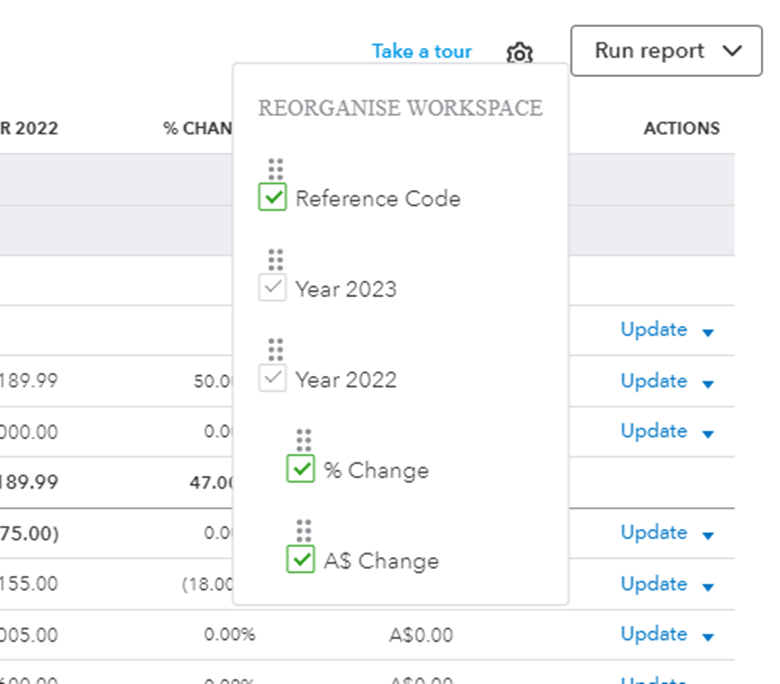
The heart of the Prep for taxes area is the ‘Review & adjust’ tab. Here you will see your clients’ Balance sheet and Profit and loss statement accounts with current financial year, prior financial year, % changes, as well as the dollar amount, changes all within one easy-to-view screen. You can also switch to a traditional trial balance view if this is preferred.

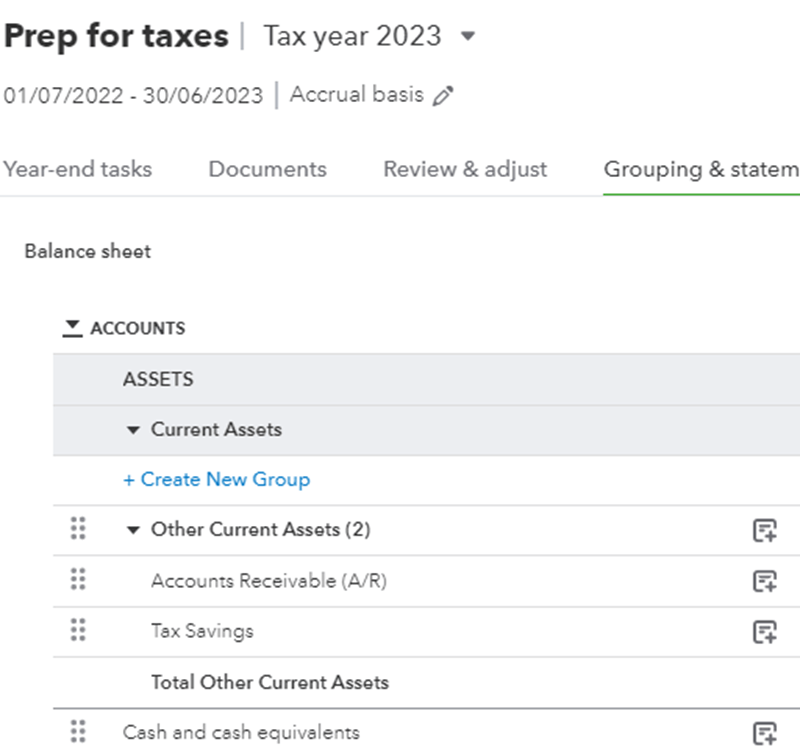
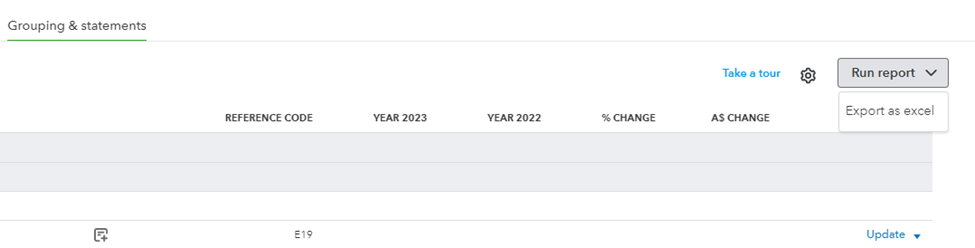
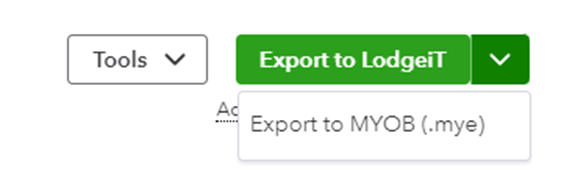
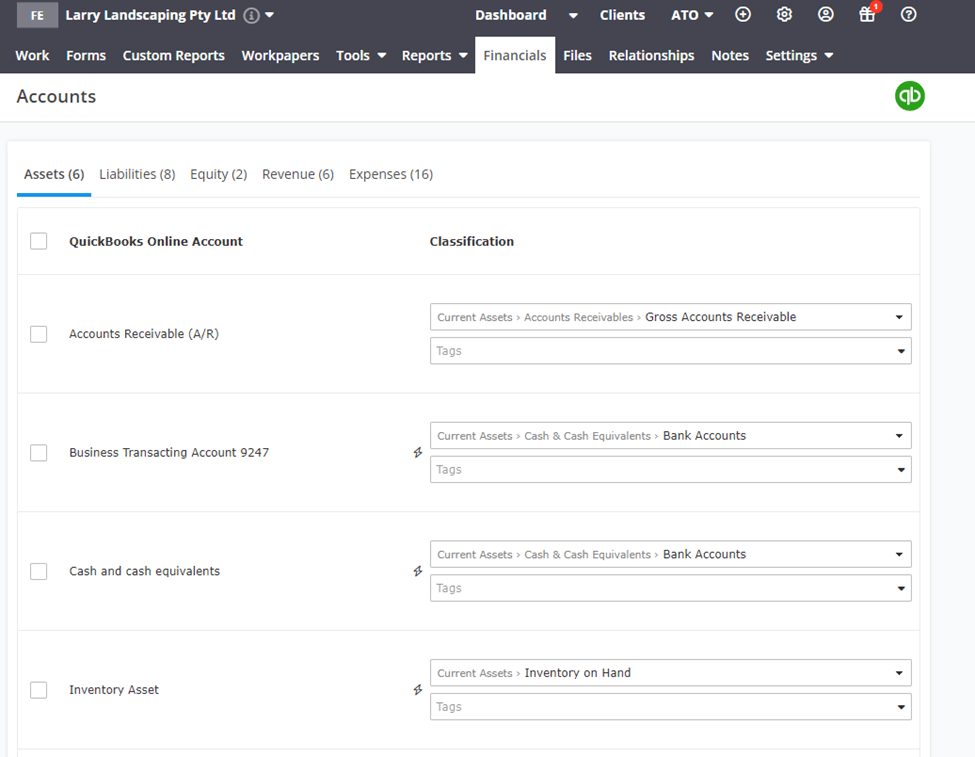
Finally, the Prep for taxes area gives you a Grouping & Statements tab where you can add groups, reorder accounts and more. Plus, when you’re done, you can export your data directly into QuickBooks tax powered by LodgeiT to streamline data and save even more time.

What can it do?

Prep for Taxes is a one-stop shop area where you can review all your clients’ financial year information in one place. Supported by four key areas, each team member who has access to that particular client's QuickBooks Online file will have access to the prep for taxes area. The four key areas are:

  • Year-end tasks where you can track workflows
  • The Documents tab where you can view, add, remove or annotate client source documents,
  • Review & Adjust where you will see key financial information in one location, and finally
  • The Grouping & statements where accounts can be reordered or grouped accordingly.

Where do I find it?

You can find Prep for Taxes within your QuickBooks Online Accountant client dashboard towards the right-hand side or you can access it from within your client’s QuickBooks Online file under the Accountant Toolbox option at the top of your screen.

Image Alt Text

How do I use it?

To begin, just select the relevant financial year and basis for the period you want to review.

Image Alt Text

If required, you can change your accounting method to either an accrual or cash basis, depending on your client’s tax status. This won’t affect your client’s accounting method settings, or view in QuickBooks Online. To switch, click on the pencil icon at the top, then select the method you want.

A black and white photo of a person under a bridge.
Image Alt Text

On your screen, you’ll see key tasks sitting under the four tabs highlighted in the image below:

  • Year-end tasks
  • Documents
  • Review & adjust
  • Grouping & statements

Start the process using the Year-end tasks tab. You can add tasks, reorder or delete tasks as required. Within each task, you can link a URL and provide further details as required. You can mark tasks as ‘done’ once complete or can mark them as ‘waiting’ where there is more information required.

Image Alt Text

The next step is to view source documents that have been added to accounts by yourself or your team members throughout the year in the Documents tab. You can also add additional documents within this section. You can rename any attached documents and you can also annotate them.

The Documents tab makes reviewing your team’s work a snap because everything is in one place and organised. A folder is automatically added to Prep for taxes for each account and you can create new folders individually or by using a template from another client. Find out more about using the Documents Manager in Prep for taxes.

Image Alt Text

We are now ready to move to the Review & Adjust tab. Here you’ll find accounts organised by Balance sheet and Profit and loss on one convenient screen. Click on the caret icons to expand and view the balances for each account in QuickBooks. As you review each account, you can easily make adjustments, add notes, and add attachments that can be viewed by all team members who have been given access to the client in your QuickBooks Online Accountant account. This way you can work quickly and efficiently and will know easily which accounts have already been finalised and reviewed.

Image Alt Text

As you work through the list of accounts, you can click the caret icon to collapse each section and mark it complete when you’re done with your review.

Image Alt Text

Prep for Taxes records all your changes and sets them aside for a final review and approval before it adds them to the adjusted amount.

Image Alt Text

Click ‘Review transactions’ to view the changes, and when ready, click Accept changes to accept them into the final account balances.


Image Alt Text

You can then export the reports as a workpaper file in Excel format to keep in your client’s file record.


Image Alt Text

After you’ve prepared and reviewed each account in the QuickBooks Online file, you are now ready to create year-end reports and map the accounts to each line of the tax return. Firms need flexibility when creating year-end reports for their clients and the Grouping & Statements tab gives you exactly that.

Image Alt Text

Arrange your accounts into different groups as required so that when you prepare your financial statements they look exactly right. Create a group, add a reference code, notes, and attach documents as needed to keep your workpapers organised and consistent.

Image Alt Text
Image Alt Text

Here you will also be able to move accounts and drag and drop accounts into different groups. Any changes will be saved automatically.

Image Alt Text

Select the Gear at the top right of the section to add or remove columns or drag them into a different order.

Image Alt Text

When you’re done, select Run Report to export your workspace to Excel. From there, you can make additional edits, print, and save your work.

Image Alt Text

You are now ready to export this information to QuickBooks Tax powered by LodgeiT. Select the green “Export to LodgeiT” button in the top right-hand part of the screen. This will take you directly into the client tax return within your LodgeiT software. You will also have the option to Export as an MY)B(.mye) file if required.

Image Alt Text

Prep for Taxes will automatically assign the accounts in QuickBooks Online to each tax line, but it’s always a good idea to verify that each account has been mapped correctly within QuickBooks Tax powered by LodgeiT. Any accounts that aren’t automatically mapped will be listed at the top of the screen.

Image Alt Text

To assign a tax line, navigate to the Financials tab, Accounts area within LodgeiT where you can then assign any unassigned accounts or correct any accounts assigned incorrectly.

Image Alt Text

Once your mapping is complete, you can click back into the client tax return and check for any validation errors.

Remember to use the Tools option in Tools in Prep for taxes to:

  • Download a zip file of the Prep for taxes workpapers including all attachments to store within your firm’s document management system.
  • Carry forward data from the previous year.
  • Lock the year.
Image Alt Text

Tips and tricks

  • Prep for Taxes can be used to ease the pressure of end-of-financial-year by organising and tracking your clients' accounts in one easy-to-locate area. 
  • Use the documents tab to attach all your source documents and team notes to easily find them as required.
  • Prep for Taxes is only available in QuickBooks Online Accountant and each accountant user with access to the QuickBooks Online account has access to their own instance of Prep for Taxes.
  • By using QuickBooks Tax, powered by LodgeiT, you can seamlessly integrate your clients' QuickBooks online financial information into their tax return. However, QuickBooks Tax also integrates with other accounting software platforms allowing you to process tax returns and other forms for clients not using QuickBooks Online.

Want to find out more about Prep for Taxes and the other tools in the QuickBooks suite?

Kick start your QuickBooks journey with our refreshed on-demand Certification program and further build on your skills by attending our regular in-depth online training sessions.

Our training webinars will help you learn how to use the QuickBooks product suite efficiently and will help increase your confidence working with clients. Register for free training with our experienced QuickBooks experts from our Trainer Writer Network. Attend the training on the day to receive a CPD certificate for your attendance. See what training is coming up soon on our website.


Related Articles

Looking for something else?

Get QuickBooks

Smart features made for your business. We've got you covered.

Help Me Choose

Use our product selector to find the best accounting software for you.

QuickBooks Support

Get help with QuickBooks. Find articles, video tutorials, and more.

Stay up-to-date with the latest small business insights and trends!


Sign up for our quarterly newsletter and receive educational and interesting content straight to your inbox.

Want more? Visit our tools and templates!

By signing up you are agreeing to our terms and privacy policy.

A person is smiling and holding a laptop.